Two-Tone Walls Made Easy
Two-tone walls are one of the hottest trends in home decor, and for good reason—they’re stylish, sophisticated, and can add a touch of drama to any room. But if you’re scrolling through Instagram or Pinterest and thinking, “That looks complicated,” don’t worry! With the right tools and techniques, you can master how to paint two-tone walls like a pro.
Here’s a step-by-step guide to help you achieve this striking look.
Step 1: Paint the Top Section of the Wall
Start by choosing your colors and deciding where they’ll meet on the wall. The dividing line can be in the middle, higher, or lower—whatever works best for your space.
Pro Tip: Use a laser level to create a perfectly straight line. This is the way to go if possible–especially if your floors or ceilings aren’t level. There are a lot of options out there, but one we’d recommend checking out is the DeWalt DW088K Laser Level, which costs around $150.
Once your line is set, paint the top section of the wall. Roll slightly past the dividing line and feather out the edges to avoid thick paint lines. A tool like the Wooster Jumbo Koter System is perfect for this. It ensures your mini roller texture matches your standard roller, resulting in a seamless finish.
Step 2: Tape the Dividing Line
After the top section is completely dry (wait at least 24 hours, longer if possible), it’s time to tape the dividing line. Re-measure and mark your dividing line one more time (very lightly!!); or use the laser level from Step 1.
Then, use a safe-release tape like Yellow Frog Tape or 3M Delicate Surface Tape to avoid peeling off your fresh paint.
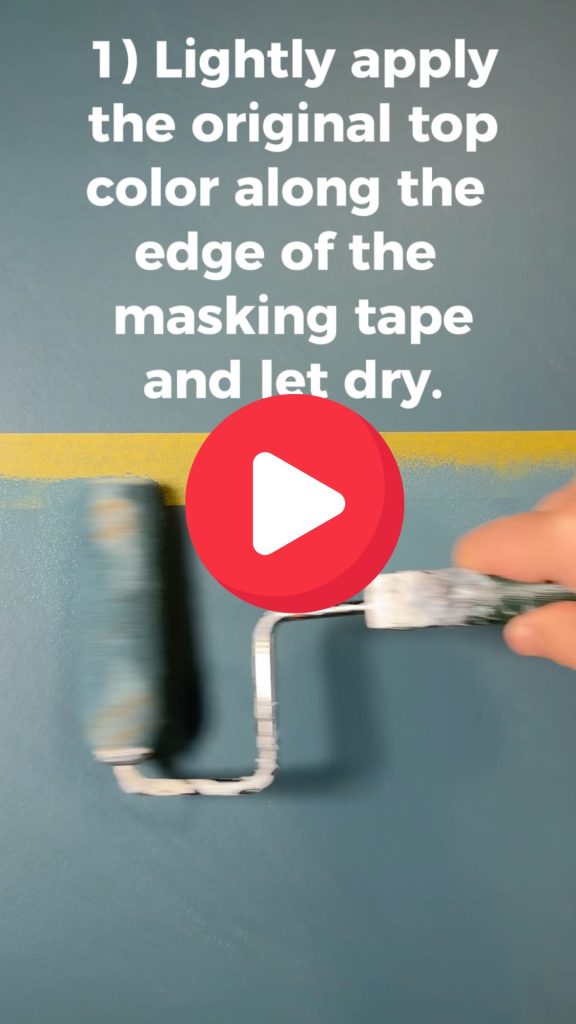
Here’s a trick for flawless lines: Before painting your second color, lightly apply the original top color along the edge of the tape. This seals the tape and prevents bleed-through. Let it dry completely before moving on.
This technique is a must-know if you’re serious about learning how to paint two-tone walls perfectly. Check out the video for a great example of this process!
Step 3: Paint the Second Color
Now, paint the bottom section with your second color. Roll carefully up to the tape without overlapping the top section.
Key Tips:
- Apply the second coat promptly—don’t leave the tape on the wall for too long.
- Before removing the tape, lightly score the edge with a razor blade to cut any paint film. This prevents peeling.
- Remove the tape slowly and carefully to avoid smudging wet paint.
Finishing Touches
Patience and the right tools are the secret to a great looking two-tone wall. A laser level, safe-release tape, and quality mini rollers can make all the difference.
If you try this project at home, I’d love to see your results! Send your photos or questions to radio@repcolite.com.
Catch More Tips on the Podcast
Want more painting tips and tricks? Check out the RepcoLite Home Improvement Show Podcast. Listen on Spotify, Apple Podcasts, YouTube, or at repcolite.com


