For those of us who aren’t professional painters (and even many who are), masking tape is an essential tool for achieving sharp, professional-looking paint lines. But using it effectively isn’t as simple as slapping it on the wall and hoping for the best. The type of tape you choose, how you apply it, and when you remove it all make a difference. Here’s everything you need to know to get perfect results when using masking tape!
Step 1: Choose the Right Tape
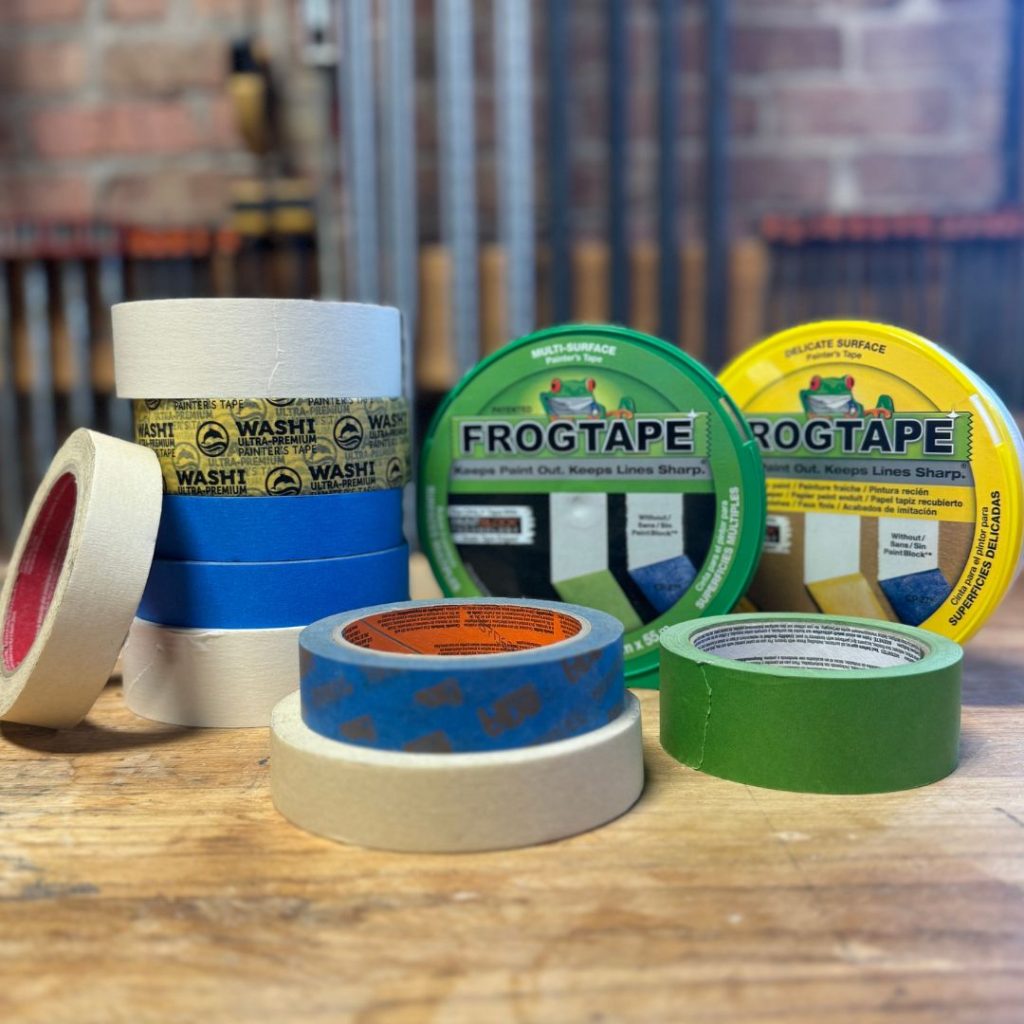
Not all masking tapes are created equal. Different tapes are designed for different surfaces and situations, so selecting the right one is critical.

- Delicate Surface Tapes: These masking tapes are ideal for applying over freshly painted surfaces or even wallpaper. They’re designed to release cleanly without damaging the underlying layer.
- Frog Tape: This isn’t just another brand—it’s a game-changer. Frog Tape features PaintBlock Technology, a special coating that reacts with water-based paint to instantly seal the tape’s edges. This helps prevent bleeding and ensures sharp, clean lines.
- General Painter’s Tape: These tapes are perfect for standard projects on clean, cured surfaces.
Pro Tip: Don’t choose your tape based solely on price. Instead, ask about the options at your local RepcoLite. Using the right tape for your project can make all the difference.
Step 2: Prep Your Surface
This should come as no surprise, but proper surface preparation is the key to ensuring your masking tape sticks well.
- Clean the area thoroughly with a damp cloth to remove dust and dirt.
- Allow the surface to dry completely before applying the tape.
Skipping this step can result in poor adhesion and paint bleeding under the tape.
Step 3: Apply Tape in Manageable Strips
When applying masking tape, work with strips about three feet long. Overlap each strip slightly where they meet to ensure a continuous barrier. This method makes the tape easier to remove later and helps maintain clean edges.

Step 4: Secure the Edges
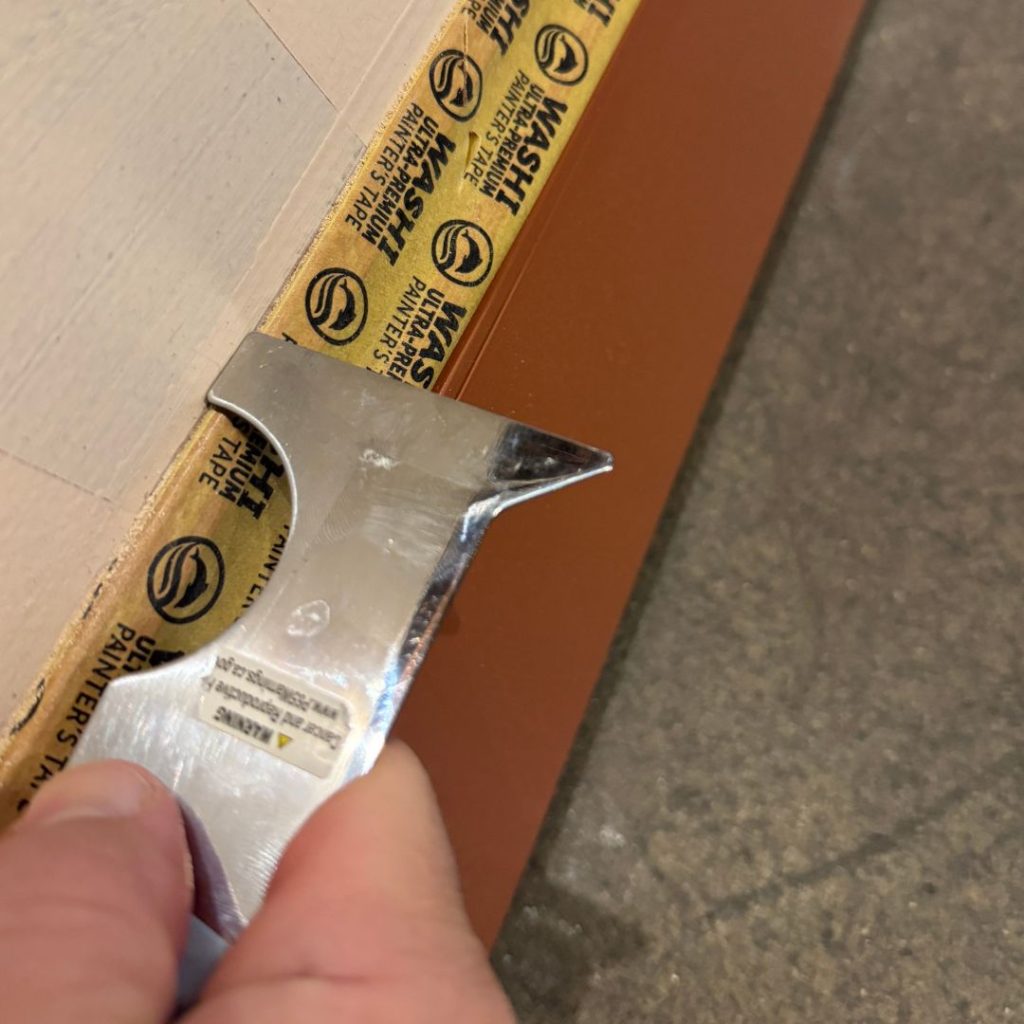
Once the tape is in place, press it down firmly along the edges. Use a putty knife, a painter’s 5-in-1 (or 7-in-1) tool rather than your fingers. This extra pressure seals the tape and minimizes the risk of paint bleeding underneath.
Step 5: Remove the Tape at the Right Time
Timing is crucial when it comes to removing painter’s tape.
- Remove the tape while the paint is tacky but not fully dry.
- Slowly pull the tape at a 45-degree angle to avoid tearing or peeling paint.
- Be mindful of wet paint on the tape—don’t let it transfer onto other surfaces.
Special Offer on Painter’s Tape!
Right now, all RepcoLite locations have 1.5-inch painter’s tape on sale for just $5.50 per roll—that’s over $2.00 off per roll! This deal runs through the end of November 2024, so stop by and stock up while supplies last. Whether you’re tackling a DIY project or restocking your supplies as a contractor, this is the perfect time to grab quality tape at a great price.
Closing Thoughts
Knowing these simple tips can transform your painting projects. By choosing the right tape, prepping your surface, and following best practices for application and removal, you’ll get perfect results when using masking tape!
Have questions about masking tape or other painting tools? Stop by your nearest RepcoLite store, or send us an email at radio@repcolite.com. We’d love to help!
Catch More Tips on Our Podcast!
Want more painting tips and tricks? Check out the RepcoLite Home Improvement Show Podcast. Listen on Spotify, Apple Podcasts, YouTube, or at repcolite.com

