
Photo courtesy of bigstockphoto.com
In our home, the previous owners painted a 4” wide border around the ceiling in the living room. On that border, there were a few small spots where the paint was flaking off. On a Saturday morning a couple of weekends ago, my wife was out of the house for a couple of hours, so I thought I’d surprise her by touching those spots up.
I grabbed some sandpaper and set out to accomplish what I should have been a 5 minute job only to find that wherever I touched the sandpaper to that border, the paint fell off. In huge patches. It was terrifying. Everywhere the sandpaper touched, a silver-dollar-sized section of paint came loose from the ceiling and fell to the floor like huge a snowflake. I would sand in ever expanding circles, expecting (hoping) to find some section of paint that was still stuck to the ceiling, but no. No matter where I sanded more and more flakes started falling. At that point, the kids came in, saw the mess on the floor and all the missing paint on the ceiling, and said “Mom’s going to kill you when she gets home….”
Oh, of course my wife wasn’t going to kill me. Probably. I was concerned, however, about the problem that I now had on my hands. If you’ve ever dealt with peeling paint issues, then you know the frustration and anxiety I was feeling.
See, these are problems that have to be fixed the right way. There are no shortcuts. There are no quick fixes. Fixing it the wrong way, the quick way, usually ends up creating bigger problems down the road. Instead, fixing a problem like this takes patience as well as some blood, sweat, and tears. Here’s how you do it:
STEP 1: FIND OUT WHY IT FAILED
The first step to fixing anything at all is finding out why it needs fixing in the first place. You can treat the symptoms, but it’s likely the problem will recur until you actually address the problem that caused the failure in the first place. In my instance, with the peeling paint on my ceiling, the problem was caused (as is usually the case) by poor surface prep. When I examined the paint chips I found that the backs were gritty and chalky. That means the grit or powder was there before the paint was applied. The paint stuck to that rather than the ceiling itself and thus came off easily when bumped or stressed.
When it comes to peeling paint, surface contamination of one kind or another is typically the cause. Sometimes it’s drywall dust, sometimes it’s due to cleaning agents, soap films, or other contaminants like that.
Surface contamination is the one of the typical causes of many paint peeling problems. The other main cause is due to the painted surface simply being too smooth or hard. Sometimes we paint over a glossy, hard enamel finish and the new paint peels right off when bumped or scratched. Without scuff-sanding or priming surfaces like that with primers like BIN primer from Zinsser, you’re just asking for the paint to fail.
So all that to say, if you’ve got a peeling paint problem of your own, the place to start is by doing a little detective work. Figure out why it peeled. From there, you’ll be able to plan the next step in the repair process.
STEP 2: LET THE SCRAPING and SANDING BEGIN!
Once I figured out the reason my paint failed, now all that was left was to do the work and fix it the right way. Sadly, that’s easier said than done.
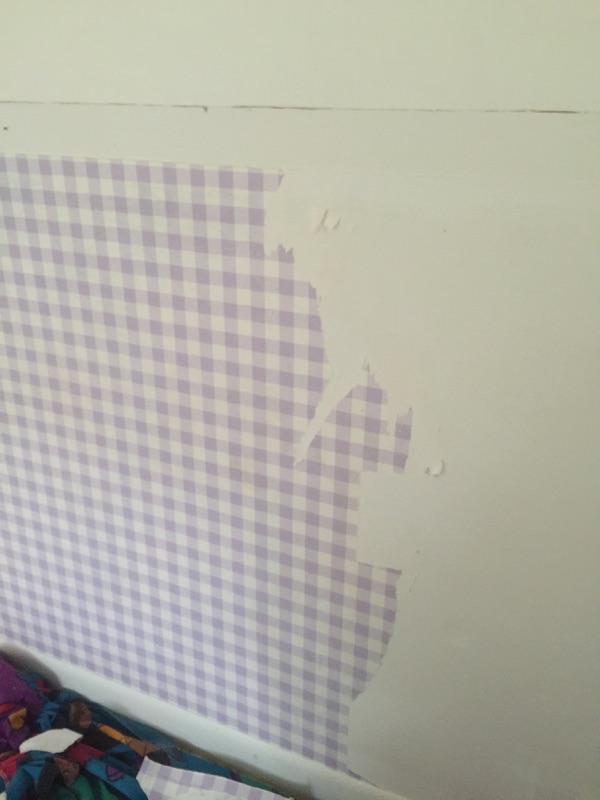
See, when it comes to peeling paint, the only solution is to get all of the loose paint off. All of it. If paint is left on the surface, it’s absolutely necessary that it’s left there only because it’s stuck so well it wouldn’t come off!
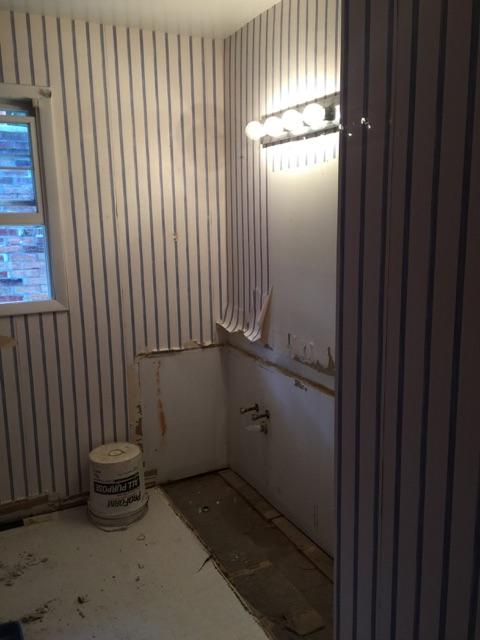
So, to get the paint off that border section of my ceiling, the only fix is for me is to get out a paint scraper, some sandpaper, and go to work. It’ll take some time and it’ll create a fair amount of mess, but any shortcut I take will only result in bigger problems down the road.
For example, on my ceiling, with the paint peeling as badly and easily as it is, if I were to paint over that old paint–even though some areas seem to be adhering quite well–the surface tension of the new paint as it dries would likely be enough to pull loose new sections. Soon, that paint I’d left on the ceiling would be coming off and taking all of my new paint with it!
To avoid that, the right solution is to get all of the loose paint off. Once that’s done, a second part of this step is to go around and give some attention to all the areas of paint that remain on the surface. Most likely, when you examine these spots, you’ll see rough edges where the remaining paint meets bare spots on the wall. These spots will not be filled and disappear when you apply your new paint. In most cases you can minimize the visual appearance of these spots by sanding all the edges of the remaining paint. Sand the spots smooth in order to create a smooth transition from the bare surface to the remaining paint.
Also, if you determine that the reason your paint is flaking is because the surface you painted is too shiny or smooth, then you need to make sure you scuff sand the surface with a 150 – 180 grit sandpaper.
STEP 3: GET THE DUST OFF
Once the sanding/scraping process is complete, it’s absolutely imperative that the surface be as dust-free as possible. That may mean wiping it down with a damp rag or it may mean vacuuming it with a shop-vac. Either way, that surface needs to be dust-free or the problem will just repeat.
Likewise, if the paint failed because of an oily residue left by a cleaning agent or something else, the surface needs to be washed well with a degreasing agent like TSP (Tri-Sodium Phosphate) before any new painting is done. Remember: without eliminating the source of the failure, the problem will only repeat.
STEP 4: ROLL ON THE NEW PAINT
When the surface is completely clean (and I can wipe it with your hand and not have a chalky, dusty residue come off on my palm), then it’s time for my new finish paint. (In certain situations, a primer might be recommended. You’ll probably want to talk to someone at RepcoLite if you have any questions about whether you need a primer or not.)
I’ll probably apply a primer coat to my ceiling just to be safe. After that, I’ll roll on two coats of finish and finally, after all of that, I should be done and the living room will be better than before. And, best of all, it should look good and resist flaking or peeling for years to come!
Peeling paint can be a very frustrating situation. And when it happens to us, we may find ourselves tempted to take a shortcut or an easy way out. However, in a situation like this, shortcuts just don’t produce good results. Instead, take the time to do the project the right way. It’s a lengthier, more time-consuming fix, but it will give you much better results (and save you a lot of repeat work) in the long run!