

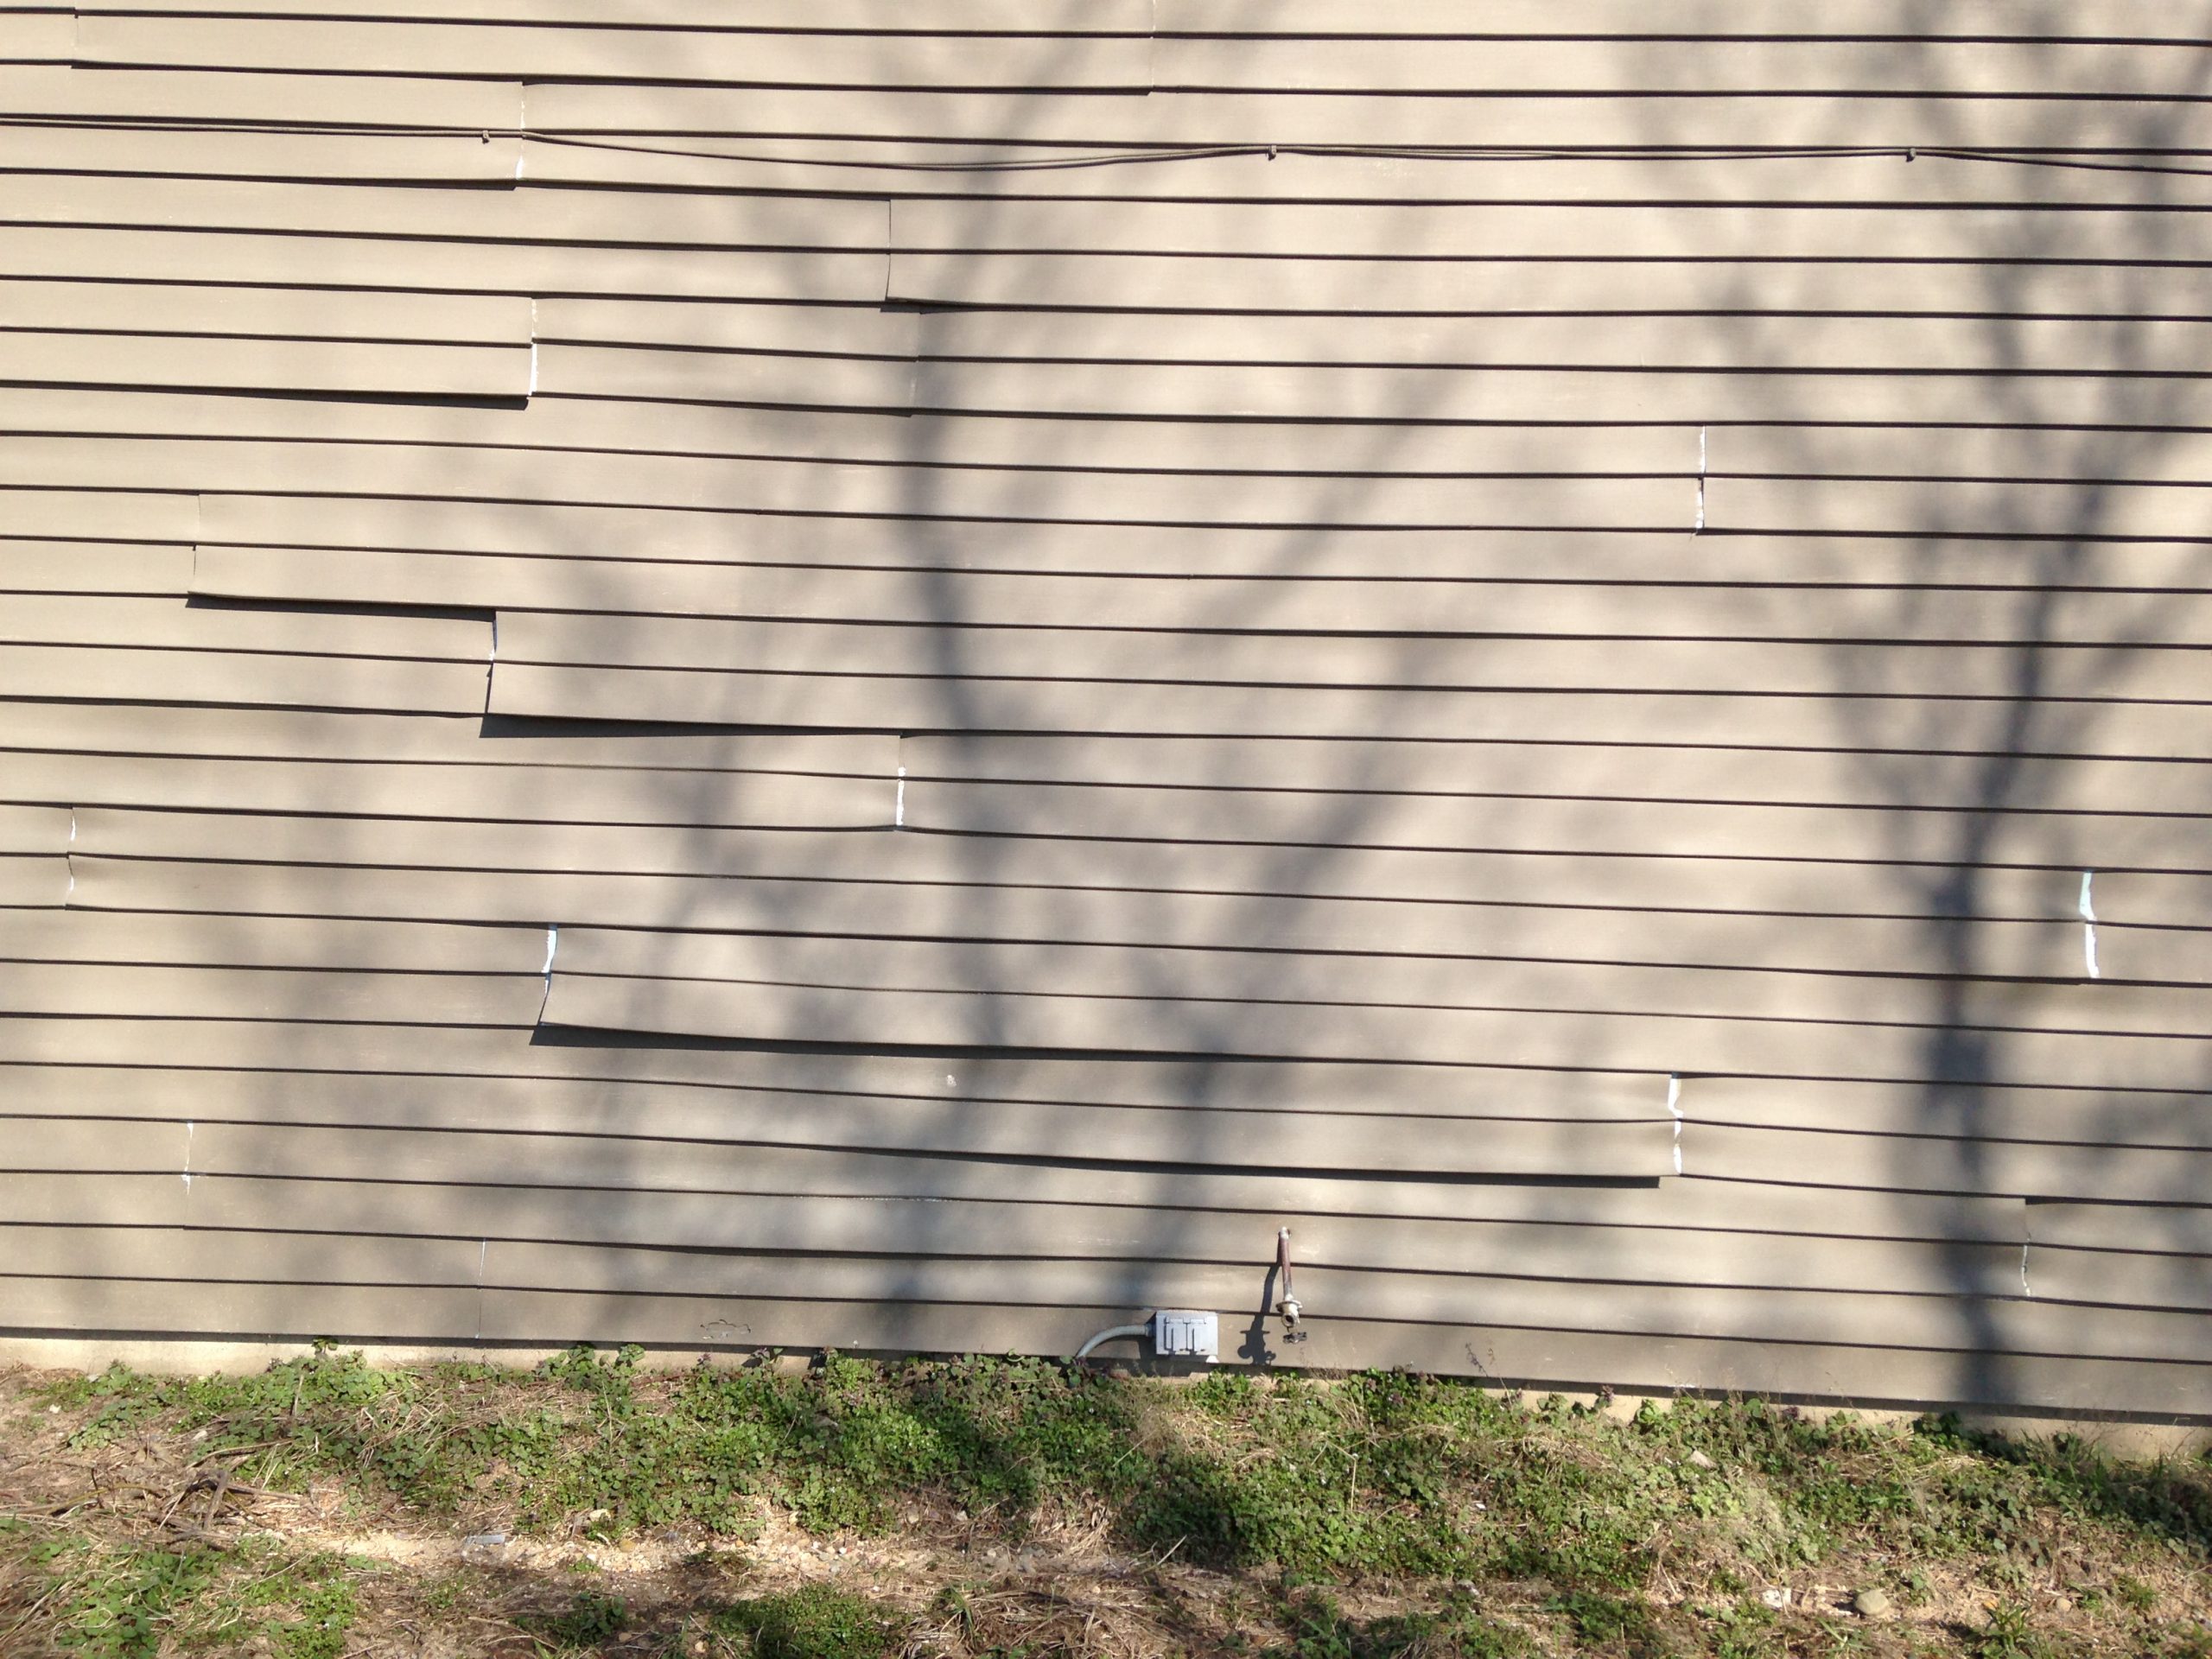
Vinyl siding was supposed to last forever. But . . . it doesn’t. At least the color doesn’t. After a while, houses with vinyl siding can start to look tired, faded, boring . . . old. Well, Benjamin Moore’s Revive is a paint specifically made for vinyl siding. It sticks remarkably well and is available in a range of over 300 vinyl safe colors! It’s definitely worth a look if you’d like to change the entire look and feel of your home this summer!
That and more on this episode!
Listen now:
Show notes for episode 004:
Did you know you can paint vinyl siding? Kevin Hermann dropped by our studio to discuss Benjamin Moore's Revive Vinyl Siding Paint and gave us some tips to get the job done right. The best news is, there are over 300 "vinyl safe" colors to choose from! These colors will allow you to choose a color that is darker than your original siding, without warping your siding. A whole new world of possibilities has been opened!
Kevin also stressed the importance of proper prep/cleaning before painting. Revive does not require a primer if you take right the steps to clean the siding first. Check out our blog post for everything you need to know about getting your siding ready for paint.
Browse Revive's Color Palette of over 300 Colors!

Kevin Hermann is a Territory Representative for Benjamin Moore. He has been with the company for 26 years and has a wealth of paint knowledge. He answers questions from what type of paint to use for a specific project to application tips. And if you really push him, he might even tell you a fish story or two!
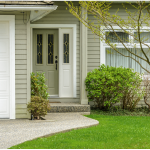
How often do we drive through a neighborhood and slow as we come to a house with a beautiful front yard? We sigh heavily as we dream about that house.
But wait! This can be your house. No need to dream! These curb appeal projects are simple and inexpensive. They range from cleaning the exterior of the house to landscape primping. We've got 4 projects that don't take a lot of time or money. And if you go through these and are STILL looking for more ideas, listen to our podcast about curb appeal, check out our front door color Pinterest board, or read our blog post that gives you 6 more inexpensive projects.
We also found this great HGTV slideshow with before and after curb appeal photos. It proves how far a change in landscaping (often minimizing it!), some paint and a little color will go!
When it comes to snowblower maintenance, how many of us just fill the gas tank and push it to the back of the garage to collect dust for the next 6 months? Lots of people! But there's more to it.
If you have limited time or energy, we have the one step you ABSOLUTELY should not bypass. If you have a bit more time to spend, we have 4 other things that will help your snowblower start the first time you pull the cord when faced with a foot of snow next winter. We also have a tip that will save you from being like Dan and annoying your neighbors for the better part of four hours!

Imagine this scene: you are shoveling your driveway after a long day at work. Everything is fine until you are stopped abruptly when the blunt end of your shovel tries to impale you through the stomach. Dan is all too familiar with this feeling.
But the pain is over! Andy Van Dyke from VDC has the solution for those pieces of sunken concrete. The best news is, it's way cheaper than we would have imagined.
 Painting your vinyl siding isn’t typically a project we’d consider “low-budget”. Yet, in the grand scheme of things, it really is. Here’s why: painting the vinyl siding of your home will produce a remarkable change. In fact, not many outdoor projects (if any!) are going to produce as profound a change in the curb appeal of your home. So, the project produces amazing results. And to get those amazing results, you typically only have to spend anywhere from $300 – $600 on paint. Add some supplies and figure in your time to do the work and you’re still talking about a relatively low expenditure to produce the biggest change possible without remodeling or re-siding your home. So, relatively speaking, it’s inexpensive when you consider the results!
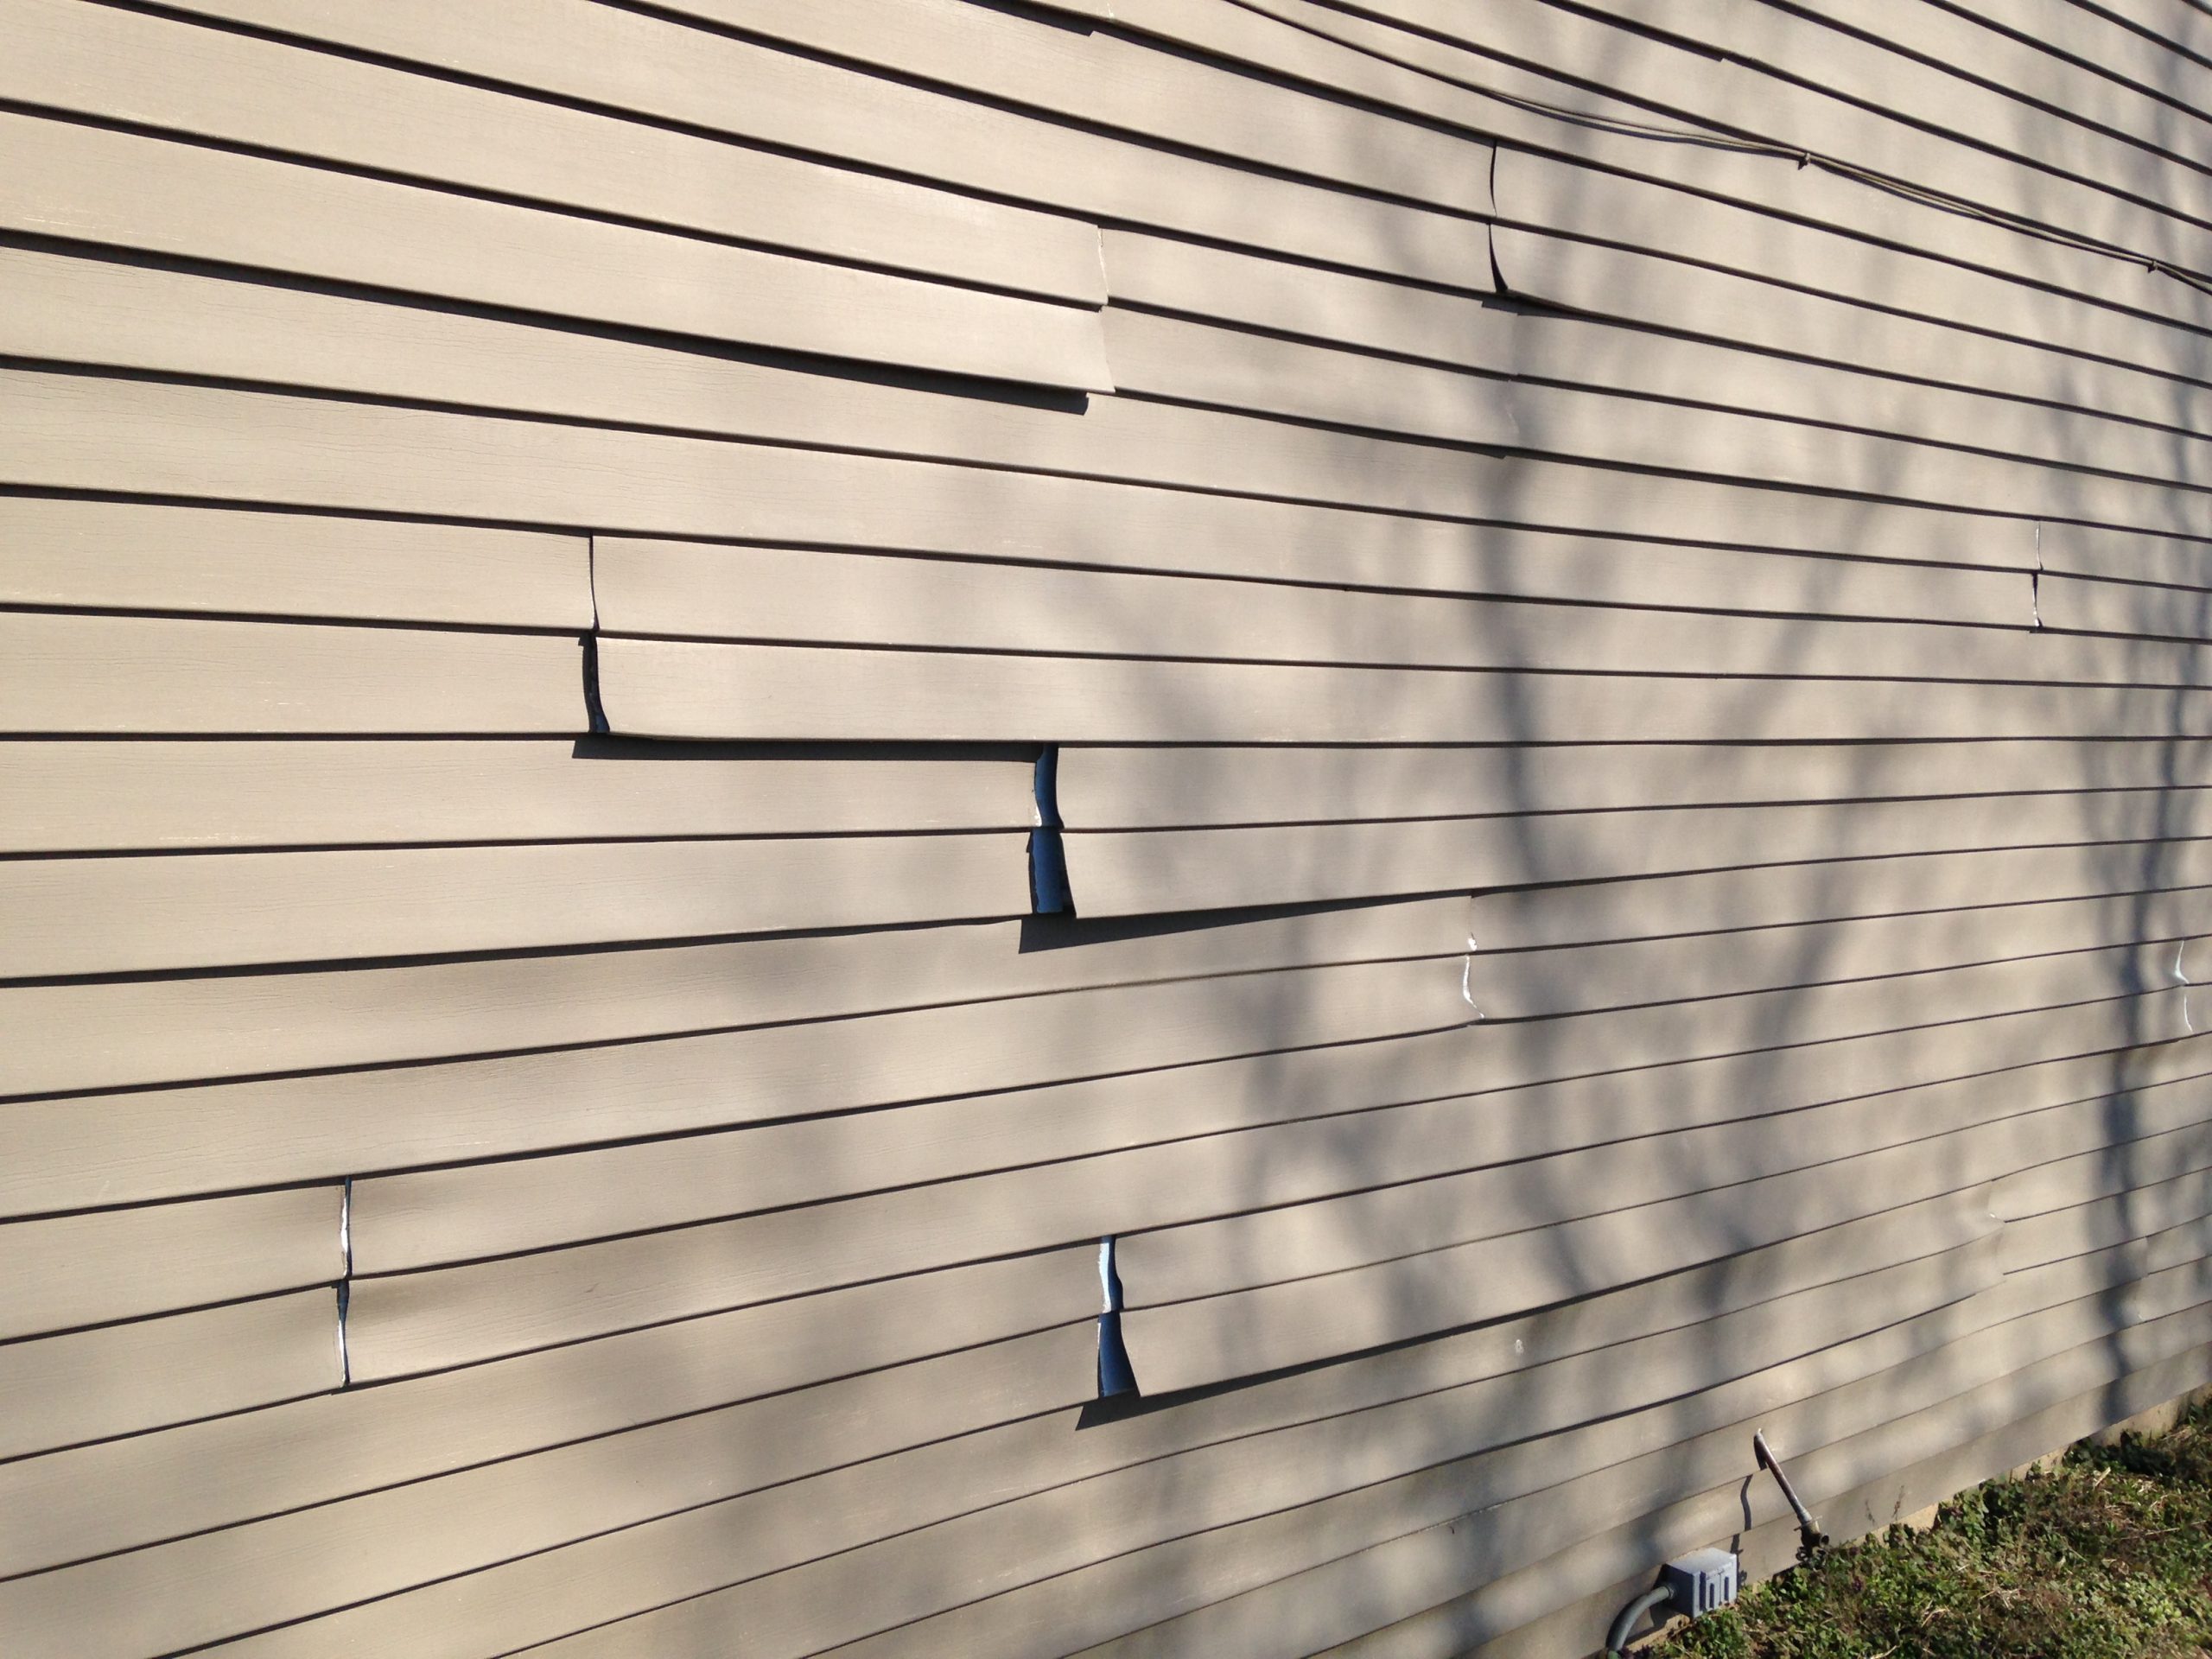


 Dave Stegink is in his 4th year doing inspections full time for
  Kickout Flashing
 Water stains on a ceiling are depressing! They look terrible and worse, they are proof positive that there's a bigger issue at work in our homes. Maybe it's a leaky roof, maybe a burst pipe, or maybe we get lucky and it's just overeager bathers! On top of that, many of us have painted over a water stain only to see it almost magically bleed back through our new coat of paint. They're definitely frustrating. But the good news is, they can be easy to deal with. You just need to know the right way to approach the project and the right products to use!
 Selling your home isn't something most of us do on a regular basis. As a result, we don't always know the best ways to go about it. Personally, I'm always interested in what I should update and what's not worth the expense. Today, we're in the studio with realtor Roger Nyhuis from
 Mosquitoes are a giant pain in the neck! You just get your deck looking great and find that you can't even be out on it for more than 10 minutes at a time. And all of that time is spent running in circles, waving your arms, and trying to present them with a moving target.
 It's Spring and that means we're going to be working on our lawns soon enough. Is your lawn equipment ready? What do you need to do to make sure it's ready to go for the season?
We sit down with Brian Stacey from
It's Spring and that means we're going to be working on our lawns soon enough. Is your lawn equipment ready? What do you need to do to make sure it's ready to go for the season?
We sit down with Brian Stacey from