Color Me Home Episode 1: Finding Inspiration

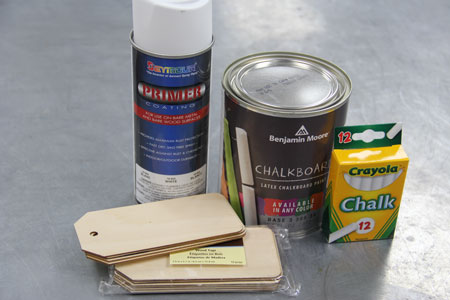
Welcome to Color Me Home! As a quick introduction, Color Me Home is a podcast about painting, decorating, creative projects, and whatever else happens to come up in the conversation. It’s hosted by Betsy Thompson and Dan Hansen from RepcoLite Paints.

This week Betsy and Dan discuss how to find the inspiration for your next color scheme. It often seems overwhelming to pick colors when you find yourself standing in front of a color display that offers over 3,000 varying tones and shades! But the good news is that finding inspiration is much easier than you might think!

Episode Outline

  • Nature (1:24)
  • Our Expanded Neighborhoods (3:24)
  • Our Existing Decor and Furniture (12:20)
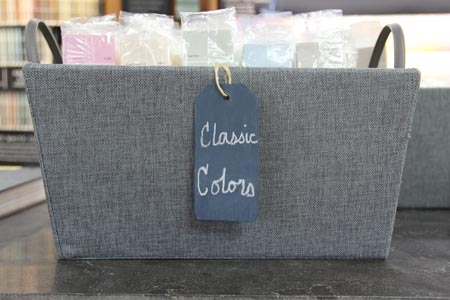
  • Our Closets (15:54)
  • Magazines (19:07)
  • Your Own Photos (21:43)
  • Online Tools and Sources of Inspiration (25:15)
  • The Unusual and Unexpected (35:30)

Links for Online Tools and Sources of Inspiration

We spoke about a number of sites that we recommend for finding inspiration. Here are the links for everything we mentioned!

  • Design Seeds (browse 1000’s of photos/color schemes)
  • Houzz (browse 100’s of 1000’s of photos for inspiration)
  • Pictaculous (upload your own photos to create color schemes)
  • Easy RGB (to convert web-specific colors into Benjamin Moore color numbers!)

And here’s one more site we strongly, strongly recommend:

Palette Generator.com

palettegenerator
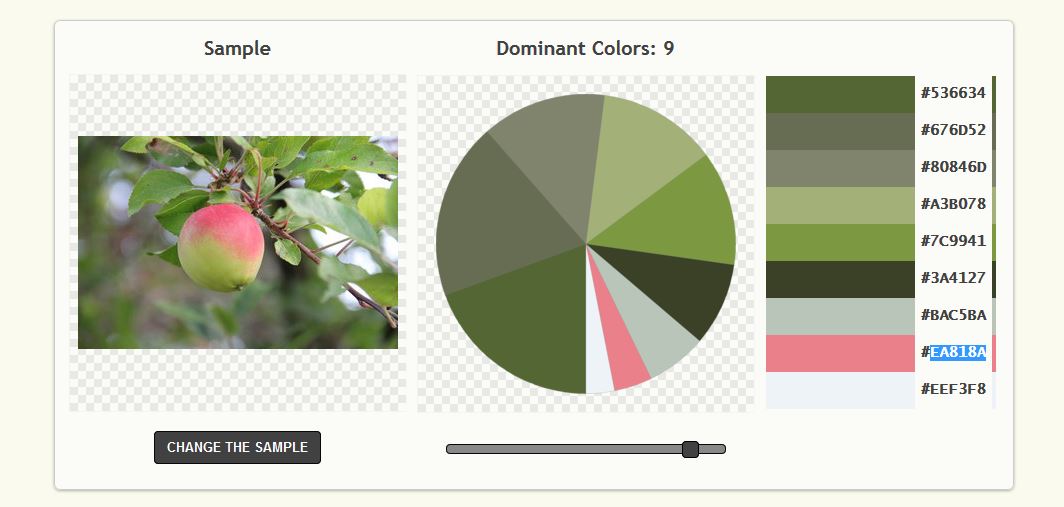
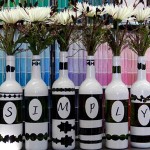
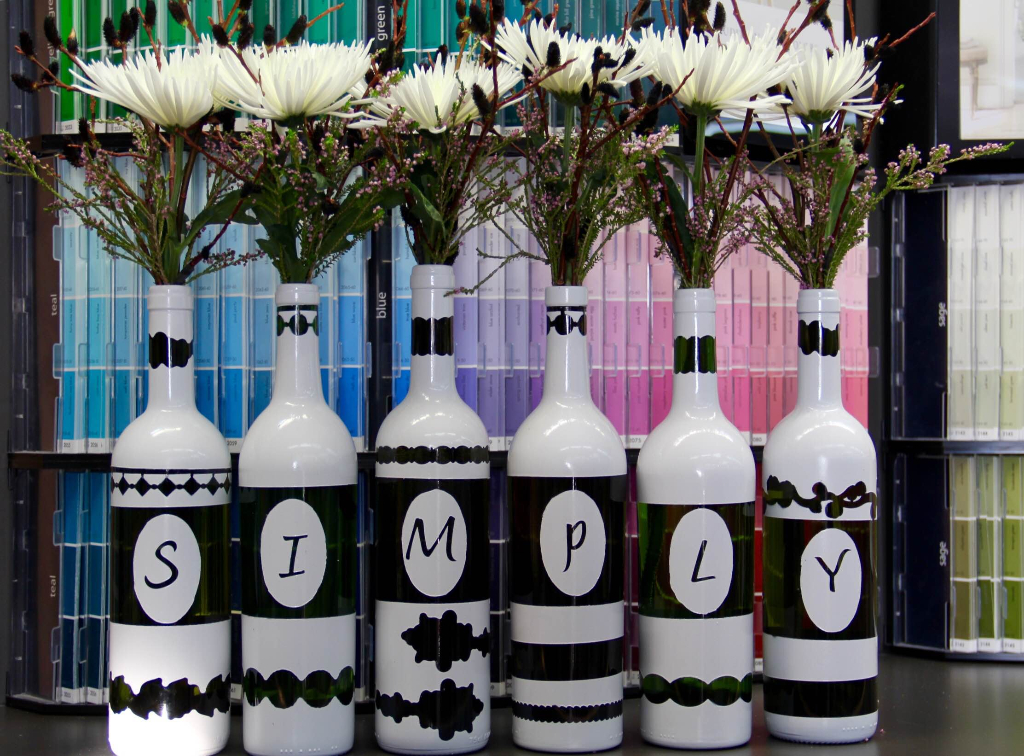
This site completely replaces Pictaculous (mentioned above). If we’d known about this one before we recorded our podcast, we’d have included it and left out Pictaculous. And here’s why: it’s way easier, it provides much better information, and, best of all, you can mark off a section of the photo you uploaded and only draw colors from that location! It is easily one of the best online sources for finding inspiration you’ll ever use–especially when you use it in conjunction with the EasyRGB site mentioned above. Below are just a few examples of color schemes Betsy put together based on her own photos and the color recommendations from palettegenerator.com!

The colors above came together quickly! And it was fun to do. Sure, the colors recommended by PaletteGenerator.com needed to be adjusted and toned down somewhat, but it still gave us some direction to get started. In fact, we both agreed that using the website was much quicker than even taking the photo to the store and trying to find colors to match. It’s a powerful tool to help you go from 1000’s of options down to just a few in literally seconds!

Dress for Success: 3 Tips for Your Next Paint Job!

bigstock-Man-s-Legs-83108792_webA number of years ago, in the middle of the night, we heard something that sounded like gunshots outside our window. Well, needless to say, the second I heard the “shots”, I hopped out of bed, ready for action. Fight or flight, right?

Anyway, I was standing there, running through all the potential scenarios in my head when I looked down and realized I was in my underpants.

Well, this wouldn’t do.

See, in all of the scenarios I’d imagined–fighting off burglars, bustling my family to safety amidst a hail of gunfire–in none of them was I dressed in my underpants.

And so I went straight to my dresser and started rummaging around for my jeans.

“What are you doing?” My wife’s whispered voice cut through the darkness.

I could see her sitting in the bed, staring at me. “I’m looking for my jeans.” Duh. I closed the drawer I’d just searched and opened the next one down.

“Why?” her whisper was sharp and cutting, laced with anxiety and a little bit of fear. Gunshots, you know.

“Because I’m in my underpants,” I said without turning around. Time was of the essence. “Do you have any idea where that one faded pair with the hole in the knee is?”

There was a sudden thud on the floor next to me and she said, “There! There’s the pair that was sitting on the nightstand.” Her words were tense, strained.

I picked them up, but they were my fancy jeans. They were stiff and a little uncomfortable. And, like I said, a little too fancy.

“Nah. I want my faded pair.”

There was silence for a second and then her whispers filled the void: “Seriously? You need a specific pair of jeans to go fight off a burglar?”

I just shook my head. She didn’t get it. But everyone knows you can’t fight off a burglar in fancy pants or underpants. You need action pants. It’s really not that complicated.

And that’s when I found them. Relief washed over me. I yanked them out of the drawer and stepped into them, instantly feeling cooler and much more ready for whatever was happening.

Ten minutes later, it was clear that there was no burglar lurking. Nobody shooting. It was just fireworks. It was honestly a bit of a let down.

As I pulled off my action pants and placed them back in my dresser, it hit me that there was a paint point in all of this. I just never knew what it was until now.

See, I’ve been discussing a number of painting tips for the Do-It-Yourselfer on our daily little radio blurbs. (You can click here to listen!) And one of the recommendations I’m making is to dress for the part whenever you paint.

Here’s what I mean:

1. Wear old clothes.

This is a no-brainer. I get that. And yet . . . it happens all the time. We tackle a small project thinking we’ll just be careful. 10 minutes later, we’re standing at the sink doing everything we can to rinse blue paint out of a nice shirt. Or a good pair of shorts. I’ve personally done this countless times and have resigned countless clothing items to the “can’t-wear-that-to-Church-again” bins. Instead of accidentally damaging good, expensive clothing, take the extra few minutes–even if the project is a quick one–to throw on some old clothes.

2. Wear the Right Clothes.

OK. The first recommendation was about wearing old clothes. What I’m talking about here revolves around wearing the right ones. And what I specifically mean is this: pick up a pair of painter’s pants or painter’s shorts at a RepcoLite, Port City Paints, or Snyder Paints store. These things come with extra pockets for putty knives, screwdrivers, brushes and other tools you’ll need when you’re working. If you’ve ever worked through a paint project and spent a fair amount of time running around trying to remember where you set your putty knife down or left your screwdriver, then check these out. They’re not very expensive and they’re definitely worth it if you tackle more than 1 or 2 painting projects in a year.

3. Dress your room appropriately.

Finally, the last tip that’s even remotely connected to my jeans story is this one: dress the room appropriately. And what I mean by this is simple: purchase some dropcloths and use them! Cover your furniture, cover your floors, protect your decor. Sure, it takes a few extra minutes, but the minute that first drip falls from your brush and lands on a plastic sheet instead of your couch, you’ll realize how smart you were!

And there you go. 3 Tips to help you dress for success on your next paint job! Give them a try! And if you have any other great ideas, leave them in the combox!

Paint Behind the Toilet Without Pulling It (Or Even Removing the Tank!)

030916_wb_5
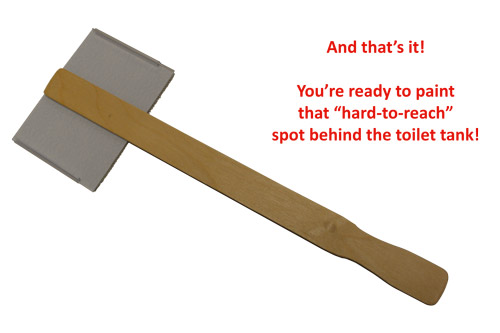
Years ago I tackled a bathroom remodel and in all my wisdom, I pulled the toilet out myself. At 10:30 at night. Before having the kids use it. It was a nightmare.

Oh, there were so many things that went wrong on that particular project, I can’t even really begin to list them. But most of the pain that I felt revolved around that stupid toilet. See, it was the only one in our house and the minute I pulled it, the kids started showing up at the doorway. The toilet, at that point, was sitting in the hall, and it wasn’t long before they were eyeing it with interest, or perhaps desperation, as they danced.

Suddenly, the pressure was on. I had to get the toilet back in ASAP. And of course, doing exactly that was, perhaps, the most painful home improvement experience I’ve ever had.

My wife was helping me and every time we’d try to set the toilet down, the toilet bolts would fall through the floor and land in the basement.  I’d run down, stuff them back up through the holes in the basement ceiling/bathroom floor and then, before I’d get 10 feet away, I’d hear one ping off the concrete. My wife’s muffled “Sorry!” would drift down from the upstairs and I’d do the whole thing again. And again and again.

We struggled like this for over an hour.  We argued.  We laughed.  We fought.  We nearly cried.  Maybe we did cry.

We cried. Let’s just be honest. At least I cried. All in all it was horrible and I resolved never to pull the toilet out again.

And that’s why this tip about how to paint behind the toilet without pulling the toilet or even taking the tank off is so intriguing to me.

After all, painting in a bathroom is bad enough. It’s crowded. Tight. And then, to top it all off, at some point in the project you’re going to need to find a way to wedge yourself alongside the toilet, hug the bowl, and then do your best to reach around with a roller or a brush and slop some paint on the wall behind the tank. If you’ve ever tried to do this, you know how much fun it is.

But here’s a tip that will make it easier the next time you try.

Here’s What You Need:

1. Replacement Pads for a Shur-Line Edger. ($3.45 for a 2-pack at RepcoLite)

2. Some double-stick tape (or duct tape, or hot glue, or something sticky).

3. A stir stick.

Here’s What You Do:

030916_wb_2b

1. Gather your supplies.

030916_wb_3

2. Affix the double-stick tape to the back of the edger pad.

030916_wb_4

3. Affix the stir stick to the edger pad using the tape.

And that’s it. Once you’ve done that, you’ve got a thin, easy to maneuver “paint brush” of sorts that will allow you to reach behind the toilet tank and apply your paint without having to remove the toilet or the tank! It’s a great time saver and it’s going to cost you, at most, $5.

If you’re going to give it a try, here are a couple other tips to make sure the project goes quickly and smoothly:

1. Don’t forget to clean behind the tank first. You could use a rag on a stir stick to reach back there and remove the cobwebs.

2. Wrap the tank with a garbage bag and tape it tight, so it’s not loose or in your way. Then, you can get behind there with the tools we talked about and it won’t matter if you bump the tank.

From Bottle to Vase in 6 Easy Steps

paintedbottles_030716_4
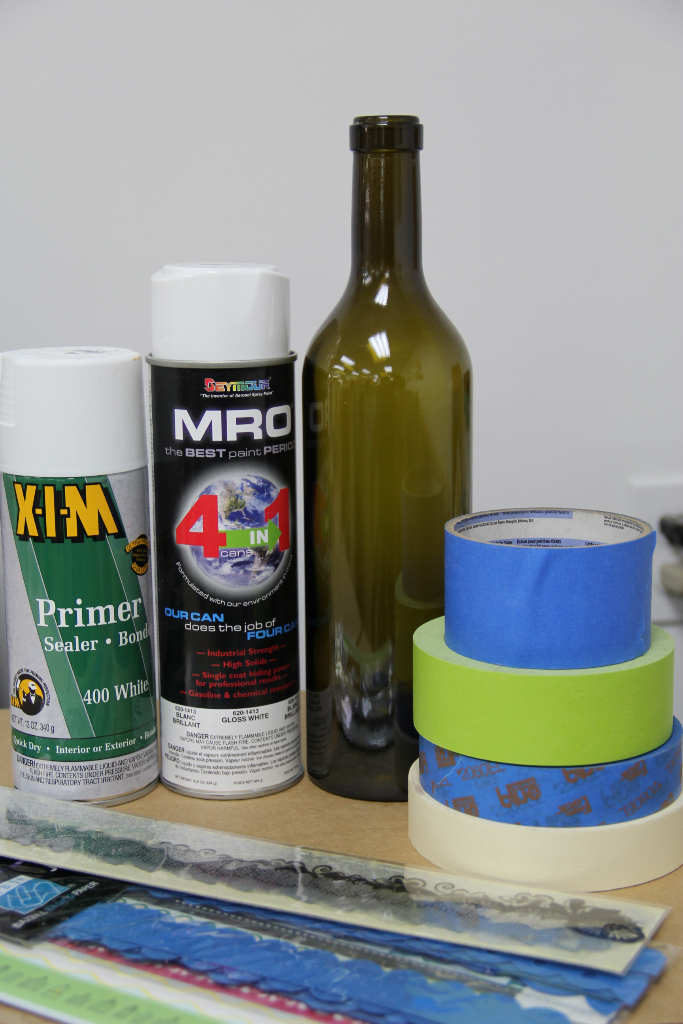
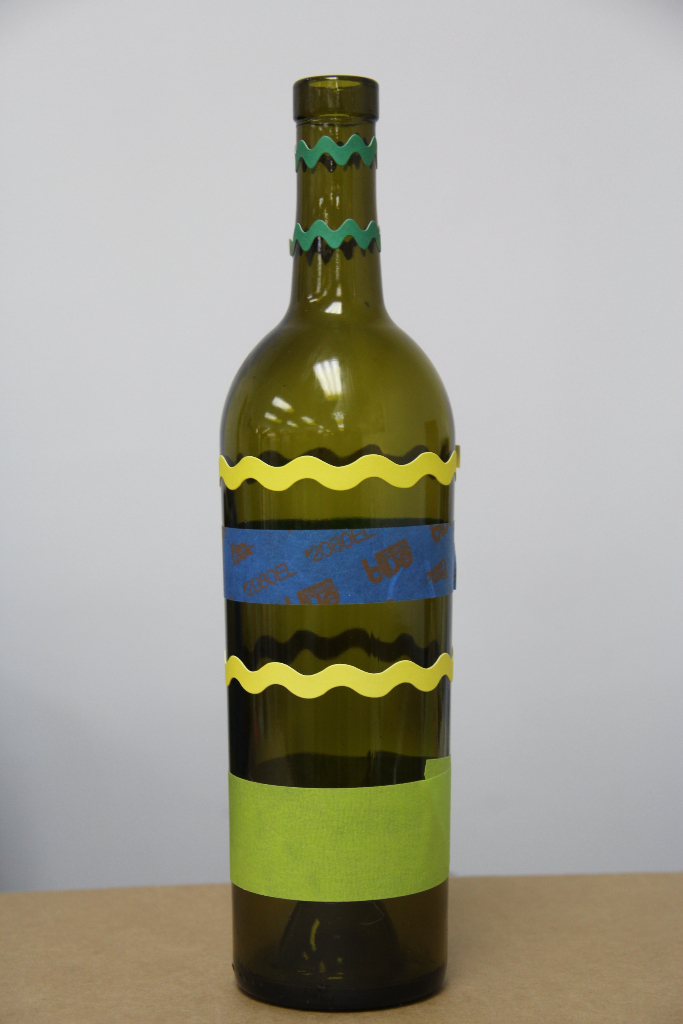
If you’re into decorating and if you’ve got even the slightest amount of creativity, you’re always looking for a project. Something outside the norms, something a little different, little things that will set your home and your decorating apart from everyone else.

Well, if that’s you–if you’d love a quick project with a huge payoff–then read on!

Betsy Thompson, at our 17th Street Store, came up with the following project. And I’ve got to admit, when I walked by and saw her working on this in the store, I was intrigued. In my opinion, it’s one of those perfect projects: easy, inexpensive, and there’s no limit to what you could do with it.

Now, the concept behind this project is simple. Betsy taped off or masked off sections of the bottles and then painted them. Once the paint was dry, she removed the tape or masking to reveal areas that received no paint, thus creating the designs.

To do this on your own, all you need to do is follow these simple steps:

1. OBTAIN SOME BOTTLES

The bottles Betsy used for our project are a dark green. Any color glass would work, but clear glass might not provide you with quite the same contrast in the finished look.

2. CREATE YOUR DESIGNS

To create your designs, you can use tape, stickers, or whatever else you can come up with! In her project, Betsy used a combination of masking tape and scrapbooking border stickers. Simply apply the stickers and tape over the bottles in whatever patterns you would like to create. Get creative here and don’t be afraid to experiment with a few different looks!

3. IT’S TIME TO PRIME

Glass is a tough surface to get paint to bond to, so it’s necessary to use a special primer. Betsy used XIM primer to solve this problem and to give the finish paint a good surface to adhere to. XIM is what we call a “bonding primer” and is designed to bond to tough-to-paint surfaces like porcelain, tile, glass, plastics, and more. So it’s the perfect primer for this project.

4. SPRAY ON THE FINISH PAINT

When the primer is dried (typically anywhere from 20 – 40 minutes), it’s time for your finish paint. Betsy used white spray paint. She applied a couple coats to ensure solid coverage and then left it to dry.

5. REMOVE THE STICKERS

This can be somewhat tricky and requires a little patience to do it well. You may want to carefully run an X-Acto knife along all the edges to cut through any paint film that might have formed over both the bottle and the tape. Failing to do this could result in peeling paint off the bottle when you remove your tape. At any rate, carefully remove the tape, the stickers, or whatever it was you used to mask the bottle off.

6. A LITTLE CLEANUP and then ENJOY!

Once that’s all done, you’re basically finished! You may need to clean up any areas where the paint bled under your tape or stickers, but you can do that with your X-Acto knife or, if you start soon enough, a little of the proper cleanup solvent on a Q-tip.

This is a simple project with a huge payoff!  You create a very unique piece that’s perfect for displaying cut flowers, dried flowers, or just sitting empty on a shelf.

Give it a try and see what you can come up with. Experiment with different designs and paint colors. Get creative and post your projects in the comments section below! We’d love to see what you’re working on.

Popcorn, Get Your Popcorn!

popcorn_ceiling1

White, yet iridescent snow hovers lightly over the streets and surrounding homes of west Michigan, resulting in a pictures phenomena. A canopy of matured, snow-covered trees lines the drive leading to our home, and is accompanied by a creek that acts as a point of reference to visitors who have made it to the bridge. Right now the bridge still has a thin layer of ice on it, while beneath, the creek, glistening by the cold winter’s rays, still runs quietly past the snowy banks.

By early February, rumor spread that Spring may be traveling north earlier than expected, and for myself, the earlier the better. I’ve never really have been cut out for cold temperatures. Although Winter brings beauty and relaxation, with warmth comes the opportunity for easier transportation and the psychological persistence and motivation to accomplish greater tasks.

But Spring’s not here just yet. And there’s plenty of work to be done in our home renovation. Still, I can’t help but be amazed at the progress we’ve made. Six months have passed since we started this project and everything seems to be going as planned. We’ve replaced shingles and flashed the roof surrounding the fireplace. We’ve expanded the living room by replacing a load bearing wall with a sturdy beam. We’ve added recessed lighting to the living room and front office. And finally, we’ve replaced the plumbing in the upstairs master bathroom to accommodate a walk-in rain shower.

With the cold of Winter still to pass, I find myself thinking about other interior projects that I can tackle. Now, I have to say, being one who has an obsession with “DIYing,” I pay attention to many home improvement shows. One of my favorites, and I’m sure many of you can agree with me on this, is “Fixer Upper.” On that show, in Episode after Episode, I started noticing a trend regarding ceilings. Almost every time they encountered a popcorn ceiling, the solution was the same: All that texture has to come down!

The more time I spent fulfilling my winter-bound projects, the more I found my eyes drawn upward to our popcorn ceilings. From there, it didn’t take long before that “Fixer Upper” solution was playing in my head: All that texture has to come down!

I discussed this with my boyfriend Patrick, and discovered that he didn’t necessarily agree with me. He wasn’t convinced that the popcorn was an eyesore. Of course, he was eventually overruled! However, the only way it was coming down was if I did it myself. He wanted no part of the hassle and mess, and I didn’t blame him. After all, I didn’t know what to expect, either.

Thankfully, my younger sister Leah was a gracious help, and we decided to tackle the project.

To alleviate some of the mess, and to make pick-up a little easier, first prepared the floors with Husky 3MIL plastic sheeting. The same garden sprayer we used to peel off wallpaper was our biggest asset: Two gallons of very hot tap water were added to the sprayer. We then sprayed that water in circular motions on the ceiling’s popcorn texture. (Please Note: Enough water should be sprayed on the ceiling to penetrate the popcorn texture, close to saturation, but not to the point that water is dripping onto the floor.) After five to ten minutes has passed, Leah and I each used a 6” Hyde joint knife at a forty-five degree angle to scrape the popcorn onto the floor below.

I found that scraping popcorn was extremely easy, and actually, quite fun! The texture scraped off like butter when wet, and turned into a muddy, paste-like texture that was easily manageable.

In the end, I was extremely pleased with how our ceilings turned out. Leah and I were able to remove popcorn from four rooms and a hallway in only a day’s time. Now we’ve got a smooth drywall surface that’s ready to be touched up, primed, and painted. Which is a project I’ll save for another post!

Supplies Used:

  • Hand held 2 gallon garden sprayer
  • 6″ Hyde Joint Compound Knife
  • Husky 3 MIL Plastic Sheeting
  • Laddeer
  • Extremely hot tap water
  • Large garbage can for cleanup!

Chalkboard Paint Tags in 5 Easy Steps!

Benjamin Moore’s Chalkboard Paint is a versatile product that can really bring out the “creative” in us! Here’s an interesting project by Betsy Thompson from our 17th Street Store that might get you thinking about some different ways you can use Chalkboard Paint in your own home!

Chalkboard Storage Tags

chalkboard_paint5

STEP 1

The first step is to gather all your supplies. You’ll need some wooden tags from a local art supply store as well as some light-colored chalk designed specifically for chalkboards. Finally, you’ll want to stop at RepcoLite for some primer, a quart of Benjamin Moore’s Chalkboard Paint (in whatever color you want!), and a sheet of 180 grit sandpaper.

chalkboard_paint4

STEP 2

The second step is to apply primer to the wooden tags. In our project, we used a spray primer to minimize brush strokes or roller marks on the tags and because it’s a little quicker!  Now, even though “Primer-and-Paint-in-one” products are very popular, we still recommend the primer step in a project like this. The reason is that bare wood can be exceptionally porous. The helps fill in the wood grain and creates a smooth surface for the Chalkboard Paint.

STEP 3

The third step involves a light sanding of the primed tags. Depending on how quickly your particular primer dries, you might be able to do this quite soon after application. At any rate, when the primer is sufficiently dry, lightly sand the surface to knock down any raised wood fibers. When finished, wipe the tags clean with a damp cloth. Don’t introduce a lot of water to the surface. We’re only talking about using a damp rag to get the dust that you created from the sanding step off of the surface.

chalkboard_paint3

See Corona Excalibur Brushes in our Shop!

STEP 4

The fourth step is to apply the Chalkboard Paint. Once the tags have dried from step four, apply one or two coats of Benjamin Moore Chalkboard Paint. In our project, we used a high quality Corona Excalibur Brush for application. However you accomplish it, Whether rolling or brushing, make sure you use a high quality applicator. Cheap brushes will be more likely to leave brush strokes (or release bristles into your finish). Cheaper roller covers will provide you with a rougher, orange-peel, texture.

chalkboard_paint2

STEP 5

The final step is to condition the chalkboard surface. After allowing the painted area to cure for at least 3 days, rub the entire chalkboard surface with a piece of white chalk. After you’ve erased that, you’re chalkboard surface is ready for use!

chalkboard_paint1

Benjamin Moore’s Chalkboard Paint is available in any color in the Benjamin Moore spectrum. So, get creative! Think outside the box and see what you can come up with!

Some Hints:

  • For erasing, we recommend using a clean, damp cloth or paper towel. We do not recommend using a chalkboard eraser.
  • You’ll acheive the best results when using light-colored chalk designed for use on chalkboards.