On today’s episode, Betsy and Dan discuss some inexpensive projects you can tackle to update your kitchen! They discuss a quick way to make your old cabinets look new again, a way to cover up those old, dated tile backsplashes, and much more!
View our Pinterest Board for Episode 10!
Episode Outline
- The Gel Stain Fix! (0:52)
- Can I Lighten My Stained Cabinets With Stain? (5:49)
- Painting Your Cabinets (7:10)
- Get Creative! (20:42)
- How Do I Apply the Paint? Do I Spray It? Brush It? Roll It? (24:08)
- Replace the Hardware! (27:01)
- Update That Dated Tile Backsplash! (28:50)
- What Finish Should I Use on the Cabinets or the Backsplash? (33:16)
The Gel Stain Fix
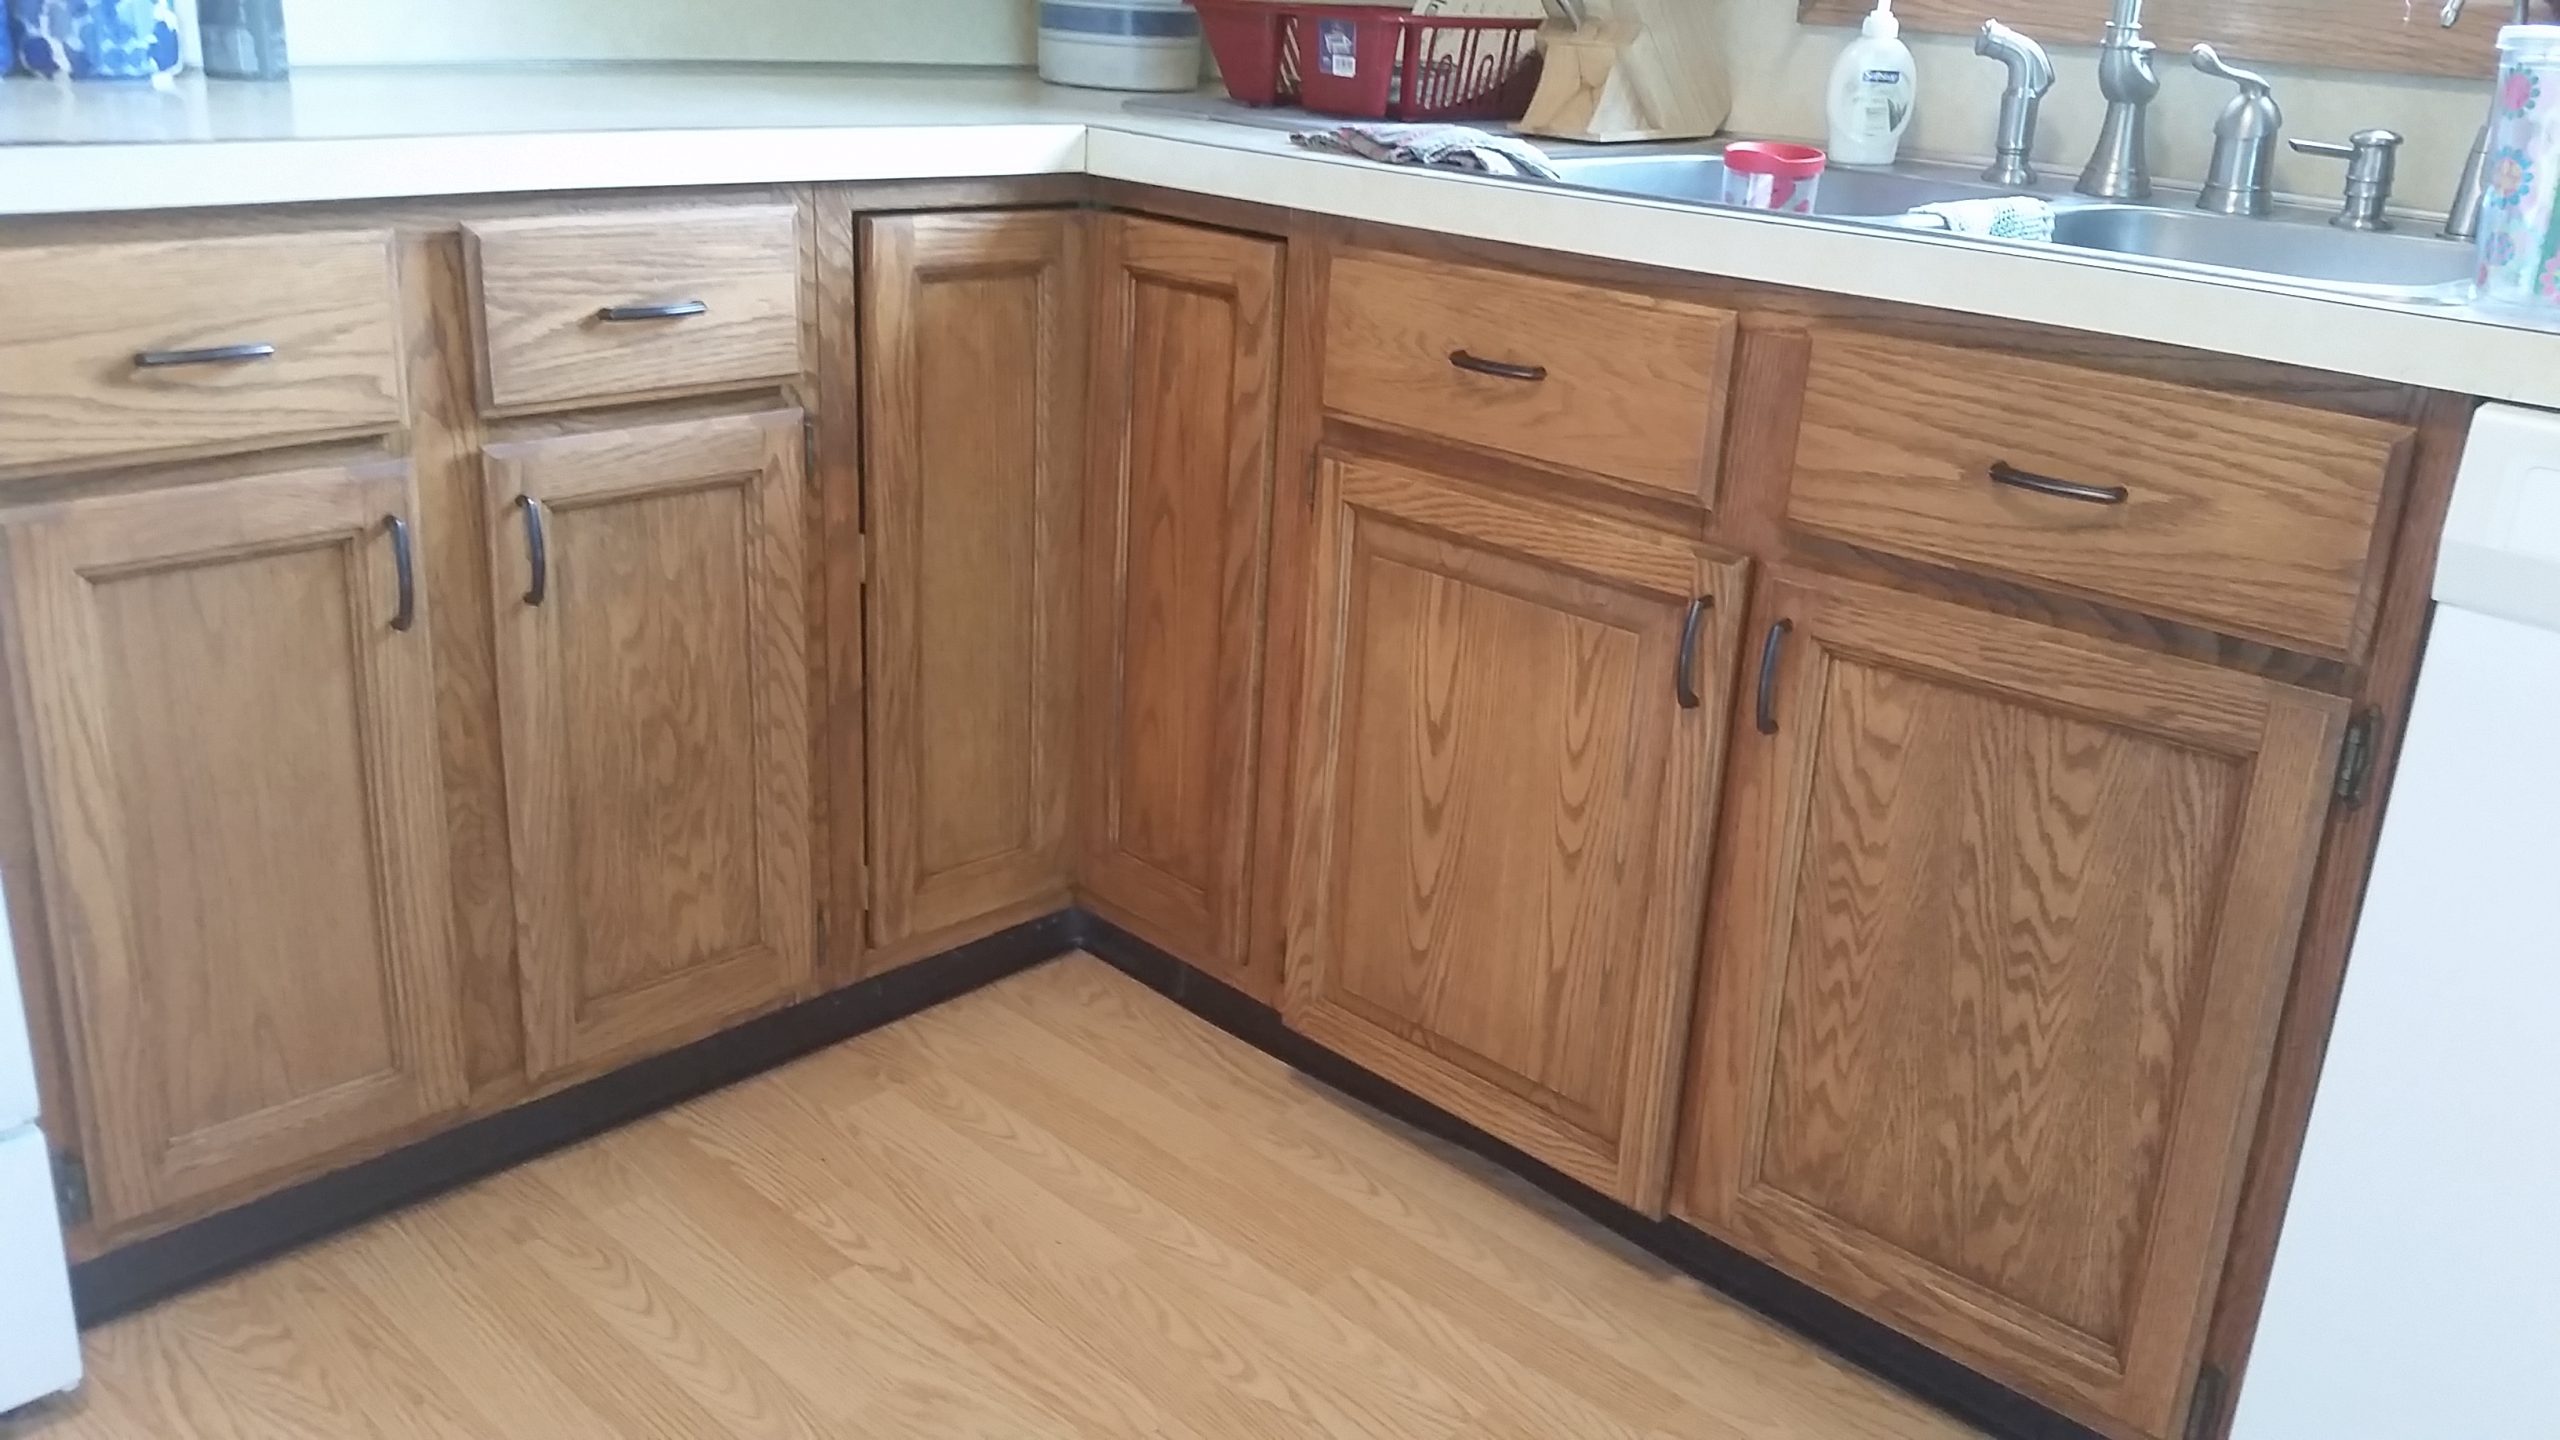
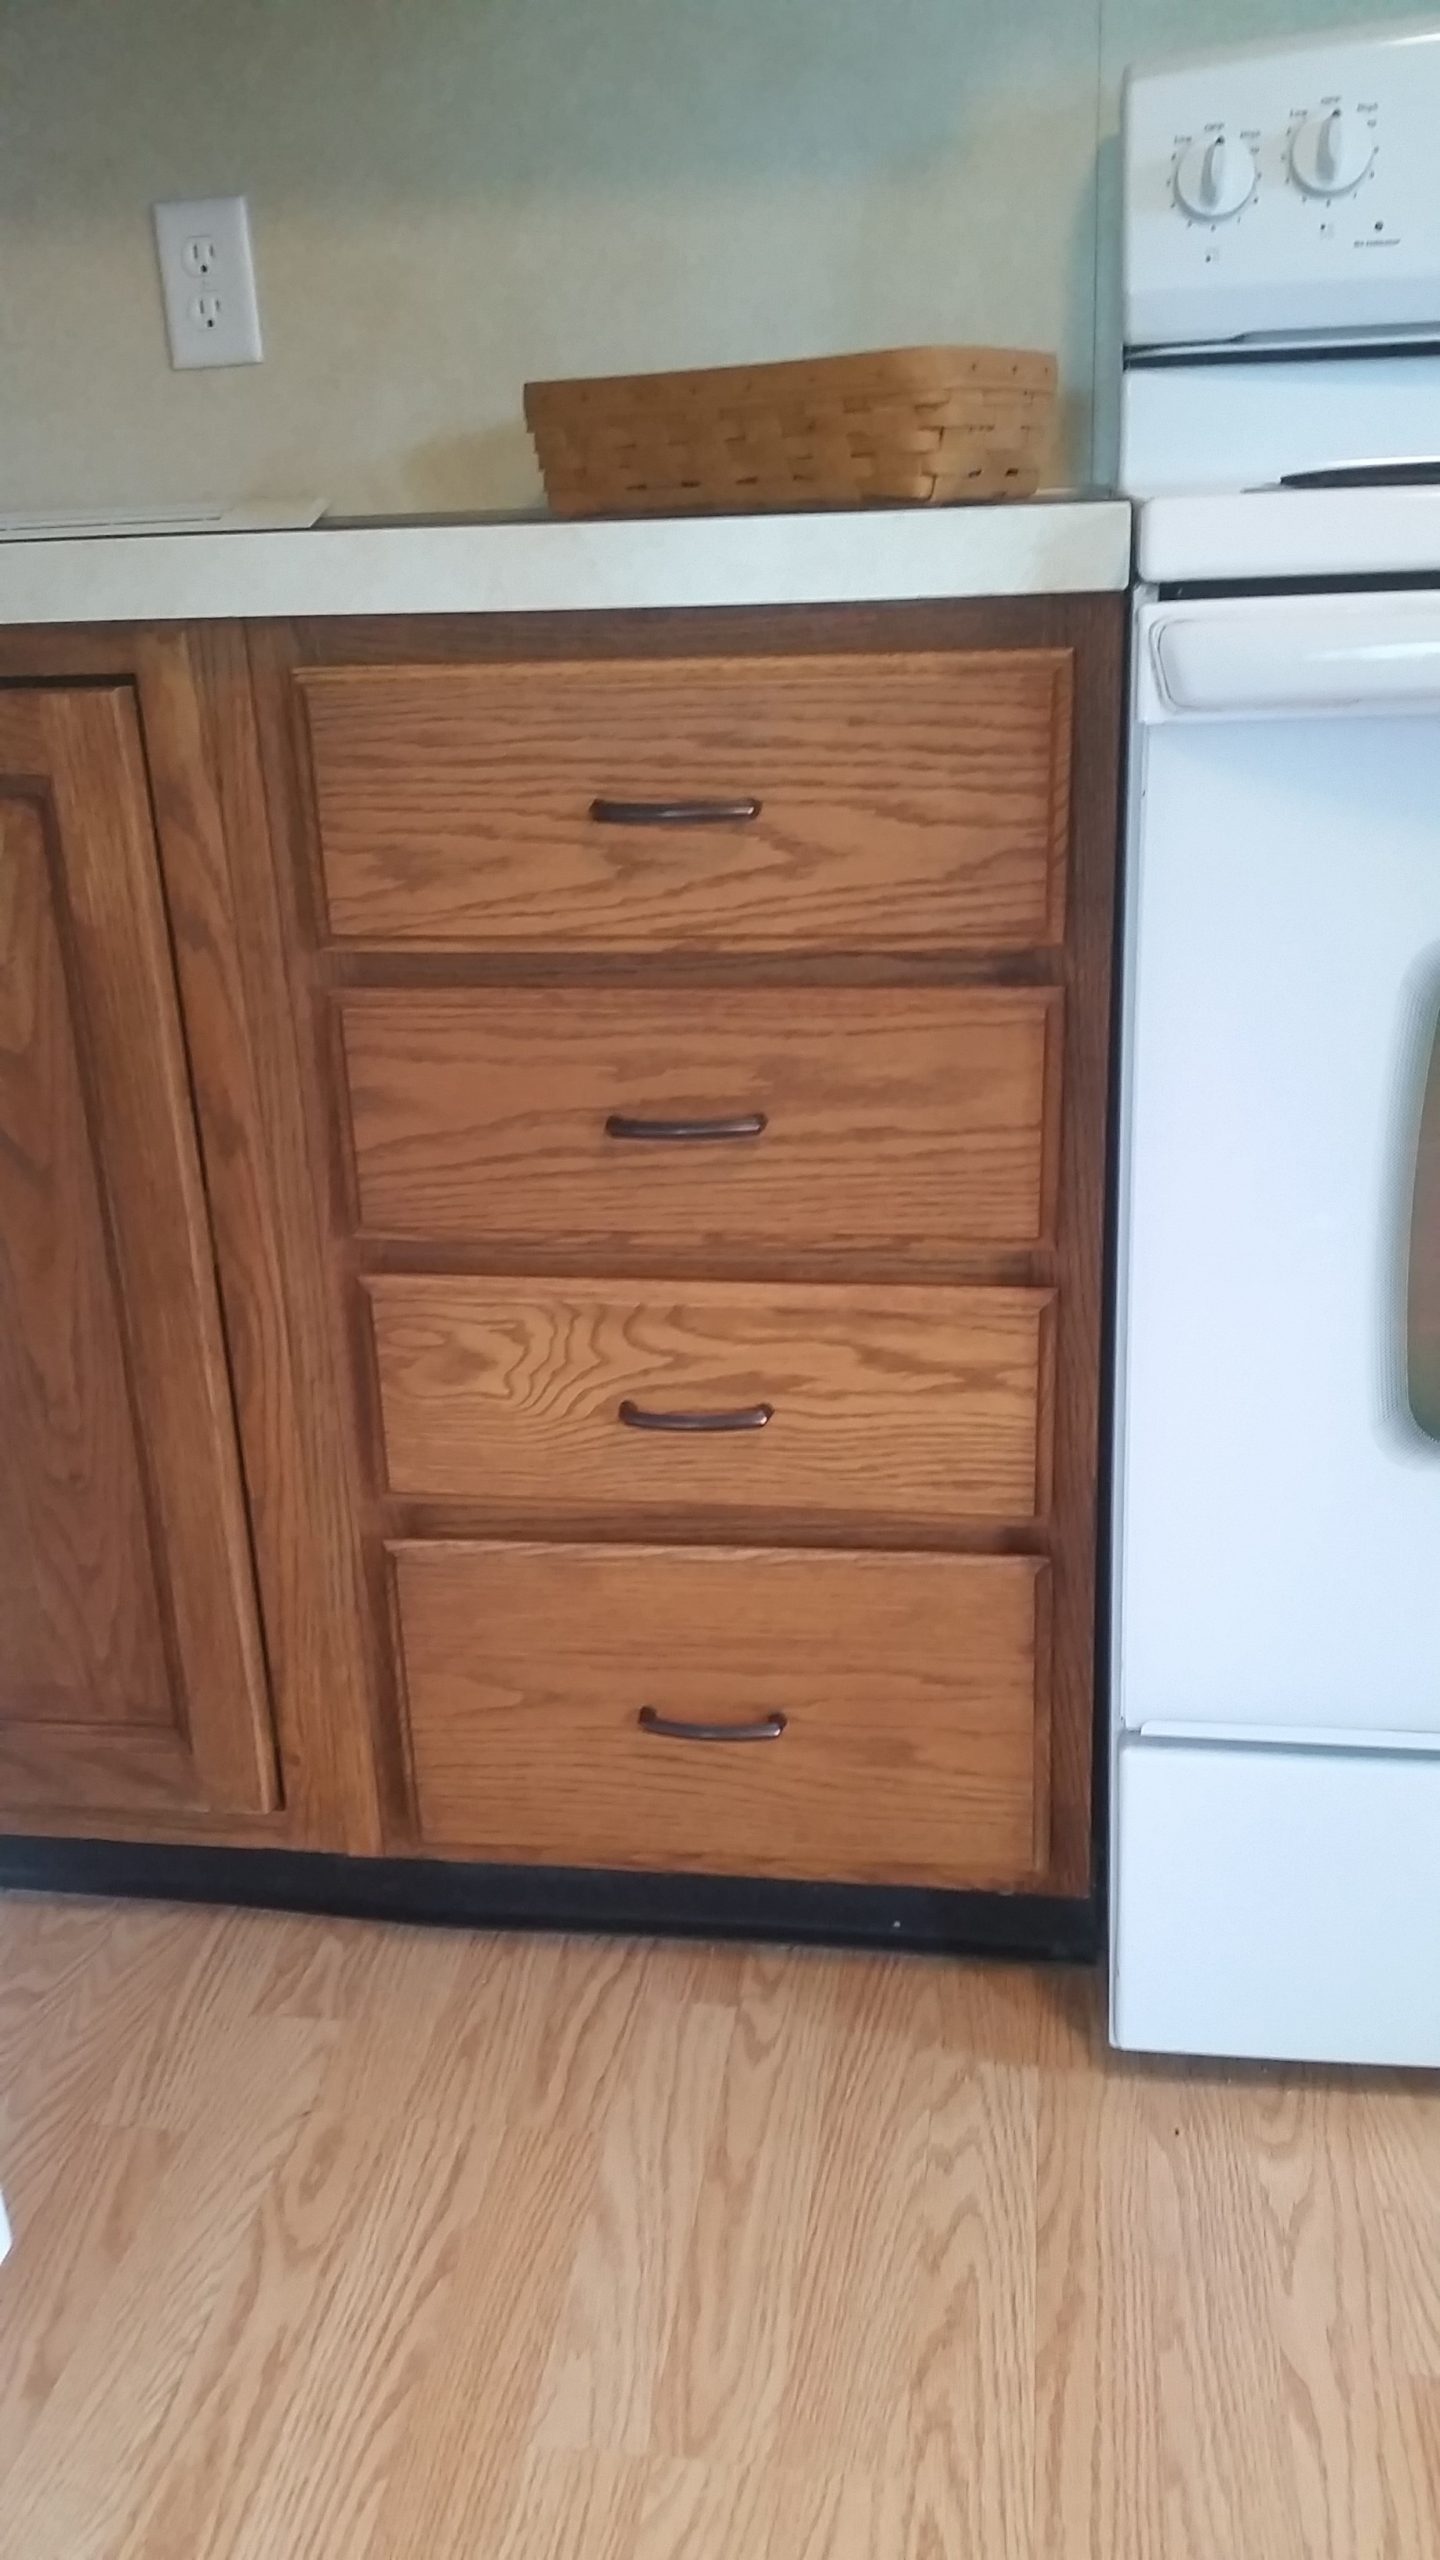
Betsy started the episode talking about an easy way to update old and scratched cabinets. Yes, it takes some work. And yes, you need to do the right prep work . . . but if you do, this can be a great way to update your cabinets very quickly and for very little money. Here’s a blog post that explains the process in detail. And below are some of the photos sent to us by our customer who had such great results!


Painting Your Cabinets
A second solution we discussed for updating your kitchen is a pretty basic one: painting the cabinets. It’s not a complicated process, but it does take some time and it definitely requires that you do the proper amounts of prep work to make sure the finished product holds up well. Here are the steps we discussed in the podcast and a brief description. For more information, listen to the podcast and/or check out our blog post on painting kitchen cabinets!
STEP ONE: Remove the hardware and hinges and label the doors with their location.
STEP TWO: Clean the surfaces thoroughly using TSP.
STEP THREE: Scuff-sand the surfaces you’re going to paint.
STEP FOUR: Prime the cabinets with STIX Waterborne Primer.
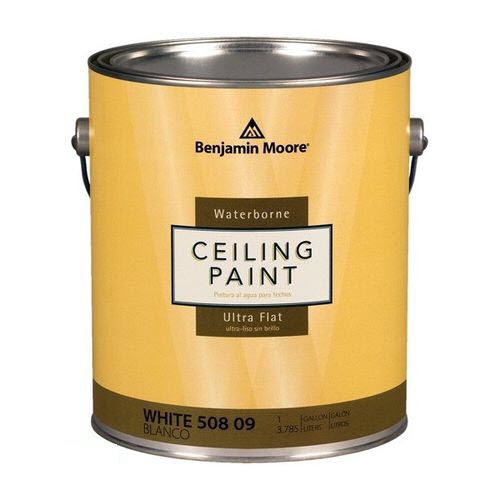
STEP FIVE: Topcoat with a Benjamin Moore’s Advance or RepcoLite’s Hallmark Ceramic.
Those are the basic steps we cover in the podcast. Again, listen to the episode for more details or check out our blog post on painting your cabinets! (Or, better yet, stop out at any RepcoLite, Port City Paints, or Snyder Paints location and we’ll walk you through the whole process!)
Painting An Old Tiled Backsplash
Another topic we discussed on the episode was painting an old, tiled backsplash. The backsplash in a kitchen can often look dated. And usually, people have no idea how to easily fix it. After all, ripping out the tile involves a lot of demolition, sweat, and (in my case) blood. But, there is a quick fix if you’re looking for an easy solution that will buy you some time. And of course, we’re talking about paint! Here are the basic steps. Again, if you’re looking for more detailed info, please check out our blog post on the topic!
STEP ONE: Clean the surfaces thoroughly using TSP.
STEP TWO: Prime the cabinets with STIX Waterborne Primer.
STEP THREE: Topcoat with a Benjamin Moore’s Advance or RepcoLite’s Hallmark Ceramic.


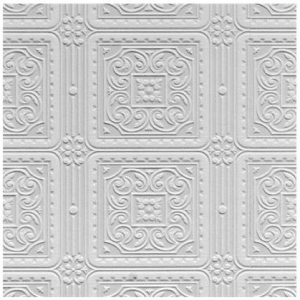 Anaglypta wallpaper is a textured, paintable wallpaper. In this episode, we talk about using it on the backers of entertainment centers to provide a unique, interesting backdrop.