Color Me Home Episode 11: Brighten Your Basement Walls!

On today’s episode, Betsy and Dan discuss a question that comes up at RepcoLite Paints all the time: how do I paint my basement walls? Basement walls often present homeowners with a number of unusual obstacles when it comes time to paint them. In this episode, you’ll discover everything you need to know to confidently brighten up what can often be one of the darkest, dreariest places in your home!

Episode Outline

  • Check for Moisture and Determine the Cause! (2:28)
  • What is Efflorescence? (6:50)
  • Fixing Moisture Issues Inside! (8:27)
  • Fixing Moisture Issues Outside! (12:16)
  • Getting the Walls Ready for Paint (16:17)
    • Dealing With Efflorescence (16:40)
    • Remove Flaking Paint (18:36)
    • Remove Dirt and Grease (19:48)
    • Kill Mold and/or Mildew (21:30)
    • Dry the Walls (22:22)
  • Painting a Bare Wall with No Moisture (23:03)
    • Betsy’s Easy Test for Moisture (23:45)
  • Painting Bare Walls that Have Moisture Issues (26:58)
    • WaterBlock (27:10)
    • Applying WaterBlock (30:24)
  • Painting Previously Painted Walls (33:16)

WaterBlock by Insul-X

As we mentioned in the episode, WaterBlock is a masonry waterproofer that needs to be applied over bare concrete in order to be effective. In the episode, we debated whether or not it was tintable. Turns out, it is! You’ll be limited to lighter colors, but it definitely can be tinted. If you’d like more information, check out the podcast. Or, you can click the button below and download the Technical Data Sheet!

Download WaterBlock Info

Paint Your Kitchen Cabinets in 6 Steps!

bigstock-Cabinet-detail-13573895_webDid you know that the average cost of remodeling your kitchen is right around $20,000? Yes, $20,000. That’s a significant amount of money. So significant, in fact, that it means I won’t be doing any kitchen remodeling anytime soon. Sure, I’d like new cabinets or a new backsplash or a new floor, but we’re just too attached to having things like groceries and running water. And I don’t think we’re alone. A lot of people like groceries and running water. And yet, many of those same people also wish they had a better kitchen.

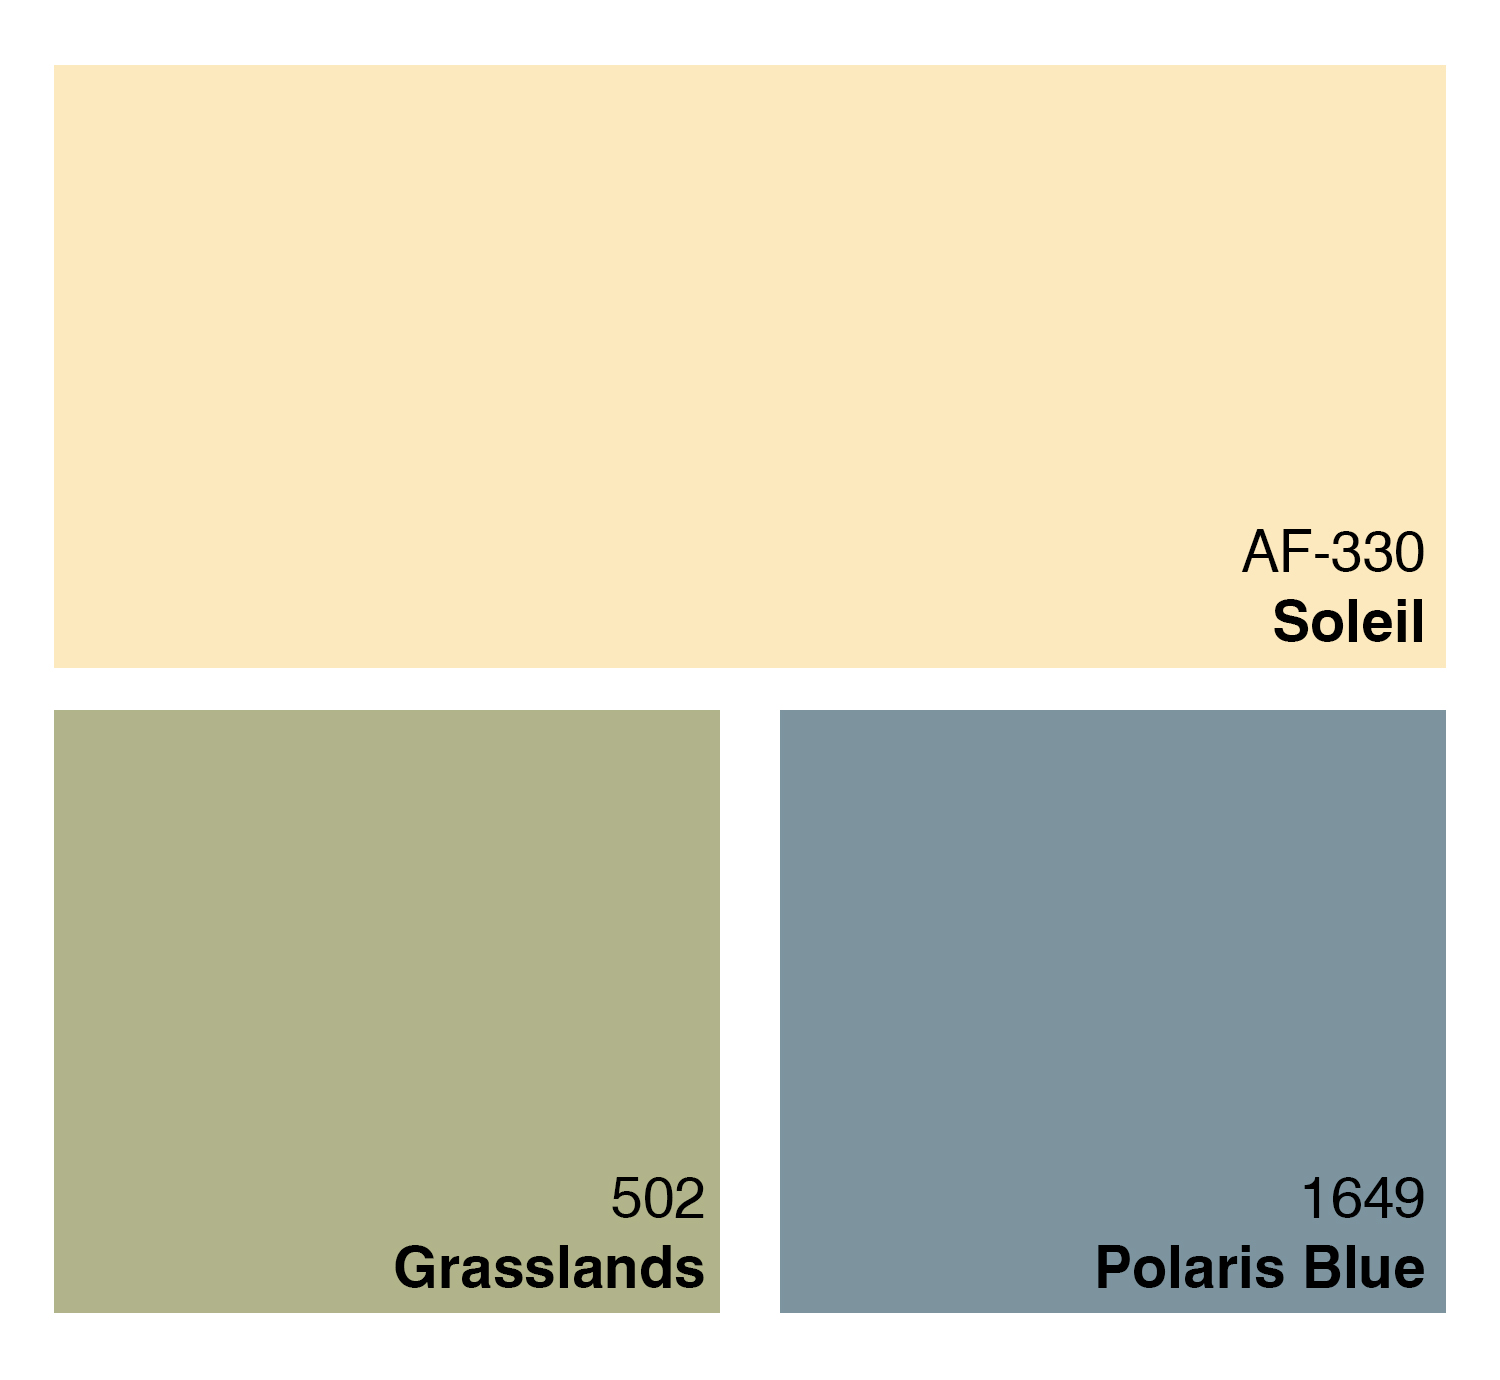
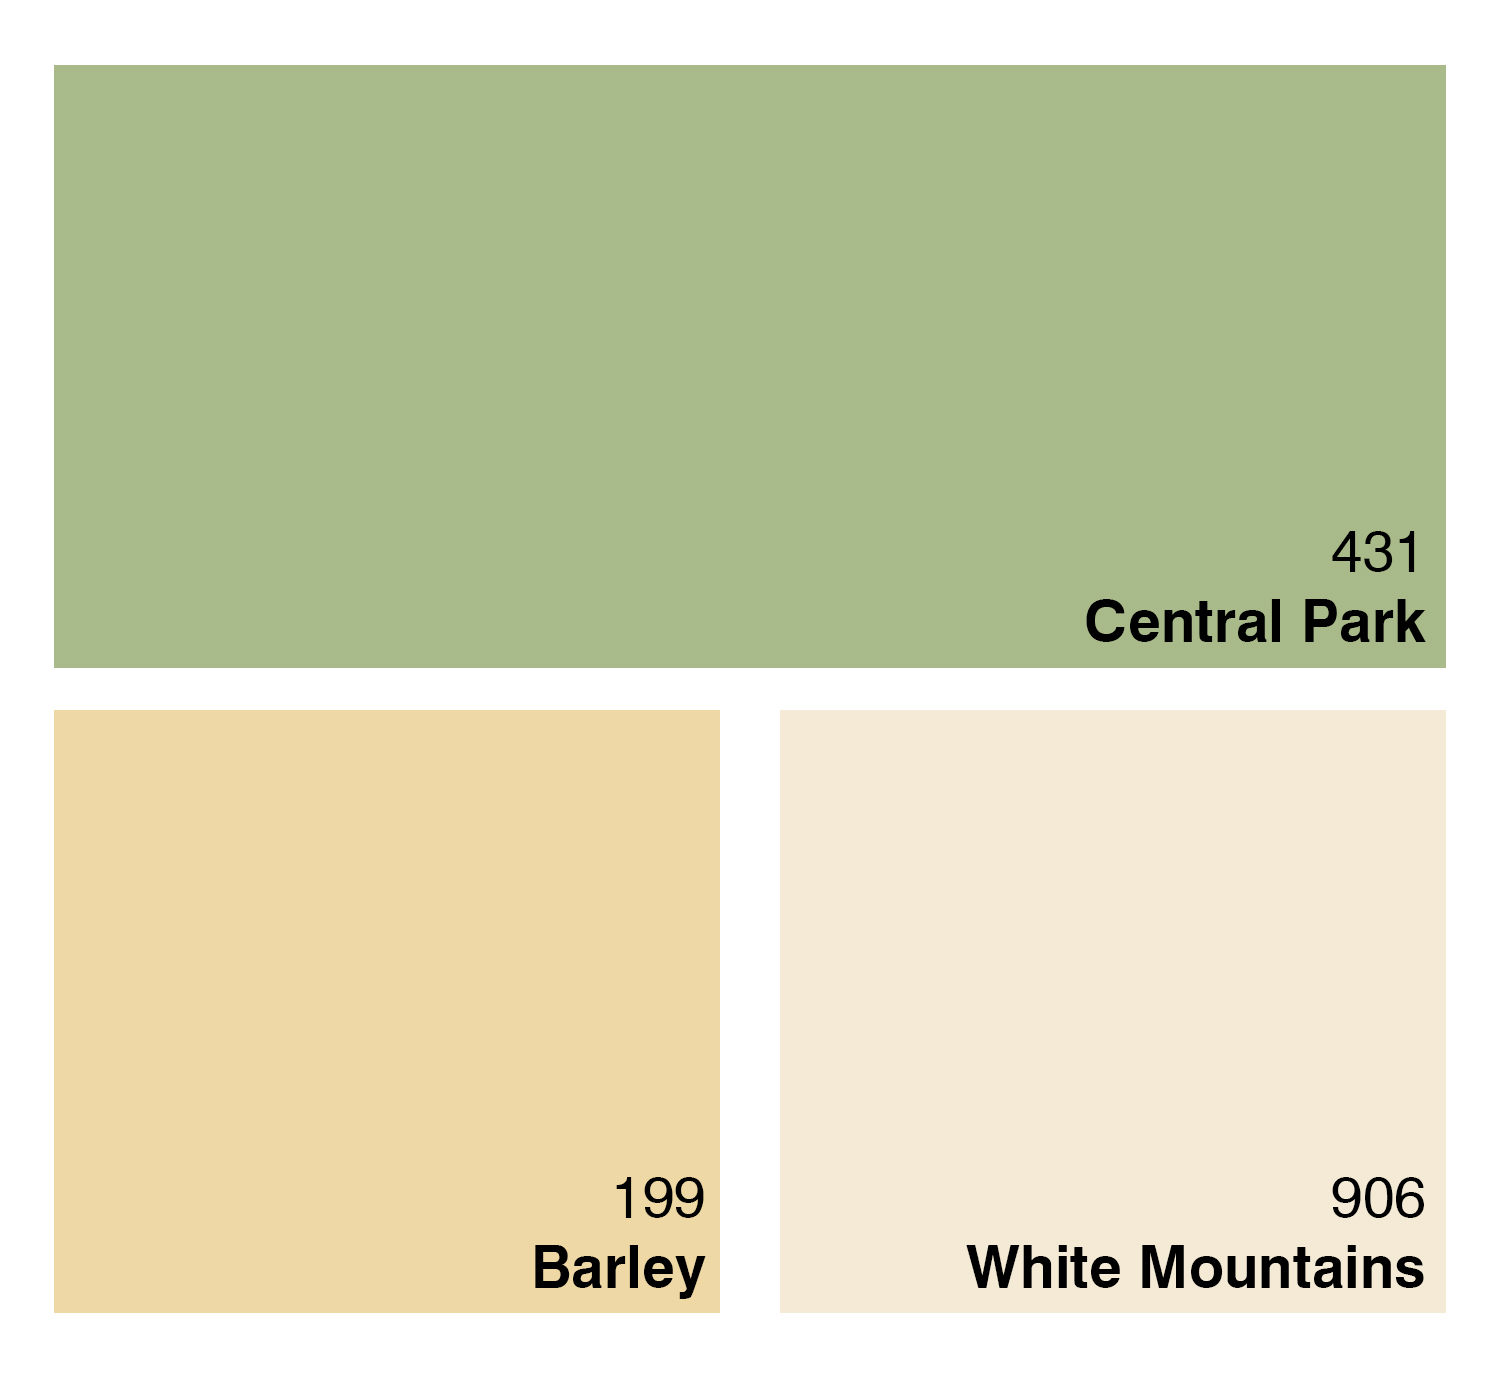
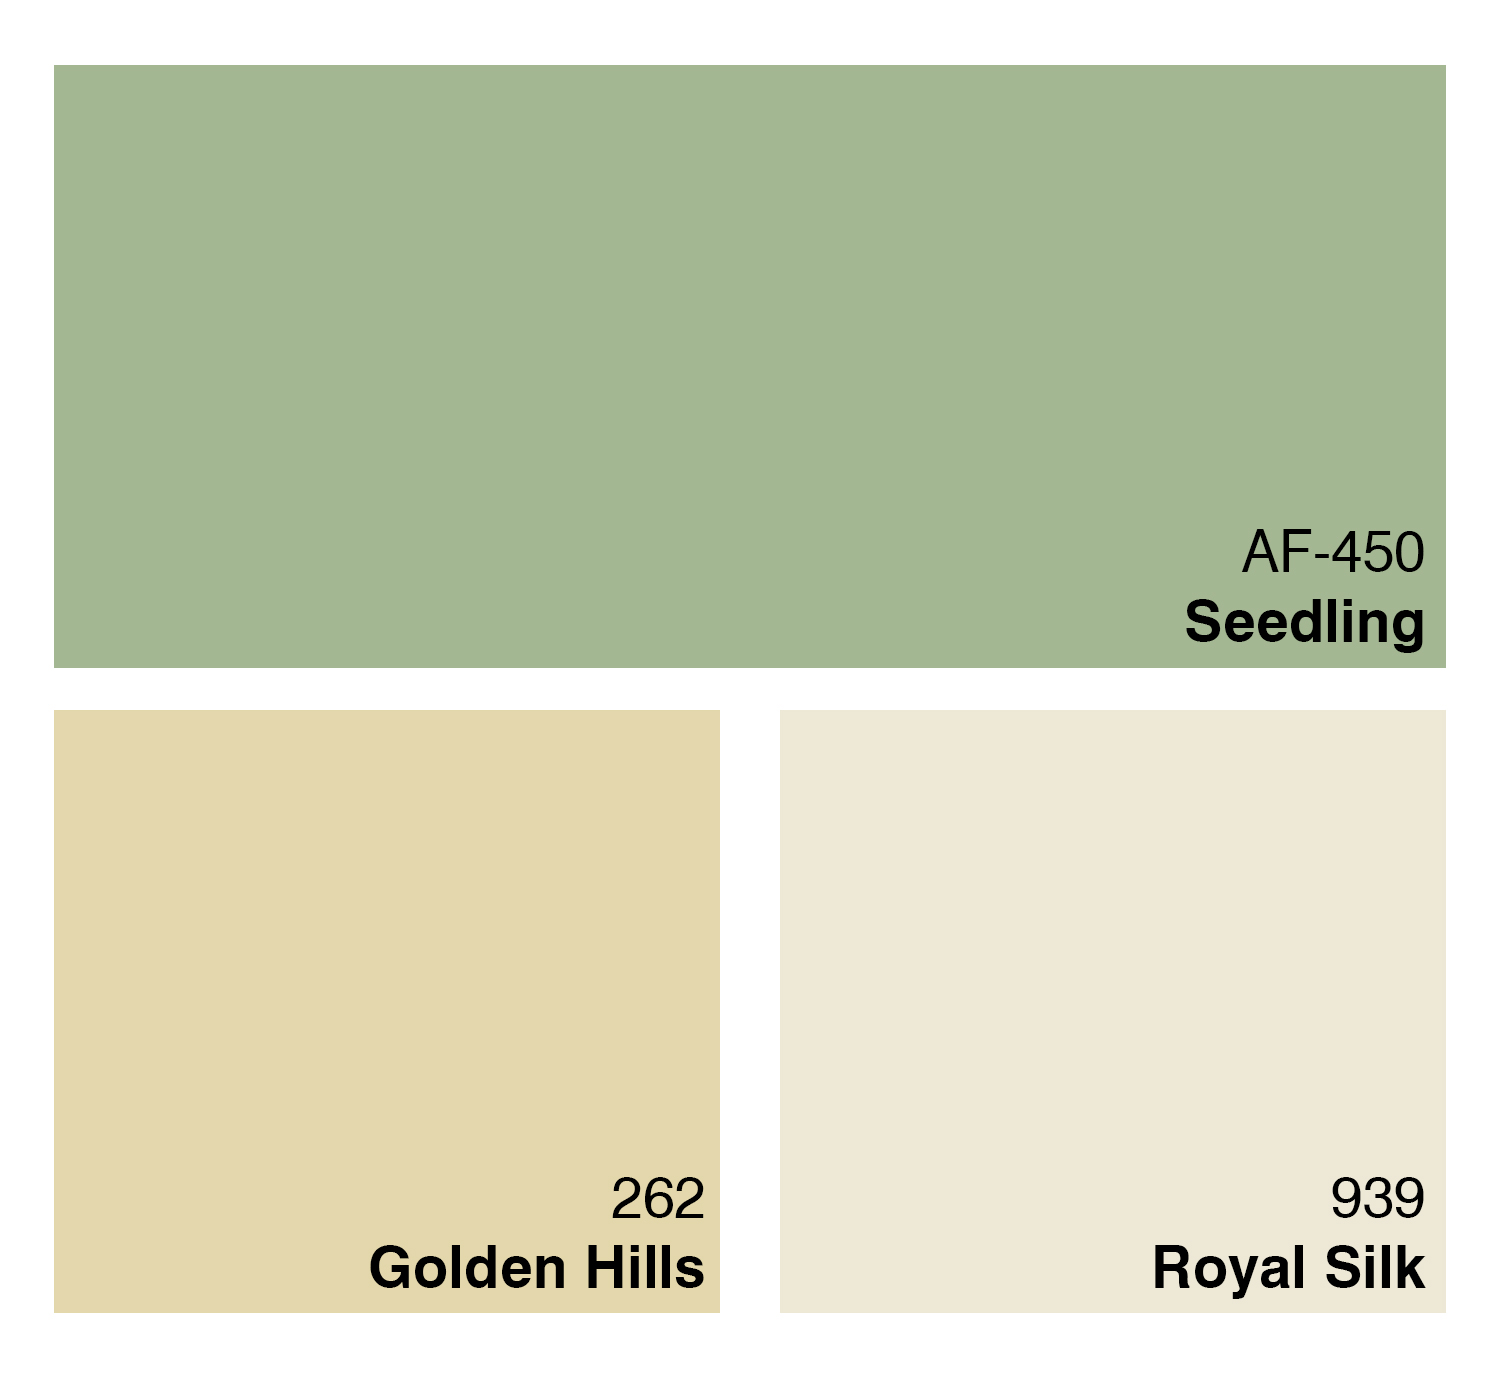
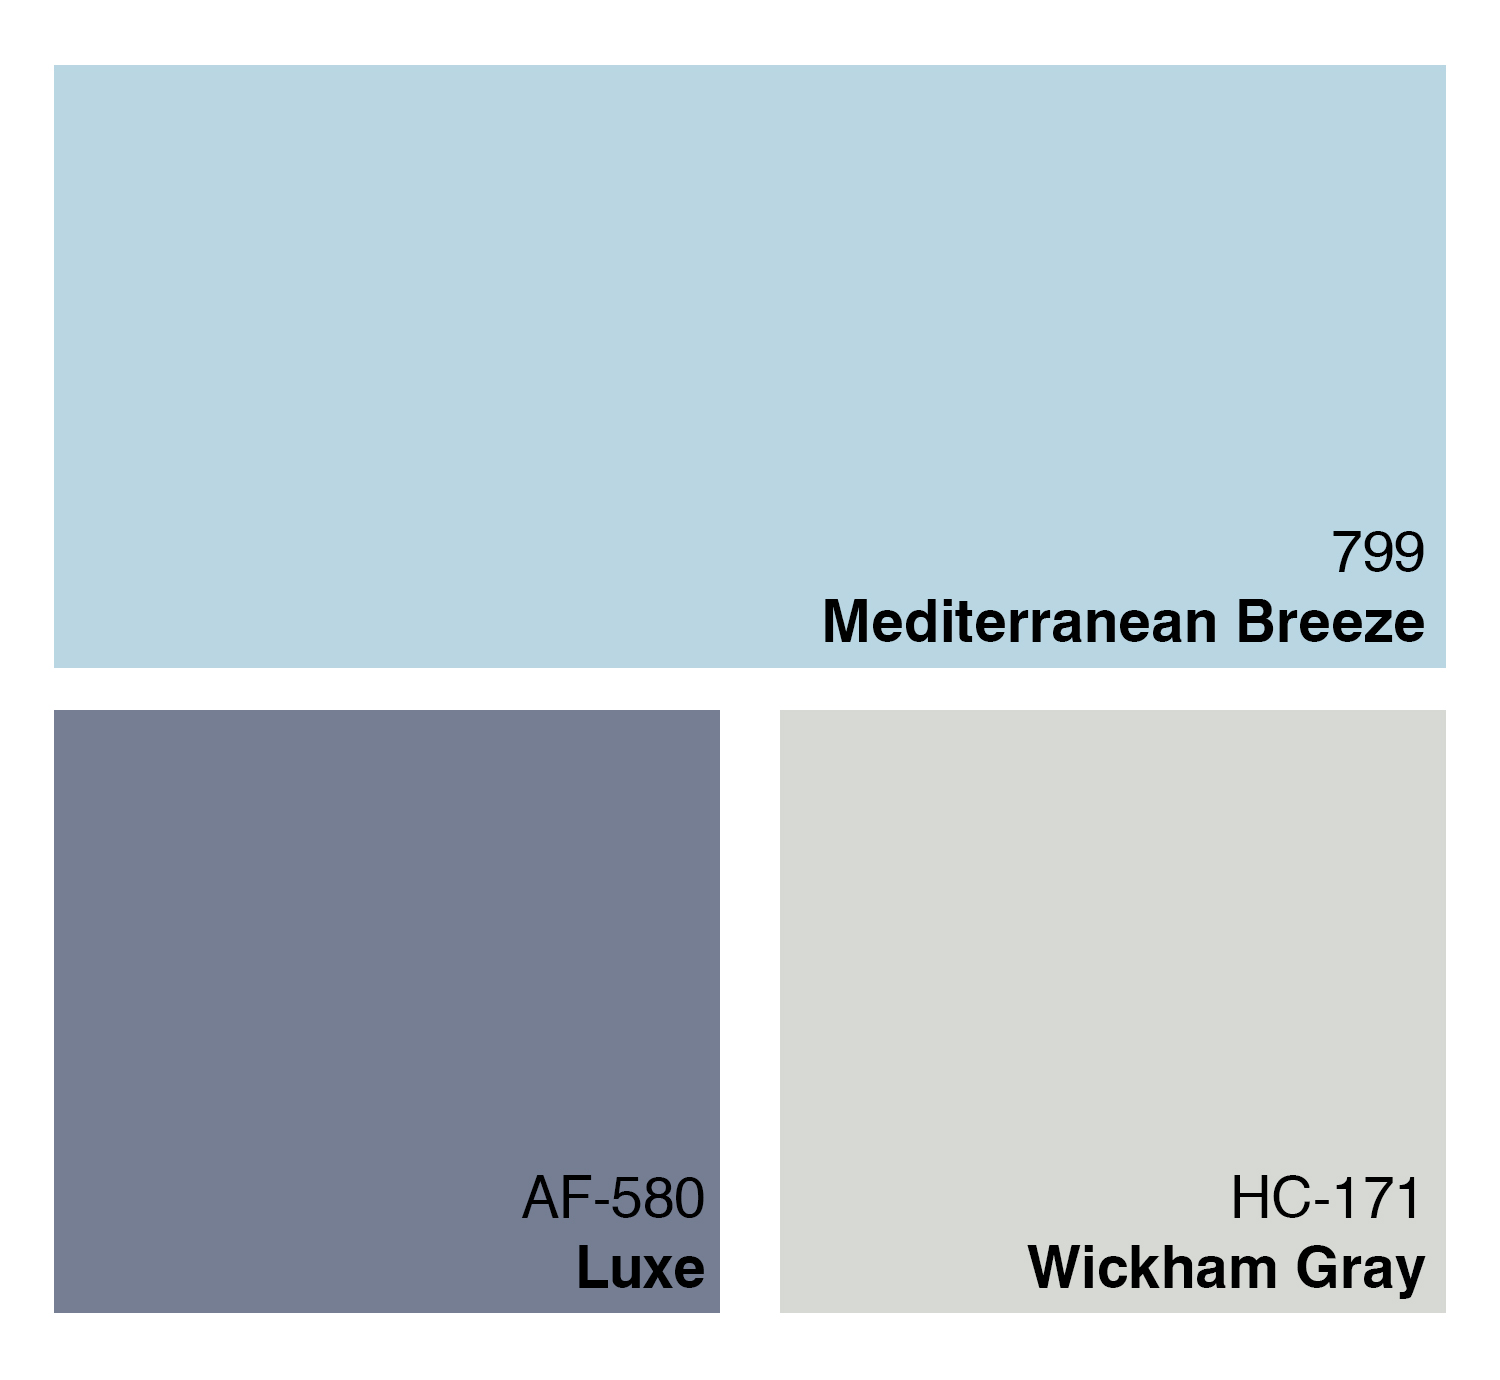
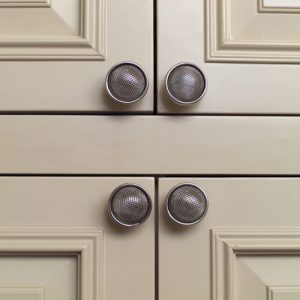
And that brings me to the good news: there are many things you can do that will help you update your kitchen without forcing you to give up those little luxuries we all like to have. Like food in the refrigerator. And one of those projects is painting your kitchen cupboards. If the doors and drawers are structurally sound, why rip them out and replace them? With a little elbow grease, some time, and the right products (I’m looking at you RepcoLite and Benjamin Moore), you can brighten them up and, in so doing, completely change the look and feel of your kitchen. And all for very little money!

If you think this project could be perfect for your kitchen, here’s what you need to do:

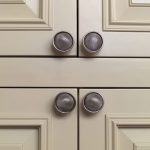
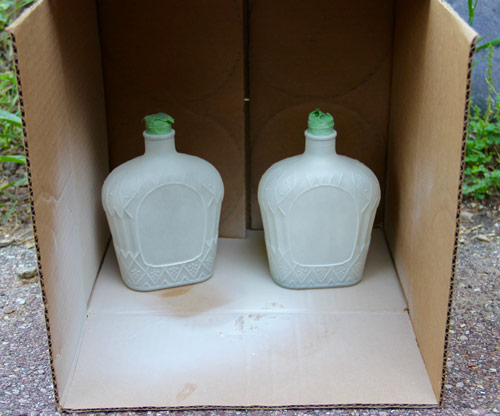
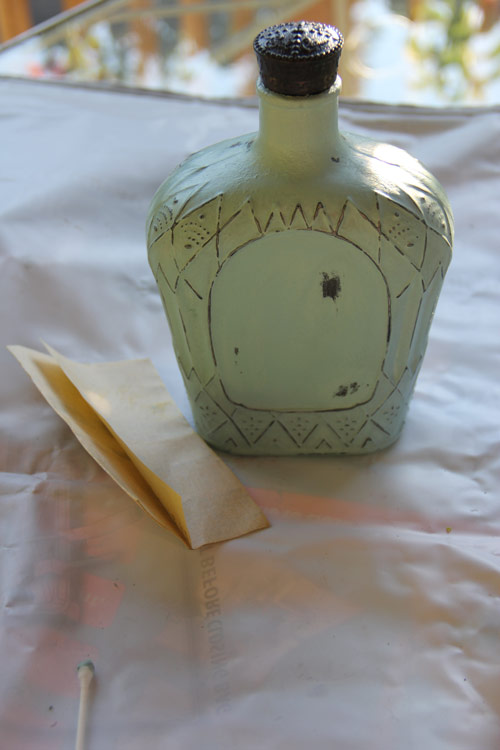
STEP ONE: Remove the hardware and hinges and label the doors with their location. Removing the hardware and taking the doors down requires no explanation. However, let me stress the importance of labeling the pieces. You definitely want to make sure you do this!  Find a system that will work for you and make sure to mark each door and drawer as well as the place they go in the cabinet. Safe-release (Delicate Surface) painter’s tape works well. Just make 2 tags with a “1” and put one on the back of the door, and the other on the frame of the cabinet where the door goes. It’s a simple step, but will help you when it comes time to put things back together!

STEP TWO:  Closely examine the surface of the cabinets and drawers and be sure to remove any peeling paint by sanding and scraping. Whatever paint remains on the surface of your cabinets must be sound! New paint brushed over a peeling surface won’t make that old layer stick. The old layer will continue to fail and will take the new one with it. So make sure that whatever paint you leave on the doors is adhering well. Also, if you have to scrape or sand off some of the paint, make sure that you spend some time feathering the bare spots into the spots where the paint remains.

STEP THREE: Clean the surfaces thoroughly. After taking care of loose, flaking, or peeling paint, you need to clean the surfaces with a mixture of 1 part TSP to 4 parts water. Kitchens are sources of many different surface contaminants and you need to make sure that the surface you’re painting is clean and free of grease, dirt, and so on. Use a Scotchbrite (“scrubby”) pad with the TSP to thoroughly clean the surfaces. And if you have some really stubborn dirt or grease, use the degreaser Spray Nine.

STEP FOUR:  Scuff-sand the surfaces you’re going to paint. You can use an orbital sander for this, or you can do the sanding by hand. Either way, use either 180 – 220 grit sandpaper. The goal isn’t to sand through the current finish, it’s just to lightly scuff it. And when you’re done, remove all the dust from the cabinets. You can blow them off with an air compressor, vacuum the dust off, or wipe it off with a solvent like Denatured Alcohol or Xylene. However you remove the dust make sure that it’s all removed before moving on to the priming step!

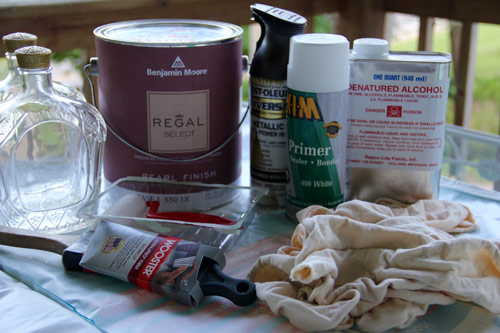
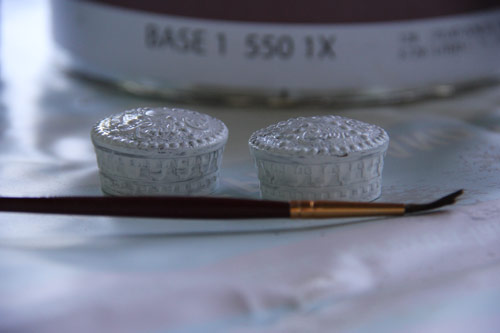
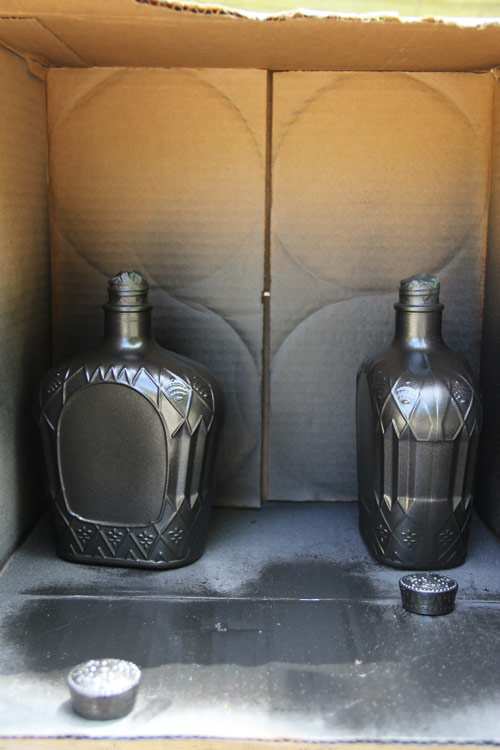
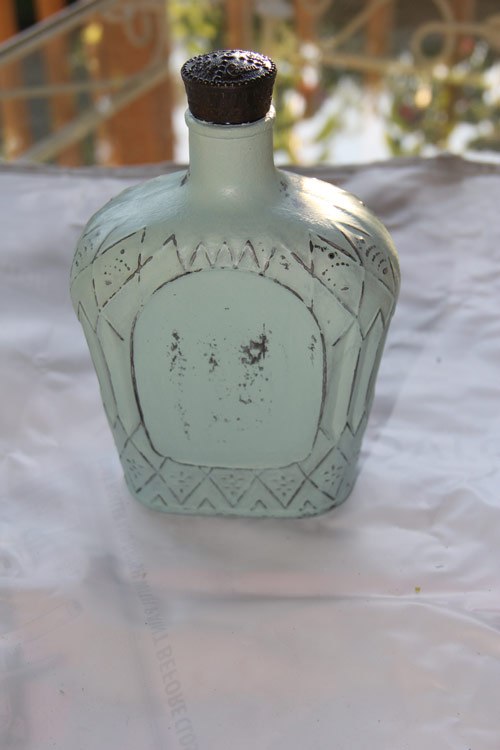
STEP FIVE:  Prime the cabinets with a good bonding primer. We recommend STIX Waterborne Primer. It will bond to the previous coating on your cabinets and will provide an excellent base for your topcoat! Let the primer completely dry and then assess the cabinets for any bleed-through of stain or tannins. This can happen if you’ve cut through the original coating while scuff sanding. If you do see some bleed through, spot prime those areas with an oil based primer or a white pigmented shellac like BIN.

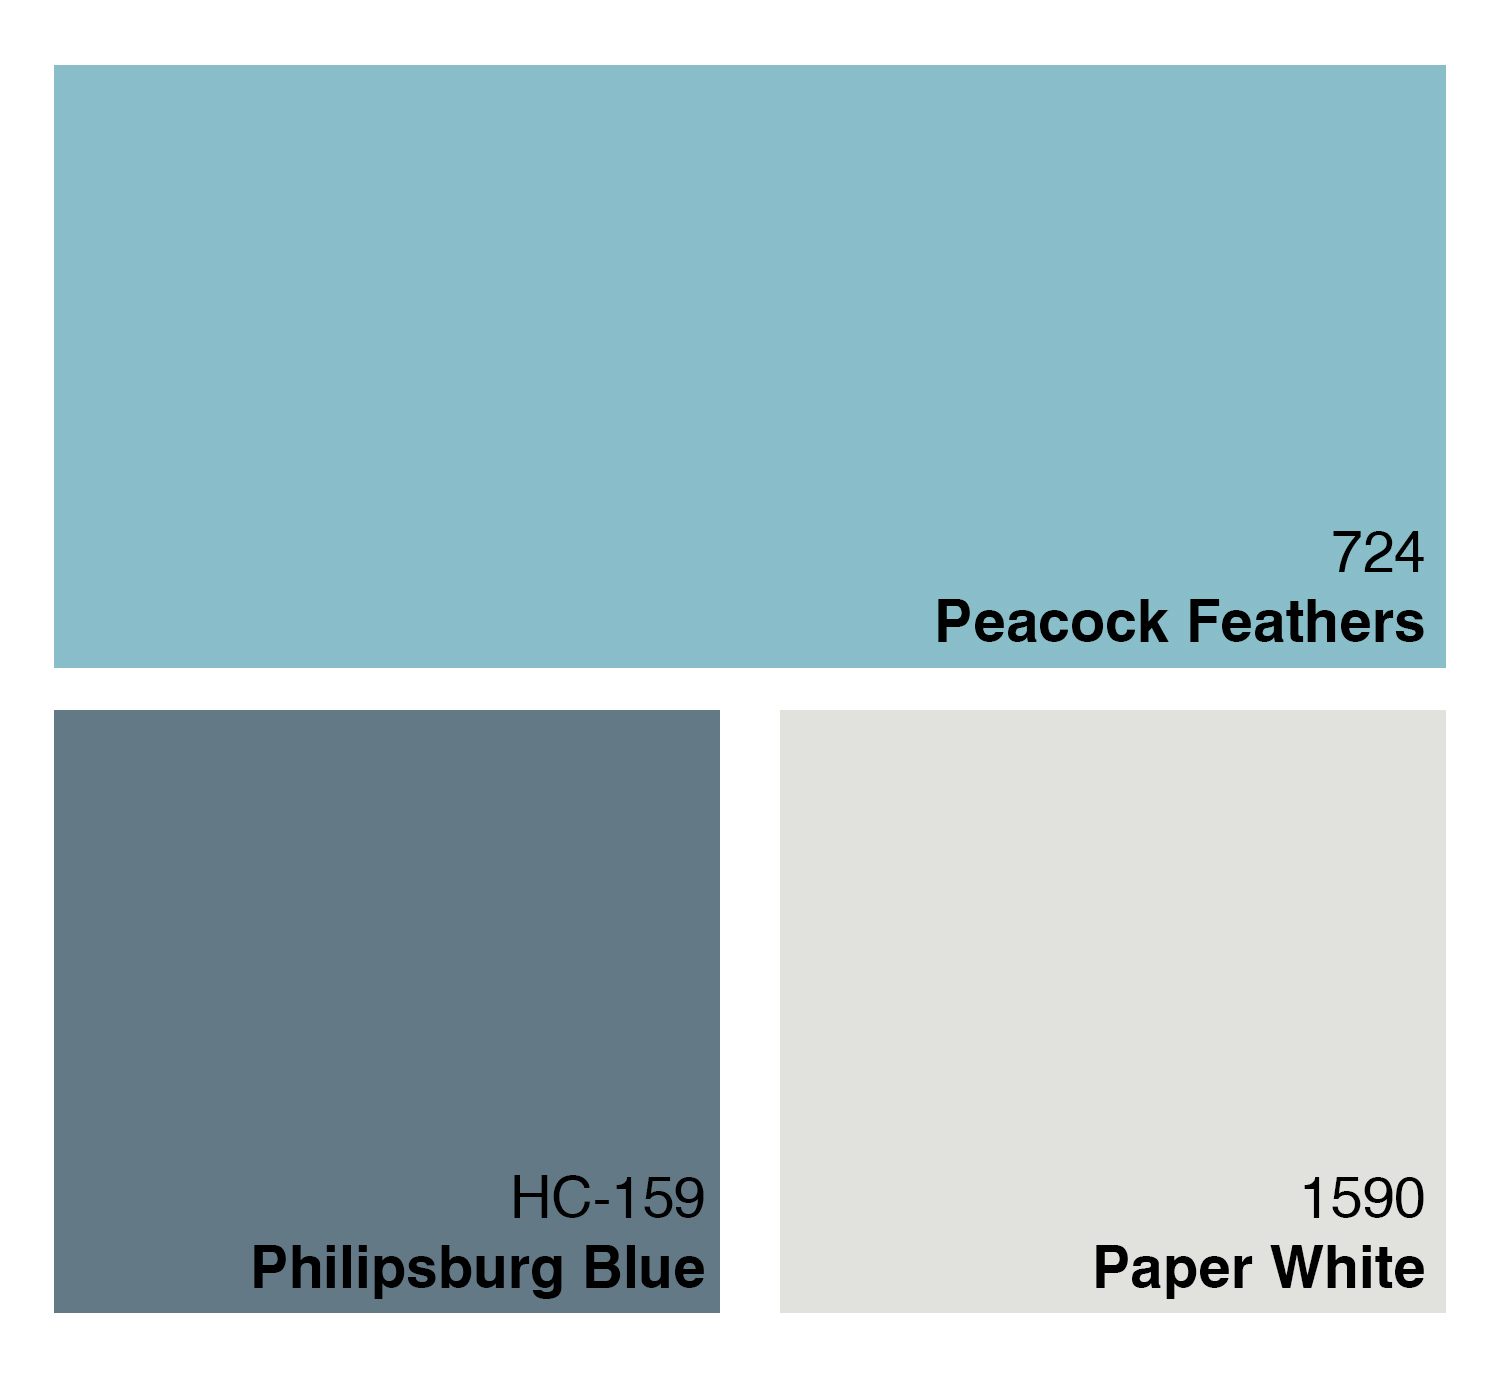
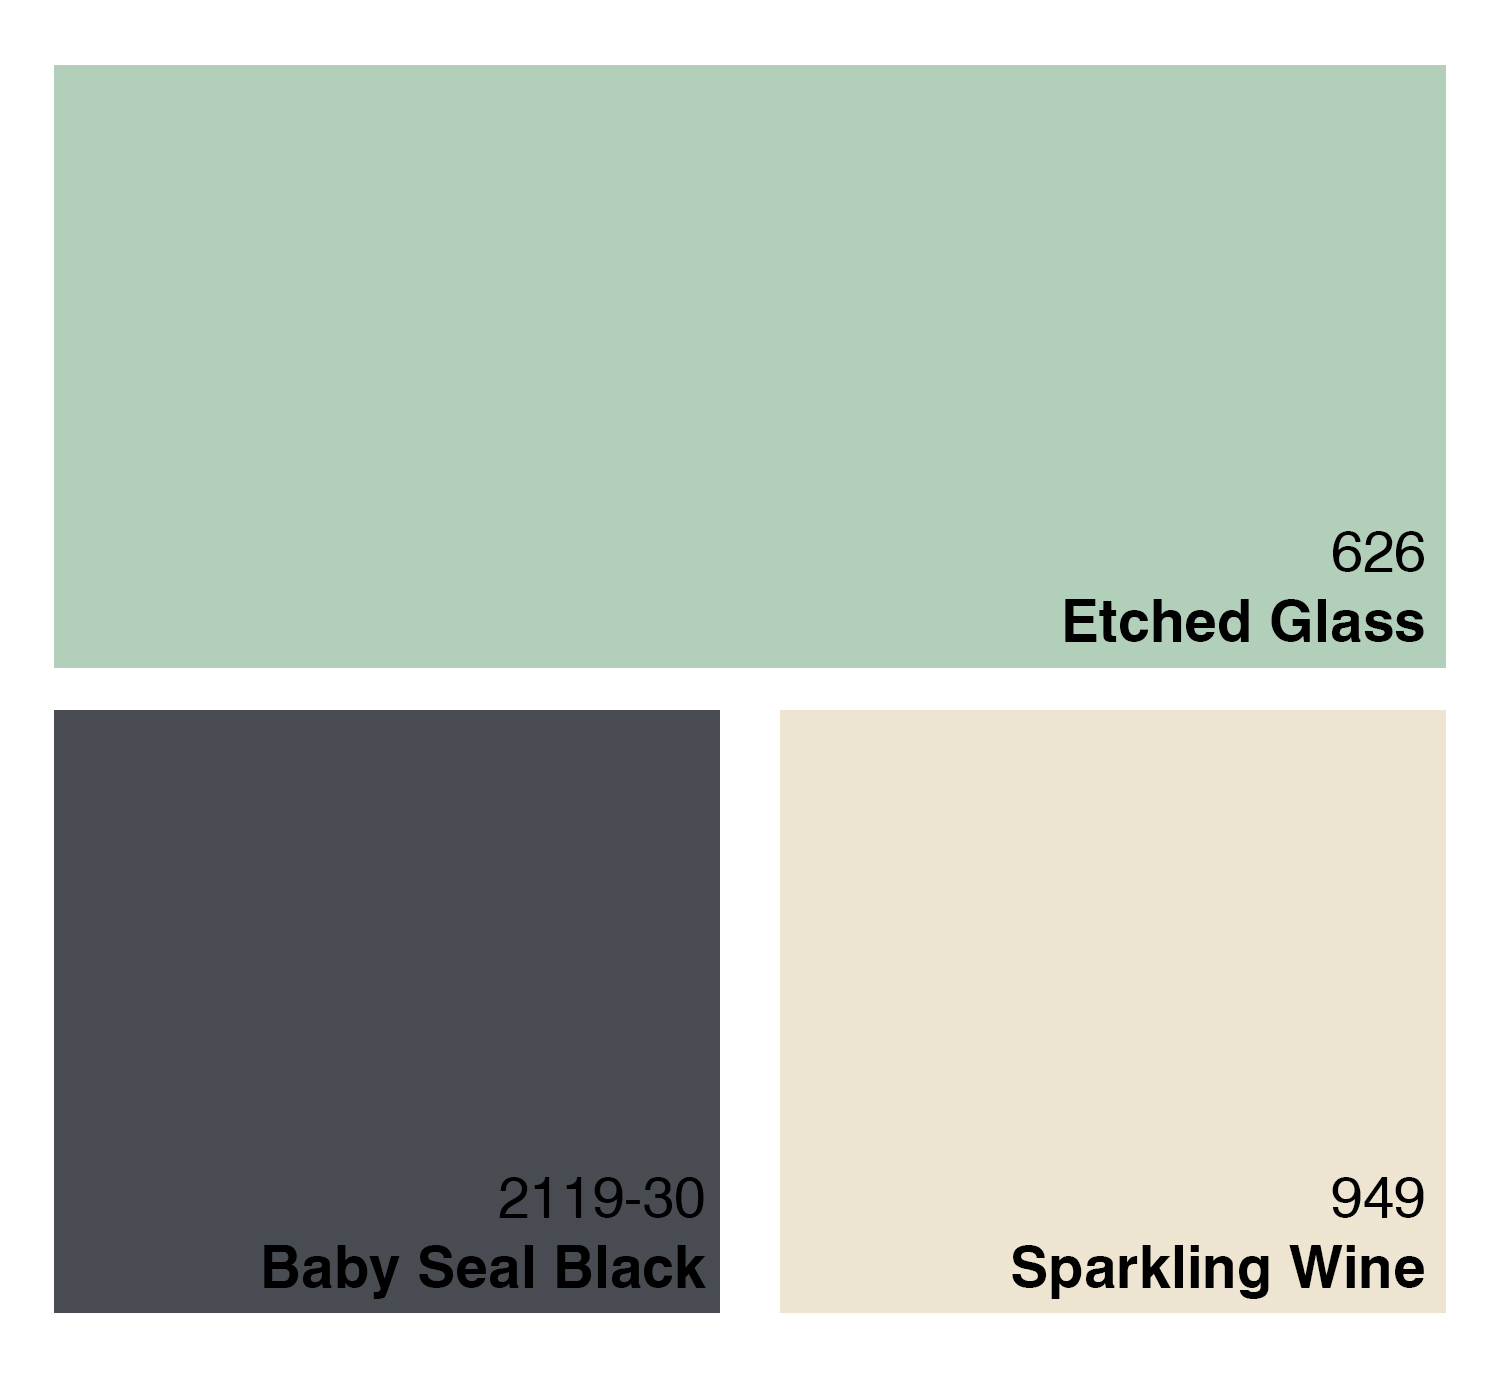
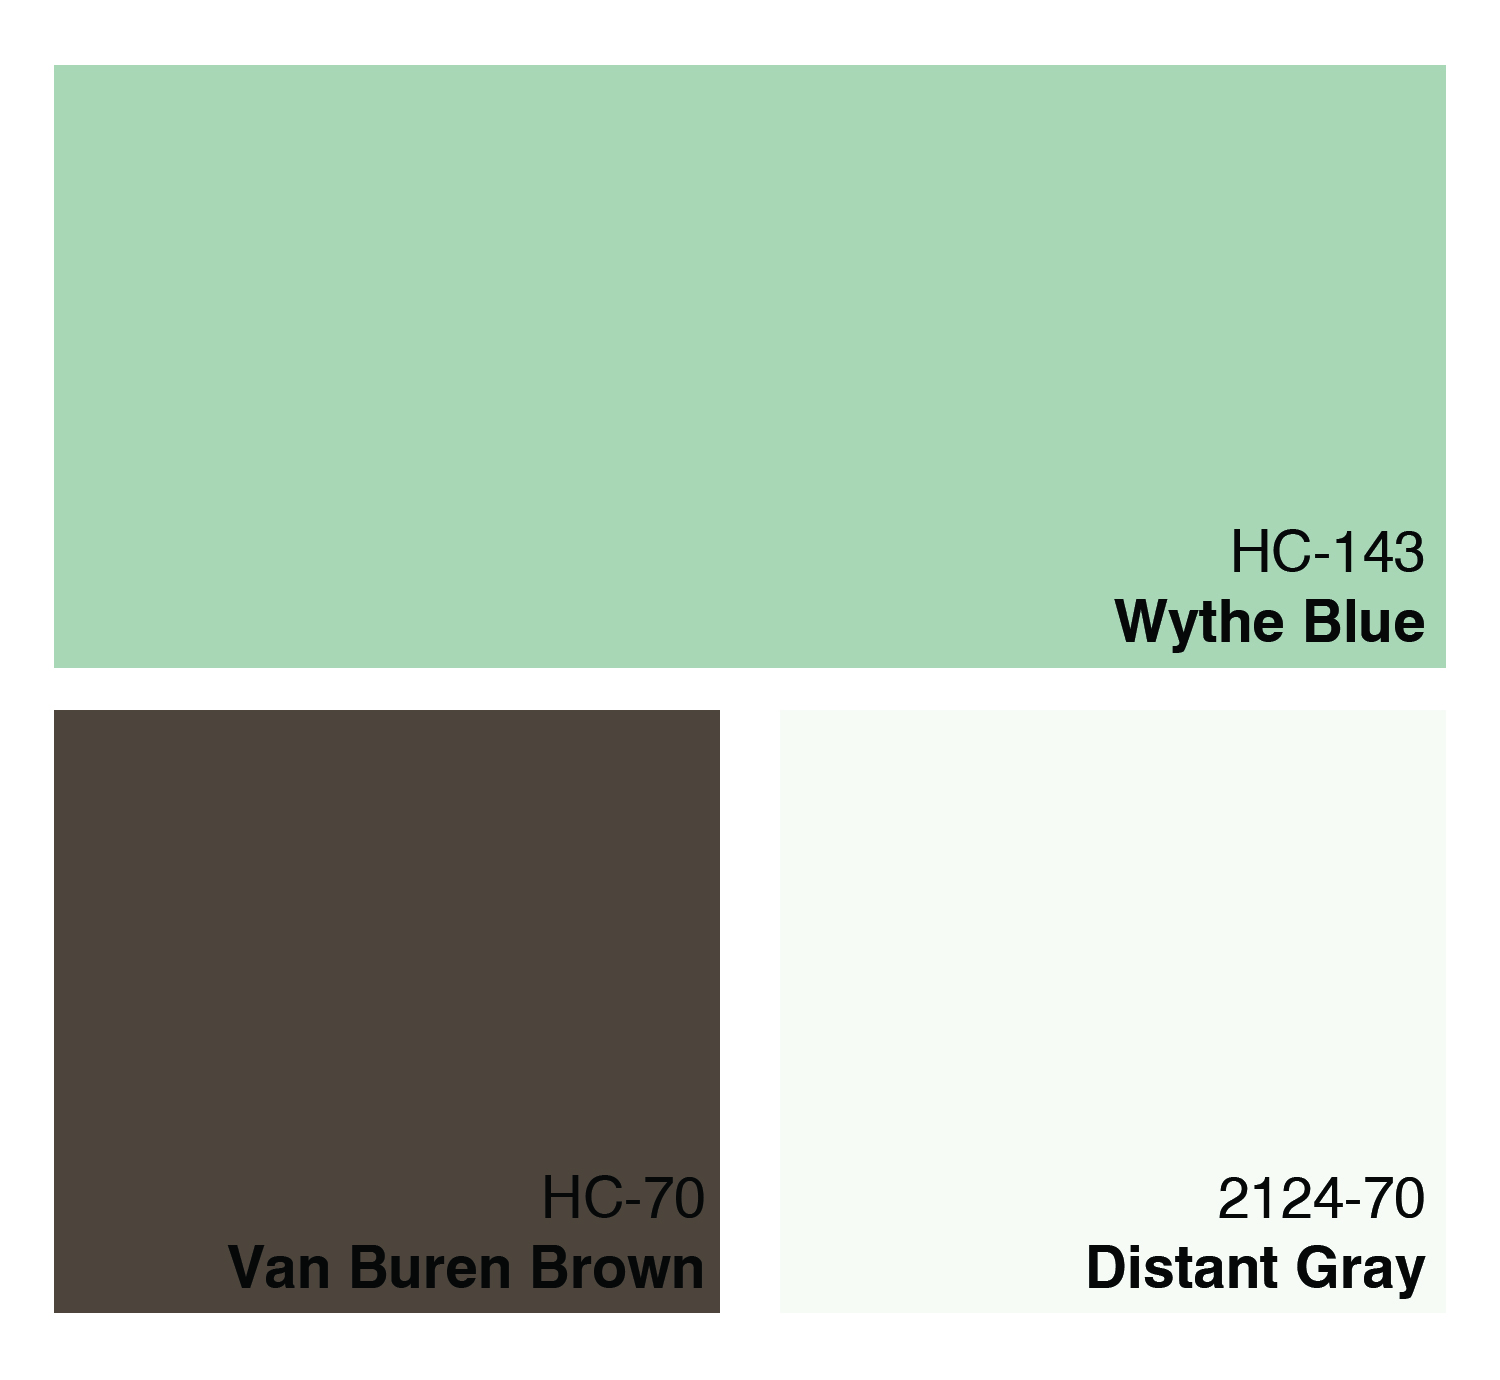
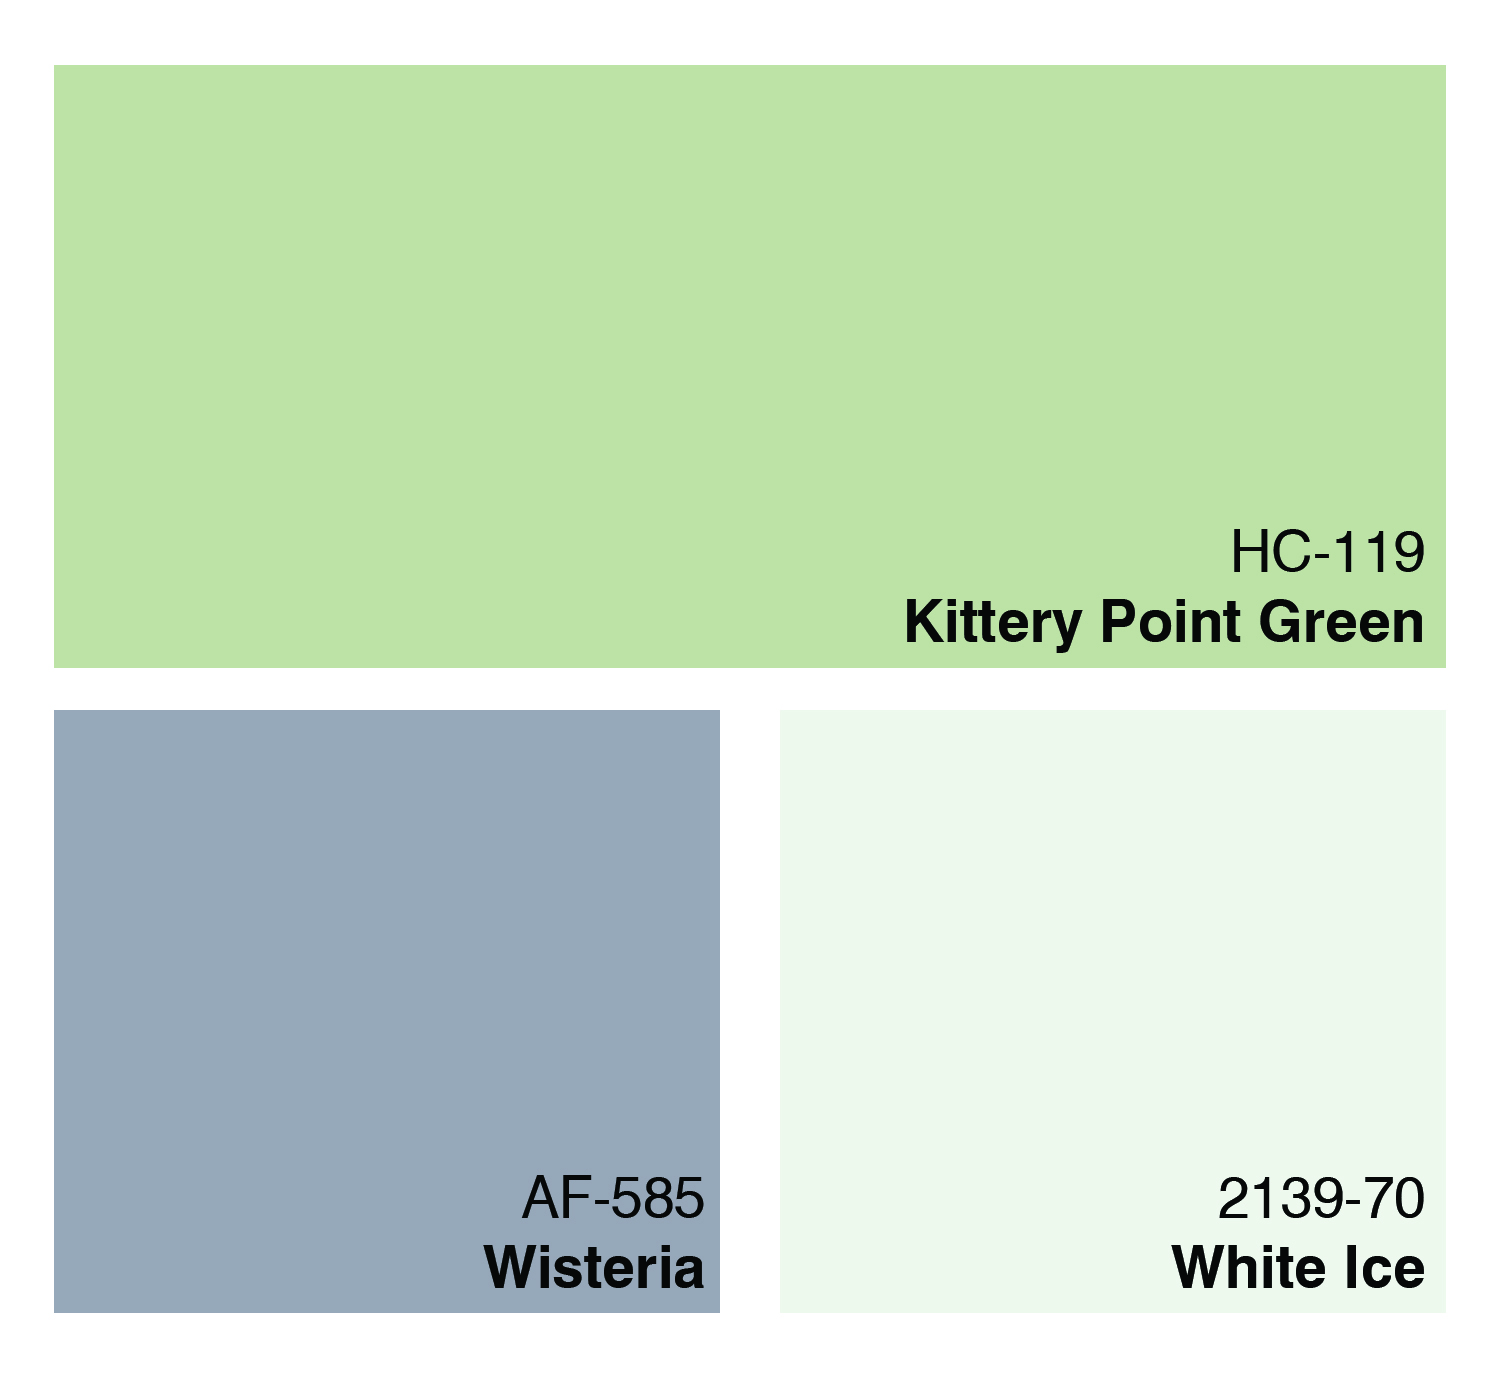
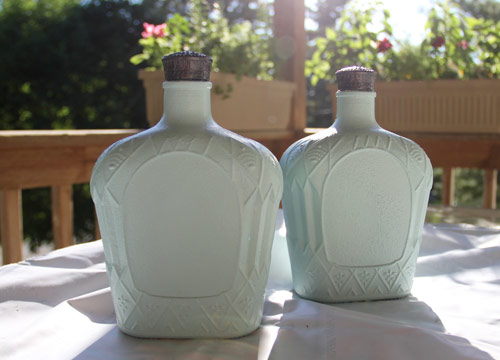
STEP SIX:  Topcoat with a good finish paint in either a satin sheen or a semi-gloss (for washability). If you’re brushing, we recommend giving Benjamin Moore’s Advance a try. It’s a waterborne alkyd which means you’ll get the performance of an oil-based product without the drawbacks. It will flow out remarkably well, providing you with a smooth finish even when you brush or roll the paint on. And, best of all, it cleans up with soap and water and doesn’t have the smell of an oil. Another great option is RepcoLite’s own Hallmark Ceramic. It rolls and brushes well and or can be sprayed. There are also a few other options we may recommend in the store, depending on your situation.

And that’s basically what you need to know. Yes, there is some work involved. Yes, it will take some time. You’ll have to do the sanding and the cleaning, the priming and the painting. But, when you’re done, you’ll be amazed at the difference in your home. And all for as little as $200 – $300 (or less!)

If you’re interested in this project, please email us with your questions or type your questions in the comment boxes on this post!

How to Paint and Distress Crown Royal Bottles

So, what does The Purple Stiletto do with things that most people would throw away? Get creative, of course!

I was presented with some clear glass bottles, the contents having long since been enjoyed. The texture was exactly what I was looking for! This made things interesting and, in some way, made my job easier.

I started by gathering the supplies that I would need for a day of creativity….and waiting for paint to dry.

  • Empty bottles … check!
  • X-I-M primer (because it sticks to glass) … check!
  • Metallic spray (bronze because I’m currently on a dark metallic kick) … check!
  • Latex paint for topcoat (way more than I needed but it was a mistint gallon I changed to suit my mood) … check!
  • Denatured alcohol & rags for distressing … also check!

IMG_6523_web

With my supplies gathered together, I was ready to prime my glass. Now, I should mention that all adhesive residue and grease had been cleaned from the bottles before I started this project. Also, I realized that the lids may not screw back on correctly if the threads had been painted over, so I decided to tape the opening of the bottles to be on the safe side.

IMG_6528_web

While I waited for the primer on the glass to dry, I painted the caps with a very small artist brush and practiced walking around in my stilettos.

IMG_6526_web
After letting the primer COMPLETELY dry on both the bottles and lids (and with aching feet!), I sprayed a couple basecoats of the bronze metallic according to the can instructions. This one specifically said to spray multiple light coats in a one hour window. And, being that it was quite humid when I did this project, it took all of my patience to let the paint dry all the way before moving on to the topcoat.

IMG_6539_web

After some lunch and a short walk with the dog (not in stilettos), my paint was FINALLY dry! I decided to try rolling the latex topcoat. I have done other projects that I brushed out and was not really happy with the brush strokes. This is nothing but a game of trial and error. As I found out, I did not like the rolling any better. Next time, I think I will try spraying.

IMG_6541_web

Two coats of latex (and more waiting) later, it was finally time to see what I could create!

Now, I will say I was going to just use a rag to wipe on the denatured alcohol but too much dry time gives one plenty of time to think of other ways to distress.

In the end, I began with a gray scuff pad lightly dipped in the alcohol. I did not want to put too much on, for fear it would eat away more paint in certain areas than I would like. I alternated between the scuff pad and rags, taking off paint only on the raised areas.

When I was happy with the raised areas, I moved on to the center of the bottle. For this, I tried a couple different techniques. The one I liked the best was cutting through certain areas with a piece of sandpaper. Just as I was getting to the metallic layer, I switched to denatured alcohol and a rag. From there, I was able to “buff out” the rough edges made by the sandpaper and reveal just the right amount of bronze. I could plan the “wear spots.”

IMG_6543_web

The other technique I tried was just continuously wiping the whole center section with alcohol until the bronze wore through. I did not like this as well because I felt it looked a little splotchy when it was done. I much prefer the “planned aging” look!

IMG_6544_web
I left one bottle center plain. I think it could be used for a monogram or initial. The jury is still out on what to use the blank space for. Perhaps the Purple Stiletto symbol (which I have yet to create)? These are the two completed bottles. Just another day’s work. The Purple Stiletto crafts again!

IMG_6545_web

Color Me Home Episode 10: Inexpensive Kitchen Updates

On today’s episode, Betsy and Dan discuss some inexpensive projects you can tackle to update your kitchen! They discuss a quick way to make your old cabinets look new again, a way to cover up those old, dated tile backsplashes, and much more!

View our Pinterest Board for Episode 10!

Episode Outline

  • The Gel Stain Fix! (0:52)
  • Can I Lighten My Stained Cabinets With Stain? (5:49)
  • Painting Your Cabinets  (7:10)
  • Get Creative! (20:42)
  • How Do I Apply the Paint? Do I Spray It? Brush It? Roll It? (24:08)
  • Replace the Hardware! (27:01)
  • Update That Dated Tile Backsplash! (28:50)
  • What Finish Should I Use on the Cabinets or the Backsplash? (33:16)

The Gel Stain Fix

Betsy started the episode talking about an easy way to update old and scratched cabinets. Yes, it takes some work.  And yes, you need to do the right prep work . . . but if you do, this can be a great way to update your cabinets very quickly and for very little money. Here’s a blog post that explains the process in detail. And below are some of the photos sent to us by our customer who had such great results!

 Painting Your Cabinets

A second solution we discussed for updating your kitchen is a pretty basic one:  painting the cabinets. It’s not a complicated process, but it does take some time and it definitely requires that you do the proper amounts of prep work to make sure the finished product holds up well. Here are the steps we discussed in the podcast and a brief description. For more information, listen to the podcast and/or check out our blog post on painting kitchen cabinets!

STEP ONE:  Remove the hardware and hinges and label the doors with their location.

STEP TWO:  Clean the surfaces thoroughly using TSP.

STEP THREE:  Scuff-sand the surfaces you’re going to paint.

STEP FOUR:  Prime the cabinets with STIX Waterborne Primer.

STEP FIVE:  Topcoat with a Benjamin Moore’s Advance or RepcoLite’s Hallmark Ceramic.

Those are the basic steps we cover in the podcast. Again, listen to the episode for more details or check out our blog post on painting your cabinets! (Or, better yet, stop out at any RepcoLite, Port City Paints, or Snyder Paints location and we’ll walk you through the whole process!)

Painting An Old Tiled Backsplash

Another topic we discussed on the episode was painting an old, tiled backsplash. The backsplash in a kitchen can often look dated. And usually, people have no idea how to easily fix it. After all, ripping out the tile involves a lot of demolition, sweat, and (in my case) blood. But, there is a quick fix if you’re looking for an easy solution that will buy you some time. And of course, we’re talking about paint! Here are the basic steps. Again, if you’re looking for more detailed info, please check out our blog post on the topic!

STEP ONE:  Clean the surfaces thoroughly using TSP.

STEP TWO:  Prime the cabinets with STIX Waterborne Primer.

STEP THREE:  Topcoat with a Benjamin Moore’s Advance or RepcoLite’s Hallmark Ceramic.

Color Me Home Episode 9: Tips For Selling Your Home Quickly!

On today’s episode, Betsy and Dan discuss some tips for those of you who are thinking about putting your homes on the market. Even though homes are selling faster than they have in recent years, there are still some things that you can do to make sure your home sells quickly AND for as much money as possible….

View our Pinterest Board for Episode 9!

Episode Outline

  • First Impressions Matter (0:52)
  • Start Outside (2:58)
  • Organize, De-Clutter and De-Personalize (11:56)
  • Make Those Small Repairs (19:58)
  • Paint the Walls Neutral? Or Go Bold With Color! (23:42)

Color Me Home Episode 8: Repurposing Your Furniture

This week, Betsy and Dan talk about repurposing furniture. Specifically, we focus on a variety of uses for those old entertainment centers that don’t fit modern HDTVs. We also highlight some interesting uses for old dressers. (And if you’re really interested, check out the BONUS CONTENT feature below. So many of the projects we talked about involved removing the drawers from the dressers. Well, what do you do with those extra drawers? Is there a creative way to use them? Of course! We talk about 4 different projects in the BONUS CONTENT, so check it out!)

View our Pinterest Board for Episode 8!

Episode Outline

  • Repurpose Your Entertainment Center (1:07)
    • Diaper Changing Station (2:00)
    • Potting Station (for you gardeners out there!) (4:58)
    • Coffee Bar (7:15)
    • Betsy’s Shoe Display Center (10:04)
  • Repurpose Those Old Dressers (14:57)
    • Storage Shelves (15:10)
    • Kitchen Islands (17:25)
    • Dan’s Little Throne (or Seating and Storage and Things Like That) (19:50)
      • Dan’s Voice Breaks while saying “Bop” and Betsy Makes Fun (24:16)

Bonus Content and Outline

  • Repurpose Those Drawers
    • Under-the-Bed Storage (0:35)
    • Drawer Dollhouses (4:15)
    • Shelves and Shadow Boxes (6:08)
    • Make Tables (9:31)

Anaglypta Wallpaper

anaglypta2 Anaglypta wallpaper is a textured, paintable wallpaper. In this episode, we talk about using it on the backers of entertainment centers to provide a unique, interesting backdrop.

However, these papers can be used anywhere. They are reasonably priced and look great on walls, on furniture, on stair risers . . . and on and on and on.

Be sure to check out our Pinterest page for this episode for a variety of photos showing painted and faux-finished anaglypta paper. We have books you can look through in our Lakewood, Plainfield, and 17th Street RepcoLite locations. If you have any questions at all, please stop out, email, or give us a call!