Navigate the Paint Brush Aisle Like a Pro

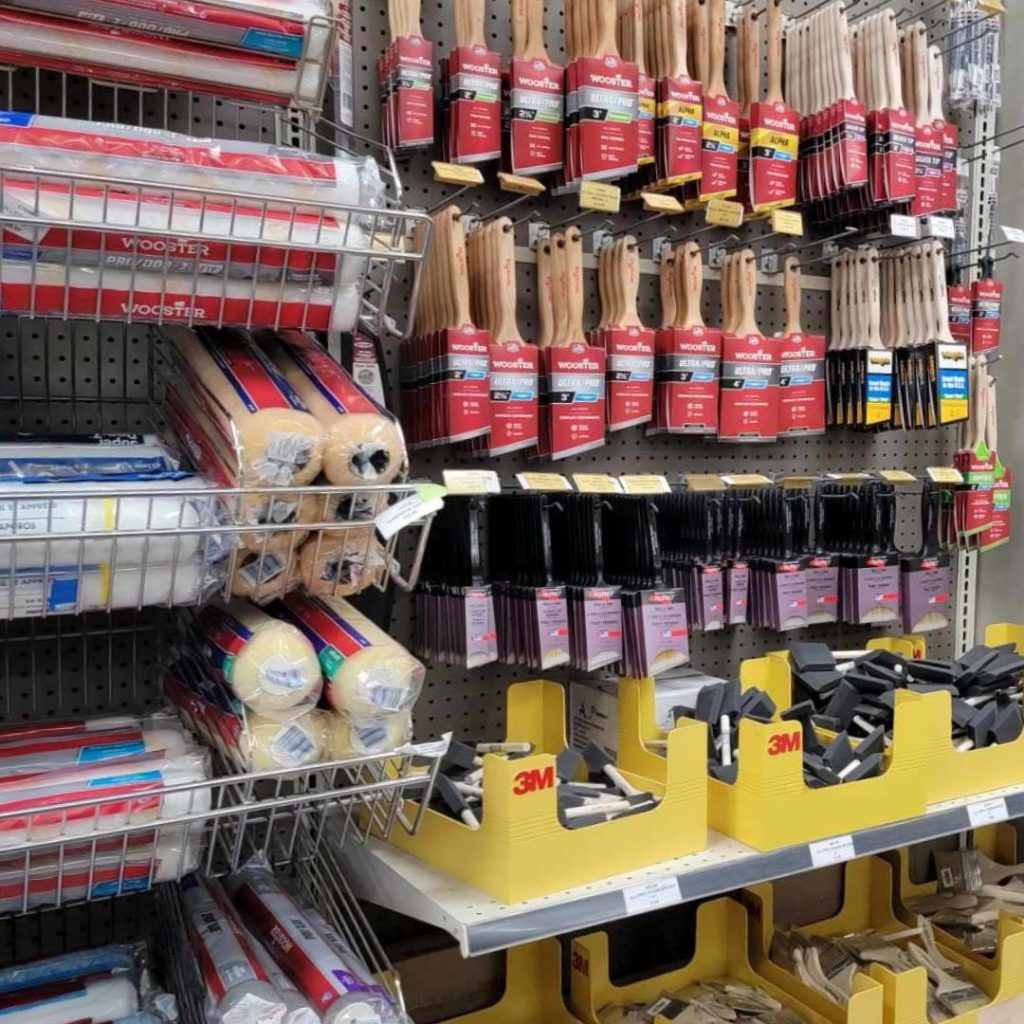
When you look at paint brushes in the store, it’s honestly crazy: there are so many options! Largely, they look the same, but when you look closely, you begin to notice small differences. Why is this brush angled while this one isn’t? Why is this handle long and thin while this one’s short and stubby? And most importantly, which brush is right for my project? Here’s a quick overview to cover the basics, answer those questions, and help you navigate the brush aisle like a pro!
CATEGORIES OF BRUSHES

Brushes generally fall into two main categories—natural and synthetic bristles. Natural bristles, (often called china bristle brushes), are made from animal hair like hog or ox hair . . . badger. Horse. Yak?

These brushes are best suited for oil-based paints and varnishes and they apply those products beautifully. With that said, you shouldn’t use a natural bristle brush with water-based paints or coatings. Water causes the natural bristles to swell, lose their shape, and can ultimately ruin both the brush and the paint job.

For water-based paints, synthetic bristles are the way to go. The main synthetic materials you’ll typically see are polyester, nylon, and Chinex.

BRISTLE TYPES

Let’s look at those different filaments more closely:

CHINEX: Chinex bristles are incredibly durable. They keep their stiffness even in humid or hot conditions and are designed specifically to handle the challenges of low-VOC paints. Chinex bristles release paint easily, which gives you smoother application—and as a bonus—they clean up faster, too!

NYLON: Nylon bristles are also durable, but they’re much softer than chinex or polyester. That can be great for achieving a smooth finish, but keep in mind that nylon softens even more in hot weather or with extended use in latex paint. If you’re doing detail work, this softening will likely make things tricky.

POLYESTER: Polyester filaments are the stiffest of the bunch. They’ll hold their shape and maintain control in hot conditions, but they don’t hold as much paint. This means you’ll find yourself dipping into the can more often and smooth, even cut-in lines will be tougher to achieve. Generally, 100% polyester brushes aren’t recommended—you’re better off finding brushes that blend polyester with nylon or Chinex for better performance.

COMBINATIONS: It’s very common for manufacturers to combine two or more of these materials to achieve different brush characteristics (greater firmness or softness, for example).

STIFFNESS OR FIRMNESS—Why Does It Matter?

When it comes to finding the right stiffness or softness of a given brush, it all depends on what you’re painting and what product you’re applying.

For shinier finishes or smooth, flat surfaces like doors or trim, a softer brush will help minimize visible brush strokes, giving you a cleaner look.

On the flip side, if you’re cutting in around windows, doors, or trim, a stiffer brush gives you more control for crisp, clean lines.

Many brushes on the market offer a medium stiffness, which strikes a good balance for most projects.

ANGLED OR FLAT?

Now, let’s move on to the shape of the brush: is it angled or flat? And what’s the reason for the difference?

An angled brush has the potential to give you more precision when doing cut-in work, as when you’re painting the edges where walls meet the ceiling. It’s also possible that the angle allows you see what you’re doing a bit better, while making it easier to get into corners with more control.

With that said, many experienced painters still rely on flat brushes for cut-in work. At the end of the day, it’s all about your technique and what you’re comfortable with. Some contractors prefer to use angled brushes for the detail work and then switch to flat brushes for larger areas, like panel doors or trim. Others use the flat brushes for all their brush work. For DIYers, though, it’s generally best to use the angled brushes for all your cut-ins.

WHAT ABOUT THE HANDLES?

Finally, let’s touch on brush handles. There are many different types, and mostly, it’s all about comfort. Here are a few common ones:

  • Rattail handles are long and thin, held almost like a pencil.
  • Beavertail handles are rounded and fit comfortably in your palm.
  • Fluted handles are more square but with rounded edges, making them easy to grip.
  • Short handles are ideal for working in tight spaces where longer handles might get in the way.

As mentioned earlier, the main reason (though not the only reason) for the different handles is comfort. So find a brush handle that feels comfortable in your hand. The more comfortable you are, the more productive you’ll be. It’s that simple! So be sure to “try out” the brushes when you’re making your purchase. See how each one feels in your hand and choose the one that just seems best!

That’s a lot of info, but it should help you navigate the brush aisle like a pro!

Using Dark Colors in Small Rooms

The Design Dilemma

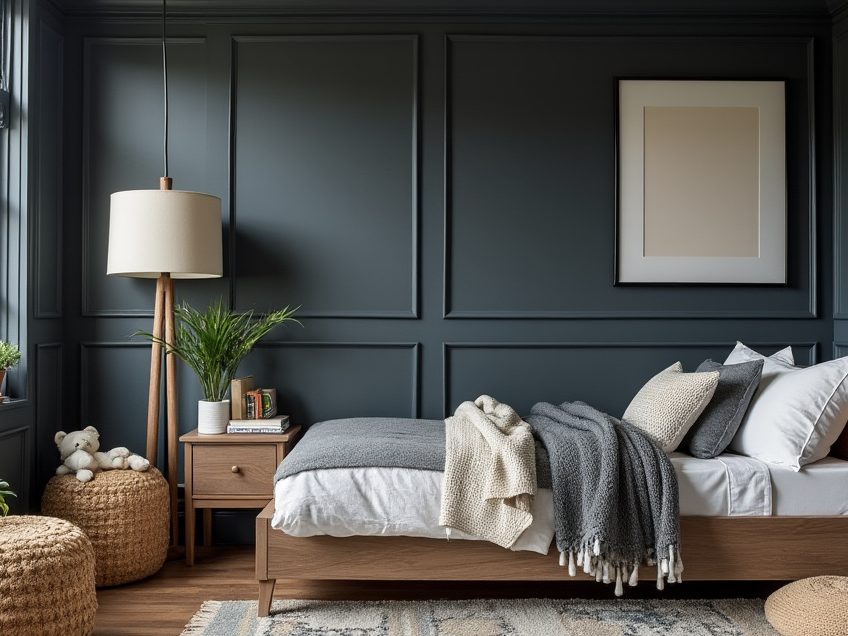
Megan, a regular listener of the RepcoLite Home Improvement Show, wrote in with a design dilemma: her son wants to use a dark color in a small room. His goal is to paint everything in his bedroom a dark charcoal, a choice that intuitively seems like it would shrink an already tight space. Let’s explore how designer Andy Yates approaches this challenge!

The Charcoal Conundrum

The choice of color in interior design, especially in small rooms, can be daunting. However, Andy points out that “if the charcoal hue isn’t too dowdy or heavy, it might be just fine.” He goes on to explain, “It may sound like an oxymoron, but not all charcoal hues are drab and dreary. If you ensure that the undertones of the color involve more than just an equal mix of black and white, you can actually arrive at a more joyful charcoal in a way. For example, if your choice is more along the lines of a battleship gray, with some blue undertones, it can still give you that sense of flat ash while at the same time being a bit calming and a little more dynamic.”

Monochromatic Magic: The Art of Color Drenching

So, with the right charcoal color, you’re not necessarily locked into a drab, dull tone. But what about painting everything in the room the same color? Won’t that be too much of a good thing? Andy disagrees, explaining “I love to paint rooms monochromatically: trim, walls, and ceilings. Even in small rooms, this approach can make a bold statement without overwhelming the viewer. I think that, especially when you adjust the sheen–I’m thinking satin on your trim, flat or matte on your walls and ceilings–it still adds levels of interest.”

This color drenching concept isn’t a new one–we’re seeing a lot of it right now. Color drenching has many strengths and can be used to unify a space that feels disjointed. But, as Andy mentioned, by varying the finishes you use, even though the color is the same, you can still create boundaries and highlight architectural features if you want to do so.

Psychology of Space: Dark Colors in Small Room Design

Finally, what about the dark color making the room feel smaller? Contrary to popular belief, Andy argues that dark colors might not necessarily make a room feel smaller. “Dark colors recede, and light colors reflect light, so they approach you. I often use this analogy: Imagine you’re sitting in a dark theater with the screen on, knowing that all of the walls and ceiling are black. In that instance, you can’t really tell where the walls are, because they’ve disappeared. They’re receding away, and you can’t really see the ceiling, so you don’t know how tall the space is. So dark colors can actually make a space feel a little bit more expansive, because the boundaries disappear. Psychologically, it’s very interesting.”

Balancing the Darkness

To ensure the room doesn’t feel too oppressive, Andy recommends balancing the dark walls with lighter elements. “Think about art, bedding, or even the flooring,” he advises. “Adding elements that reflect light or introduce color can counteract the room’s overall darkness.”

Conclusion: Crafting a Cohesive Look

In wrapping up, Andy reiterates that there’s no universally ‘wrong’ color for any room. “It’s about how everything comes together. If Megan’s son finds the room too dark post-painting, introducing lighter furnishings or bold art can easily adjust the ambiance.”

We’re Here to Help!

If you’re trying to use a dark color in a small room, we have color experts on hand at every RepcoLite location, waiting to help you find the best path forward! Bring your questions, your ideas, your concerns, (and if it helps) your kids . . . and we’ll work with all of you to find the perfect color for your space!

Have you tried dark colors in a small room? Share your experiences or design tips in the comments below!

Your Guide to Choosing the Right Tape

When you walk into the paint store and wander over to the tape aisle, you’re immediately confronted with all kinds of options. Cheap options, expensive options. Tapes of all colors and widths. Tapes in plastic wrappers and tapes in cool little plastic containers that look like something you could use later to store buttons or something….

There are a lot of options! What do they all do? Which tape’s right for your project?

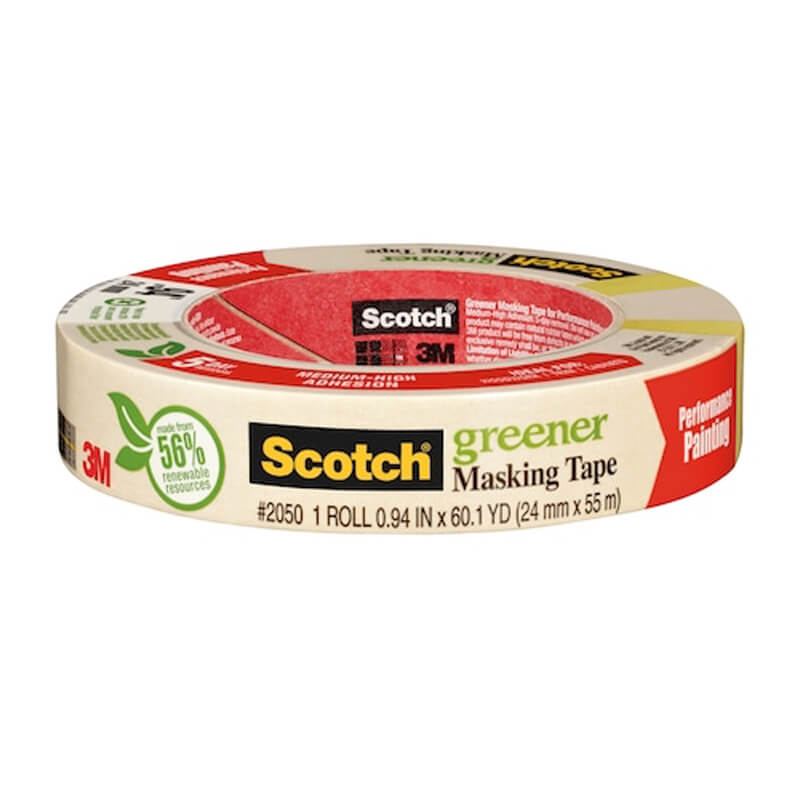
Basic Brown Masking Tape

The basic brown masking tape is the most budget-friendly option. However, it’s not ideal for painting purposes. It’s better suited for taping together large sheets of paper or covering floors during your project. When used for painting, it often results in paint bleed-through, defeating the purpose of taping in the first place. Additionally, this tape needs to be removed promptly after painting, and even then, it tends to come off with more difficulty than other tapes.

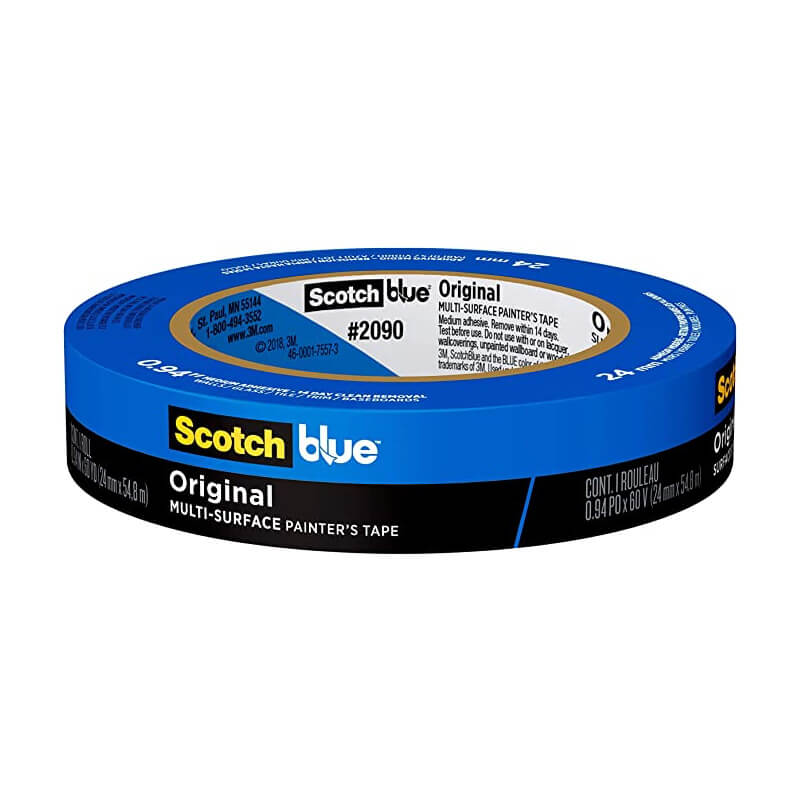
Blue Painter’s Tape

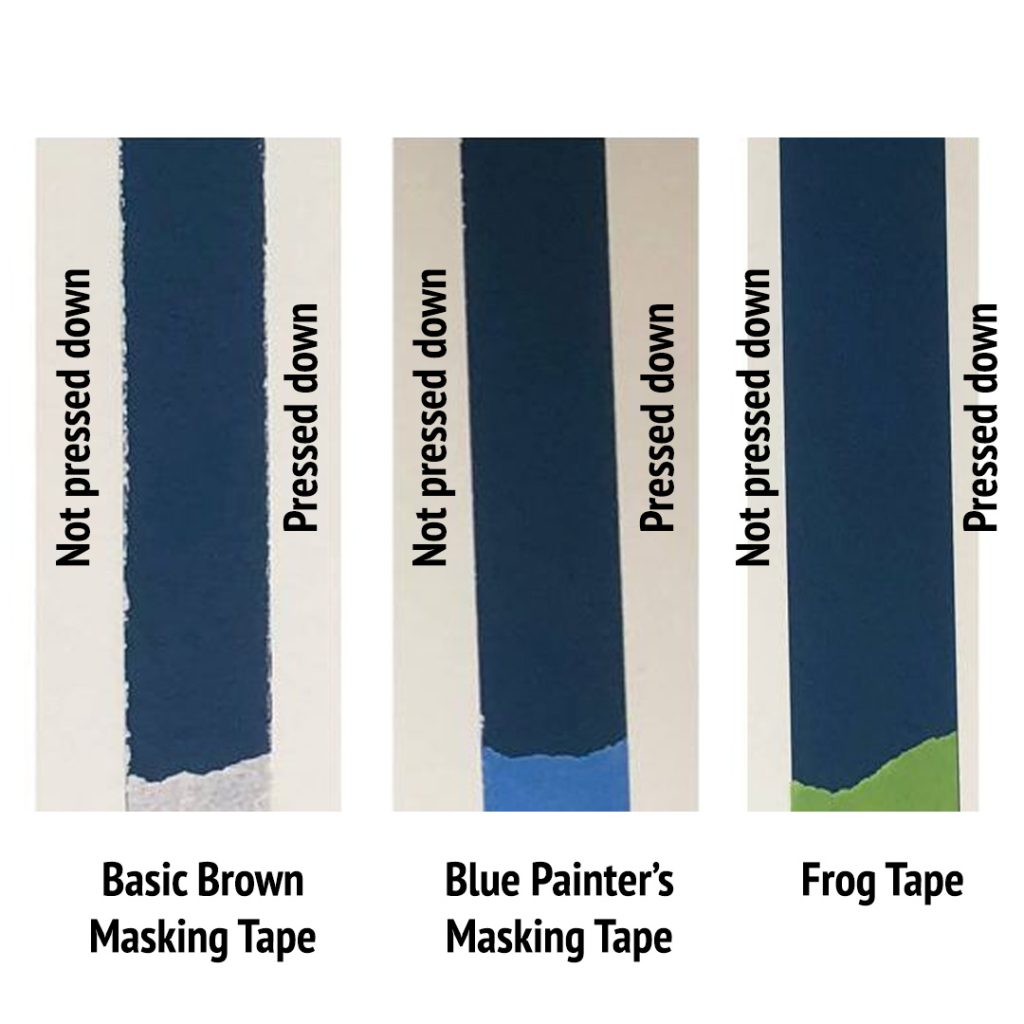
Moving up in quality and price, blue painter’s tape offers a significant improvement. While applying it without sealing the edges might still allow some minor bleed-through, pressing down the edges with a putty knife or your fingernail can almost completely eliminate this issue.

Blue painter’s tape can be left on surfaces for up to 14 days and still be removed cleanly, making it an excellent choice for those looking to balance cost with professional-quality results.

Samples from tape test. Right side of each was pressed down with a putty knife, left side on each was not pressed down at all.

Frog Tape: The Premium Option

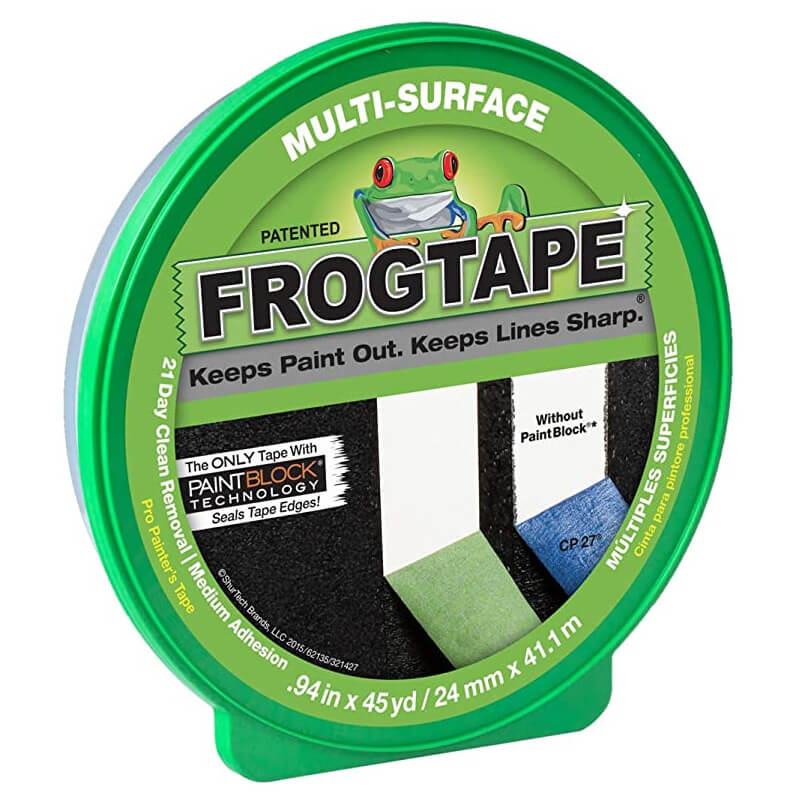
Frog Tape represents the premium end of the spectrum. This tape features PaintBlock Technology, which includes a super-absorbent polymer that reacts with water in water-based paint. This reaction forms a seal at the tape’s edge, preventing paint bleed-through remarkably well, even without additional edge sealing.

In testing, Frog Tape performed exceptionally, with virtually no bleed-through regardless of application method. This makes it ideal for projects where perfection is paramount.

Special Considerations for Delicate Surfaces

For those working on delicate surfaces like freshly painted walls or wallpaper, there are specialized tapes from brands like Frog Tape and 3M. These tapes use a gentler adhesive designed for minimal residue and damage upon removal, perfect for intricate or sensitive taping jobs.

So, whether you’re looking to save a few dollars or achieve flawless paint lines, understanding the differences between these masking tapes can significantly affect your painting project’s outcome. Next time you’re in that tape aisle, you’ll know exactly which tape is best based on your project’s needs!

Taming the Sawdust Beast: Festool to the Rescue

Up until a few years ago, my dad was deeply involved in woodworking—nothing fancy, just fun projects that he thoroughly enjoyed. That all changed when he and my mom moved into a condo. While packing up, dad discovered an overwhelming amount of sawdust had accumulated over the years. You might think you can imagine the volume; let me assure you, you can triple whatever you’re thinking!

The realization led him to abandon his hobby entirely, unwilling to recreate that kind of mess in their new home.

Does This Resonate? A Cleaner Approach to Woodworking

Whether you’re a hobbyist like my dad, facing the daunting task of managing sawdust, or a professional woodworker or painter looking to maintain a cleaner workspace, there’s a solution worth exploring.

Introducing Festool: Where Quality Meets Dust Extraction

At RepcoLite, we now carry Festool equipment. We stock some of their best-sellers, but have access to their entire catalog, including sanders, circular saws, table saws, and more. Best of all, every tool can be seamlessly connected to Festool vacuums, ensuring your workspace remains remarkably clean.

Festool’s Reputation: High Performance, Enduring Investment

Known for their high-quality build and outstanding dust extraction, Festool tools come highly reviewed by both professionals and serious hobbyists. While they’re not inexpensive, these premium tools are seen as long-term assets, offering superior performance and longevity.

My Test with Festool: The ETS-125 and Vacuum System

Recently, I tested the ETS-125 Random Orbital Sander paired with a Festool vacuum system in my living room. After two hours of sanding various surfaces, there was virtually no dust. The system’s effectiveness was surprising. I knew it would be good, but I didn’t realize it would be that good!

Consider the Investment in Your Craft

In today’s economic climate, investing in premium tools like Festool might seem out of reach for many. However, for those passionate about woodworking or regularly engaged in sanding tasks (or other dust-creating jobs!), these tools could revolutionize your work environment.

Visit Us or Attend Our Demo Day

If you’re in West Michigan, check out our Lakewood Blvd. store in Holland or the Byron Center location. And be sure to mark your calendar for our Festool Demo Day at Byron Center on Tuesday, October 8, from 10 AM to 2 PM. Festool experts will be on hand with various tools, offering live demonstrations, and answering your questions. It’s a great opportunity to see and feel the difference Festool can make in your woodworking experience. Enjoy some light refreshments while you’re at it!

How to Remove Fresh Paint from Carpet

The Urgency of Immediate Action

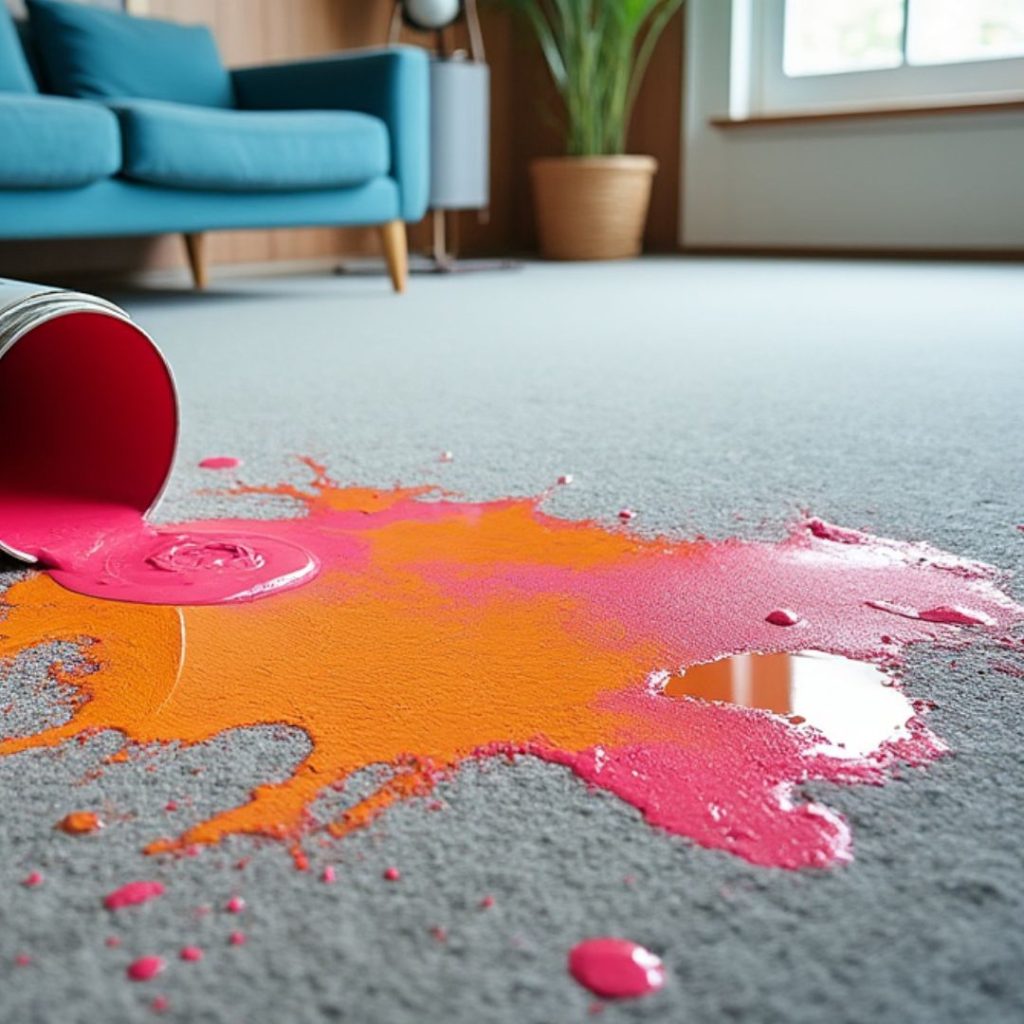
Spilling paint on your carpet can suck the fun out of any project! However, if you act swiftly, you can often remove the fresh paint from your carpet almost entirely. Acting swiftly can mean the difference between a minor setback and a major clean-up job.

Preparation is Key

When dealing with a paint spill, your response time is critical. Don’t delay; act immediately. Once the paint starts to dry, removing it completely becomes much more complicated.

Setting Up for Success

The first crucial step is actually a preparation. Before you start painting, ensure you have the proper thinning agent on hand. If you’re using water-based paint, water will be your go-to for clean-up. Fill a bucket with clean water, grab a few rags, and have them ready. These will come in handy for minor mistakes and, of course, for larger spills.

Immediate Steps After a Spill

If you spill paint onto the carpet, immediately remove as much as you can carefully. Don’t wipe with a rag or you’ll spread it. Instead, dab at small amounts or, for larger spills, use flat pieces of cardboard or plastic sheets, or a wide putty knife to gently scrape over the carpet, scooping off as much of the puddled paint as possible.

Using Water to Dissolve the Paint

Pour a little water on the spill, not too much, just enough to work into the paint. Use your fingers or a rag to agitate the paint gently. Then, using your wet/dry vacuum, carefully vacuum the spot. Repeat this process: apply more water, work it into the spill, and vacuum up as much as possible.

Gentle Vacuuming Technique

When vacuuming, treat your carpet gently. Dab at it with the vacuum nozzle and lightly drag it over the spot. Excessive vacuuming can damage the carpet fibers.

Drying and Dehumidifying

Continue repeating this until you’ve removed as much of the spill as possible. Then, dry the spot by gently pressing it with a dry rag. If you’ve used a fair amount of water, it’s a good practice to run a dehumidifier nearby to remove excess moisture from the fibers and padding.

Alternative Methods Without a Wet/Dry Vacuum

If you don’t have a wet-dry vacuum, dab at the spot with a clean rag after you apply the water each time. Be careful to dab, not scrub, to avoid spreading the paint or damaging the fibers.

Dealing with Stubborn Paint

If you’ve waited too long and the paint has started drying or is particularly stubborn, you could try using hotter water (not boiling—just hot tap water) and possibly add a bit of ammonia. Ammonia can dissolve latex paint, but use it sparingly in a well-ventilated area as it can be harmful if inhaled in large amounts.

Using a Steamer

Alternatively, if you have a steamer, you can use it to introduce water into the mix, following the same process with rags and the wet/dry vac.

A Word of Caution

Finally, from personal experience, ensure your wet-dry vac nozzle is clean! I once used it to vacuum ash from my fireplace without cleaning it afterward, only to make a paint spill much worse when I tried to clean it up!

Conclusion

Spilling paint on your carpet might be a bummer, but with a quick response and the right approach, you should be able to remove most of that fresh paint from your carpet. Have a plan, be prepared, and you should be just fine! Share your own paint removal tips in the comments below!

Fall Painting Guide for Cooler Weather

Fall’s a great time to get these things finished . . . but painting in cold weather can lead to issues like color uniformity problems, peeling, and even the paint not forming a proper film. Add a bit of moisture, like dew or rain, and you’re looking at surfactant leaching, bubbling, and water spotting.

So there’s the potential for a lot of issues that you don’t want to deal with. But, the good news is you can have great success painting outside in the fall. You just need to keep some key things in mind. Here’s our fall painting guide to help you out!

Temperature

First, let’s talk about temperature. Ideally, we’d all like to paint in the mid-70s with low humidity. That would be perfection.

But that’s not always how life works out. Because of that, there are low-temp exterior paints. All of the exterior waterbased products we carry at RepcoLite can handle temperatures down to about 36 degrees or so.

But, that doesn’t mean just air temperatures. The surface temp is equally critical. For example, a dark surface in direct sunlight might be hotter than the air, while a shaded area might be cooler. So, even with these low-temperature paints, both the surface and air temperatures should ideally be above 40 degrees for at least 24 hours after painting. (Yes, the label on the can says 36 degrees, but if you’re looking for an ideal rule of thumb, 40 degrees is a great number to settle on).

LISTEN TO THE FALL PAINTING SEGMENT ON OUR PODCAST!

(Fall Painting segment begins at 33:13)

Weather

So pay attention to temperatures when you’re working, but also keep an eye on the weather. Ideally, if there’s rain in the forecast in the next 24 hours or so, it’s probably wise to hold off on painting unless you’re going to use Benjamin Moore’s Element Guard.

Element Guard can be used in low temperatures, but it also offers extreme early moisture resistance. In fact, Element Guard is moisture resistant 60 minutes after application. Element Guard is a game-changer for those unexpected fall showers.

The Painting Window

Now let’s talk about the painting window–the times you should be painting and when you should wrap things up each day.

This will vary by the weather and the temperatures, but a good rule of thumb is to start painting mid-morning, once the dew has evaporated, and finish in the early-mid afternoon, allowing the paint time to dry before the temperatures drop later in the day. So, if you’re looking for literal times, we think starting by 11 AM and wrapping things up around 4 PM would be ideal.

Some Final Tips and Considerations

Be cautious about working in direct sunlight even if the temps feel cooler. Depending on the color of the surface you’re painting, it could heat up and cause your new paint to dry too quickly which can lead to brush strokes, an uneven finish, and other issues.

Also, be sure to store your paint at room temperature. It’s tempting to keep it in the garage, but if the temperatures drop in the evening, the paint might be too thick to use effectively until it warms up.

Also, while you’ve got your eye on the weather, don’t forget about the wind. Windy conditions can blow dirt, leaves, or dust onto your freshly painted surface, leading to imperfections. It’s tough to control, but if it’s significantly breezy, it might be better to wait a day if you’ve got a lot of material around the project that could be blown into it. It’s obvious when you think about it, but a lot of us don’t consider it until we’ve started painting.

With the right paint and a bit of planning, Fall can be a great time for exterior painting. If you have any questions or need some product recommendations, swing out to any RepcoLite location and we’ll be happy to help.