If you’ve ever skipped the step of sanding your primer before applying your finish coat, you’re not alone. Many DIYers and even some pros might be tempted to skip this step, thinking it’s unnecessary or too time-consuming. However, sanding primer for a smooth finish is one of the simplest and most effective ways to ensure your paint job looks professional and lasts for years.
Here’s why it matters and how to do it right.
Why Sanding Primer Is Crucial
When primer dries, it’s rarely as smooth as you might think. Even if you apply it carefully, you’re likely to end up with some texture from brush strokes, roller lint, or small imperfections that accumulate during application. Additionally, certain primers can raise the fibers in drywall or the grain in bare wood, leaving the surface feeling rough to the touch.
If you skip sanding at this stage, these imperfections will remain beneath your finish coat, making the final surface look uneven. Sanding eliminates this, creating a smooth base that lets your finish paint shine!
The Right Way to Sand Your Primer for a Smooth Finish
Sanding primer is a straightforward process, but a few key tips can make it easier and more effective:
- Wait for the Primer to Dry!
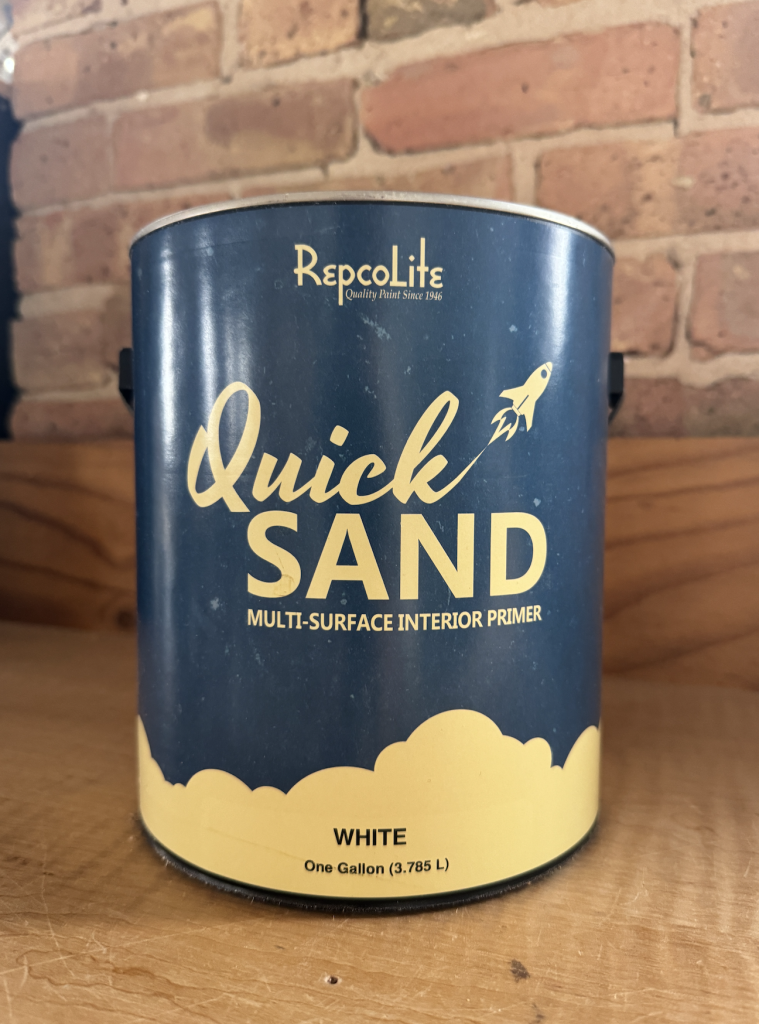
- Always ensure your primer is completely dry before sanding. Most primers need at least two hours, but if you need a quicker option, RepcoLite’s Quick Sand Primer is ready to sand in just 30 minutes. Check the product label for specific drying times.
- Use the Right Sandpaper
- Opt for 220-grit sandpaper. It’s fine enough to smooth out imperfections without removing too much primer. Your goal isn’t to sand the primer off but to knock down any rough spots and create a flawless surface.
- Sand Large Areas Efficiently
- For larger walls or ceilings, use a sanding pole. It allows you to cover more ground quickly while keeping the process less labor-intensive. While it’s still manual work, a sanding pole can make the job significantly faster.
- Be Gentle on Trim
- When sanding trim or detailed surfaces, foam sanding pads are your best friend. They’re flexible, easy to hold, and conform to curves and edges, helping you achieve a smooth finish without cutting through the primer.
- Clean Up Thoroughly
- After sanding, wipe down the surface with a damp rag to remove dust. Allow the surface to dry completely before applying your finish coat. This step ensures the finish paint adheres properly and prevents dust from getting trapped in the paint.
Why Quick Sand Primer Helps You Achieve a Smooth Finish
If you’re looking for a primer that speeds up the process, RepcoLite’s Quick Sand Primer is an excellent choice. It’s ready to sand in just 30 minutes, making it ideal for DIYers and contractors alike. Whether you’re working on walls, doors, or trim, Quick Sand Primer helps you save time without sacrificing quality.
And the best part? Quick Sand Primer is on sale all January long at RepcoLite Paints. Stop by your local store and check it out today.
Final Thoughts
Sanding primer for a smooth finish may seem like an extra step, but it’s a little touch that delivers big results. By taking the time to smooth out imperfections, you’ll create a pristine surface that ensures your finish coat looks amazing and stands the test of time. So, grab some 220-grit sandpaper, take a little extra time, and enjoy the satisfaction of a truly professional-looking paint job!


