

Swirl marks—sometimes called “pig tails”—are a common frustration when using an orbital sander. They might not seem like a big deal when you’re sanding, but they can stand out dramatically once you apply stain or paint. Even painted surfaces aren’t immune; those faint circular marks can sometimes show through, undermining all your hard work. Fortunately, swirl marks are avoidable if you understand the proper techniques. Here are 8 tips to eliminate orbital sander swirls—whether you’re using a high-end model like the Festool sanders we carry at RepcoLite or a standard DIY-friendly version.
1. Start Right
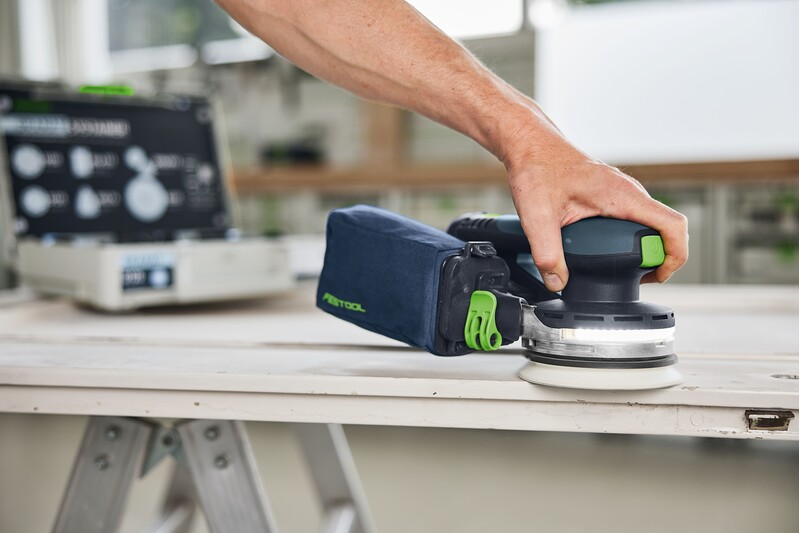
Always place the sander flat on the surface before turning it on. Starting the sander while it’s in the air and then setting it down at full speed can cause it to skip, gouge, or leave swirl marks.
2. Use a Slow, Steady Speed
Avoid zipping back and forth too quickly. Orbital sanders are designed for slow, controlled movement—about 1 inch per second is ideal. This gives the sander time to work evenly across the surface.
3. Keep the Sander Flat
Tilting the sander—even slightly—can cause the leading edge to dig in, creating swirls or gouges. Keep the sander flat to allow the full sanding disc to work evenly.
4. Use Light, Even Pressure
Let the sander do the work. Applying too much pressure slows the motor and increases your chances of swirl marks. If you hear the sander bog down, ease up.
5. Work Through the Grits
Don’t skip steps in your sanding progression. Each grit removes the scratches from the previous one:
- Start with 80 or 100 grit
- Move to 120 grit
- Then 150 grit
- Then 180 grit
- Finish with 220 grit
If you’re staining, avoid going past 220 grit, as it may prevent proper stain absorption.
6. Use Dust Extraction and Clean Often
Fine sanding dust can get trapped between the disc and the surface, acting like rogue grit and causing scratches. Use a sander with dust collection, and clean between grits:
- Vacuum the surface
- Use compressed air
- Brush off any remaining dust
7. Stop Correctly
Just like starting, stopping matters. Never turn off the sander while it’s still touching the surface. Instead, lift it off, then power it down. This avoids sudden stops that can leave swirl marks behind.
8. Do a Final Check Before Finishing
Before applying stain or paint, do a quick inspection:
- Wipe the surface with mineral spirits to reveal hidden swirl marks
- Or use an LED flashlight at a low angle to spot imperfections
Taking a minute for this final check can save you hours of frustration later.
8 Tips for Success
Follow those 8 tips to eliminate orbital sander swirls and you’ll soon be sanding like a pro!